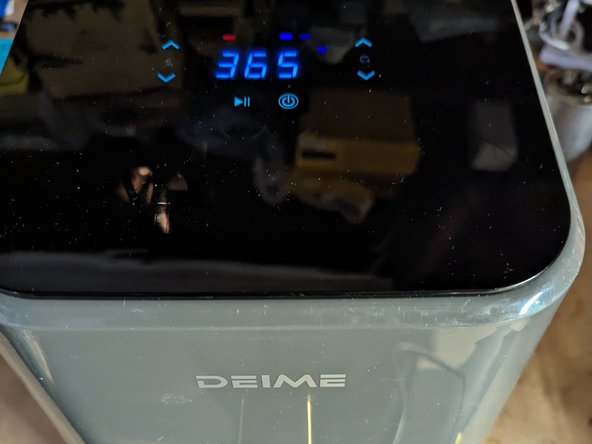
Deime Air Fryer RA410DV interlock switch fix
ID: 169361
Description: Air fryers usually have some sort of interlock...
Steps:
- Plug in the air fryer and insert the basket. Does the display turn on? If not, this guide might provide a fix.
- Notice that the top left of the basket has a tab that slides into the fryer. This tab enables the interlock switch to turn on the power to the air fryer. The purpose is to prevent users from touching the hot heating coil.
- Look inside the air fryer chamber and notice the pin on the upper left. This is the part of the interlock switch.
- With the basket removed from the air fryer, use a small screwdriver, spudger, etc, to depress the interlock pin. If the control panel lights up, proceed with this repair.
- You might be tempted to take off the screws on the bottom of the air fryer. That's not where you need to go for this repair. You need to remove the control panel on the top.
- Unplug the power cord!
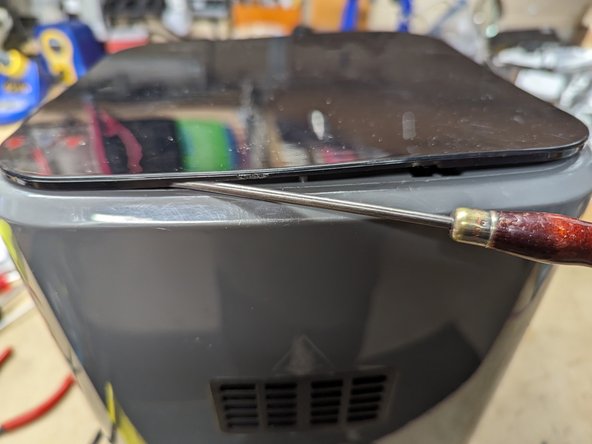
- Looking at the back of the unit, locate the thing gap between the control panel and the case.
- Insert a small flat screwdriver in the gap and gently slide it to the right and pry open the clip. Repeat on the left side.
- Work your way around the control panel to release all the clips.
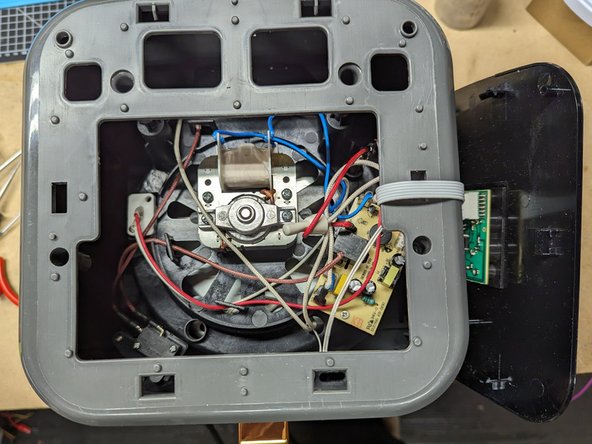
- Be careful when you remove the control panel. There's a ribbon cable connected to the control board. You can disconnect it if you want.
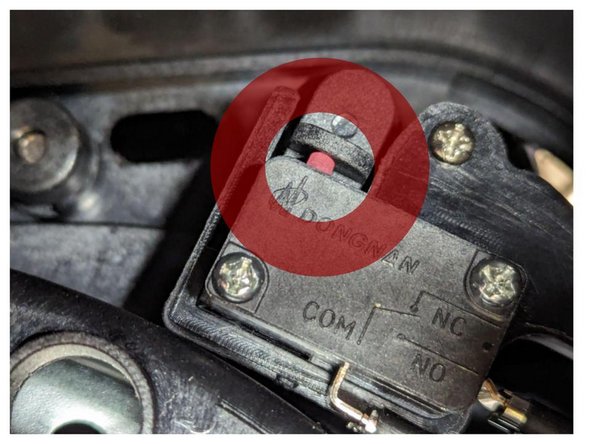
- Looking down inside the unit, at the left front side, find the interlock assembly. It is a microswitch and a lever. When you insert the basket, notice that the microswitch button is not completely pressed. With a small screwdriver, you should be able to push the tab next to the microswitch button and hear a click sound.
- There are 4 screws on the interlock assembly. 2 screws attach to the microswitch to the assembly. You can leave those in place. Remove the other two screws and lift out the assembly.
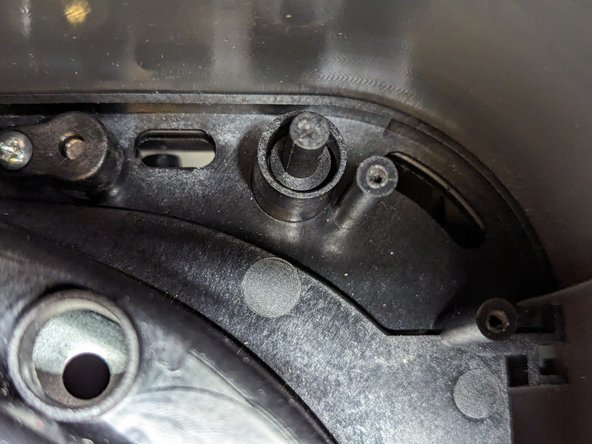
- Locate the interlock pin. Remove it with needlenose pliers, etc.
- The problem is that the interlock pin isn't moving far enough to close the microswitch button.
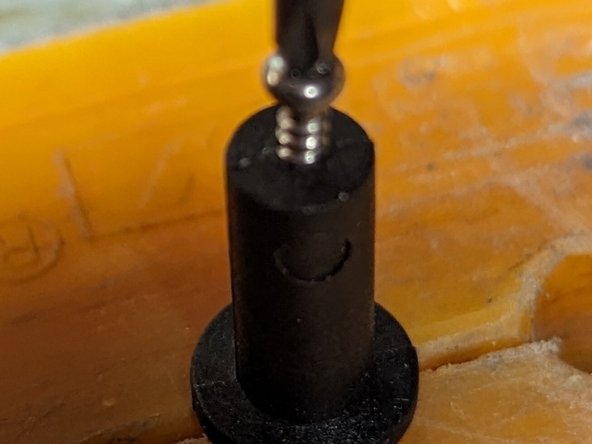
- One way to fix this is to extend the length of the interlock pin with a small screw.
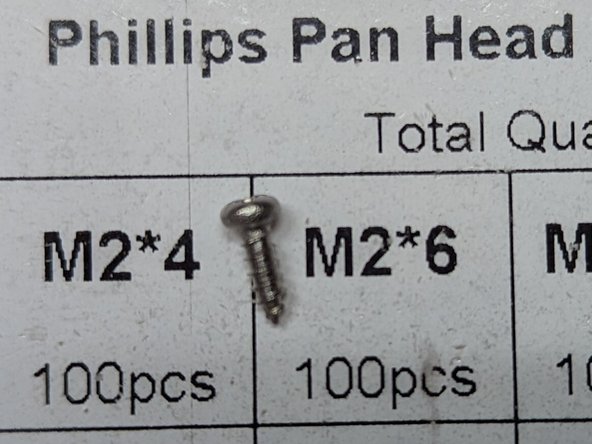
- Use a M2x6mm pan-head self-tapping screw.
- Use an awl to make a dent in the center of top of the interlock pin.
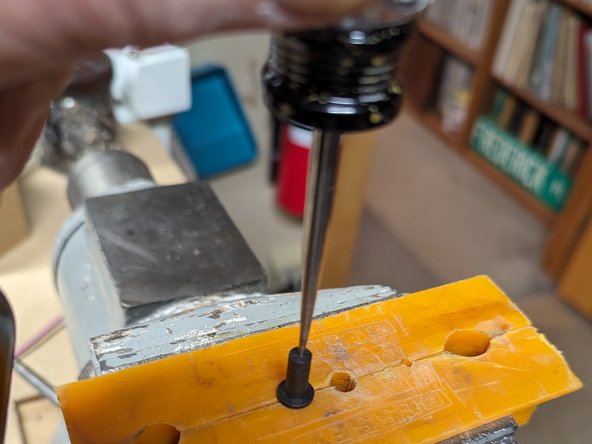
- Use a small drill to make a pilot hole in the interlock pin.
- Use a screwdriver to insert the screw fully into the pin.
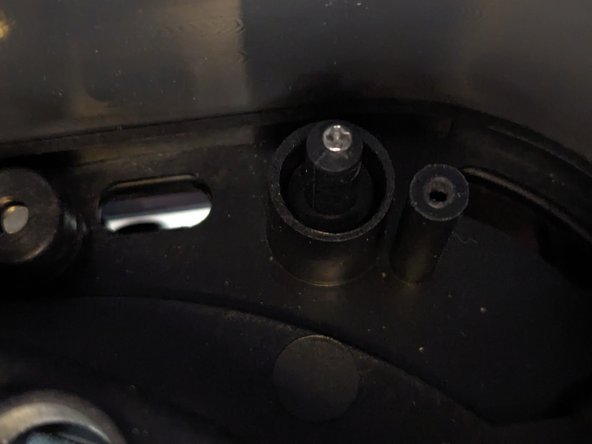
- Replace the pin into the air fryer.
- Replace the interlock assembly with the two screws you removed.
- Insert and remove the basket into the air fryer. Is the microswitch now clicking? (You can use an ohm meter or continuity checker to test the switch operation.
- If the microswitch is not turning off (opening), you may need to file some material off the top of the screw you added to the interlock pin to make it shorter.
- If the microswitch is not turning on (closing), you may need to adjust the screw you added to the interlock pin to make it longer.
- Carefully replace the control panel on the top of the air fryer. Snap the tabs back into place one at a time, checking alignment. Don't push too hard or you'll break the tabs!
- Enjoy your repaired fryer!