Acer Aspire 5 A515-56-347N PCIe SSD Replacement
ID: 170570
Description: If you are running out of storage space in your...
Steps:
- Turn the laptop off, and disconnect the power cable.
- Flip the laptop upside down.
- Remove the eleven 6.6 mm Phillips #0 screws from the bottom cover.
- Insert a plastic opening tool into a gap between the case and the bottom cover.
- Insert blue plastic picks into the gap between the case and the bottom cover, working around the seam.
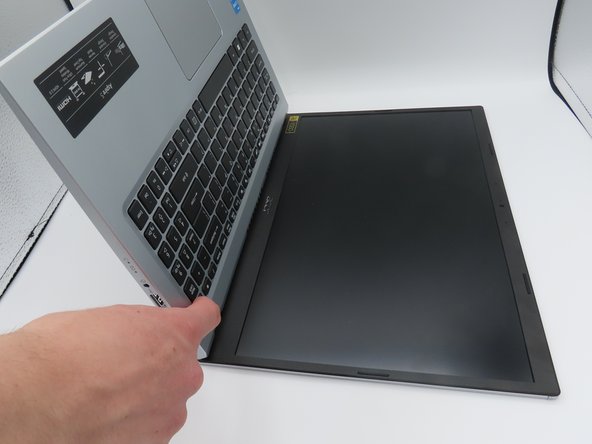
- The bottom cover is now loose. Pull it upwards, away from the laptop, and set it aside.
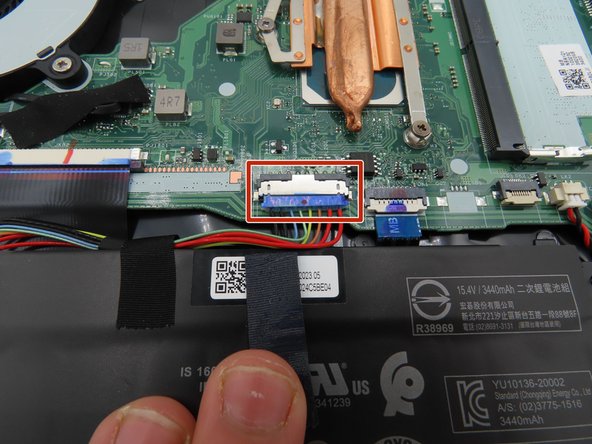
- Use a plastic spudger to loosen the black tape around the large battery connector on the motherboard.
- Once loosened, pull back on the tape to remove it from the connector.
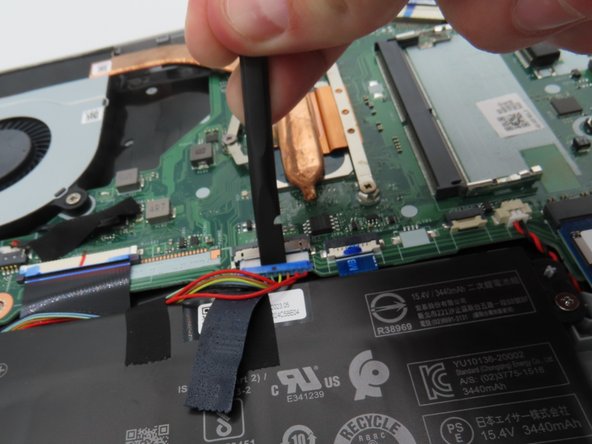
- Use a plastic spudger to pull the battery connector away from the motherboard.
- Leave the battery unplugged for the following steps.
- Press and hold the laptop's power button for about five seconds to discharge any remaining power in the system.
- Do not touch any exposed components while carrying out this step or put them in contact with conductive materials.
- Leave the battery connector unplugged and out of the way for the rest of the time the laptop is open.
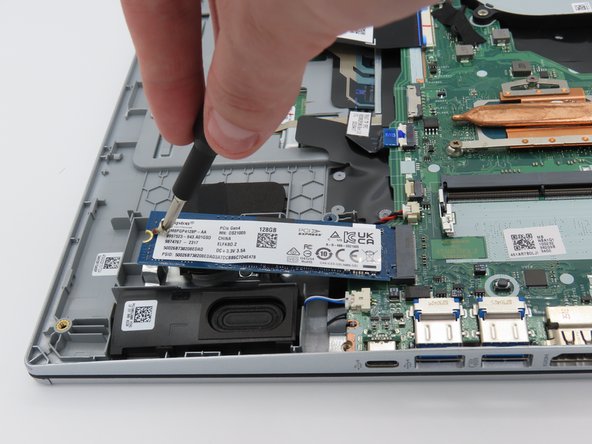
- Using a Phillips #0 screwdriver, remove the small 4.5 mm screw securing the SSD to the laptop chassis.
- The SSD is now loose and can be removed.
- Using your fingers, gently pull the SSD away from the slot and out of the laptop.
- When installing the new SSD, be sure to gently push it in until you hear a click.
- When installing the new SSD, remember to screw it down.