Acer Aspire 5 A515-56-347N SATA HDD Replacement
ID: 170572
Description: The Acer Aspire 5 A515-56-347N comes with an...
Steps:
- Turn the laptop off, and disconnect the power cable.
- Flip the laptop upside down.
- Remove the eleven 6.6 mm Phillips #0 screws from the bottom cover.
- Insert a plastic opening tool into a gap between the case and the bottom cover.
- Insert blue plastic picks into the gap between the case and the bottom cover, working around the seam.
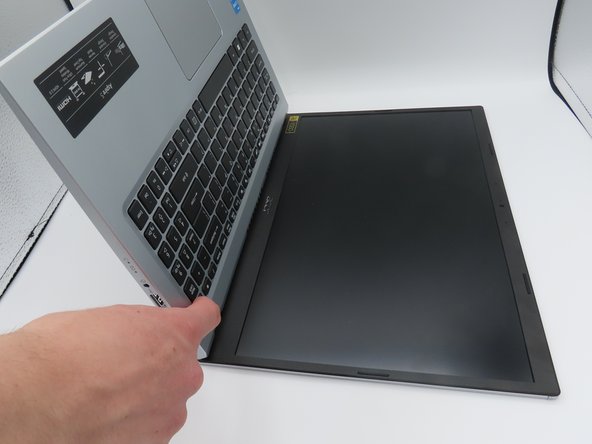
- The bottom cover is now loose. Pull it upwards, away from the laptop, and set it aside.
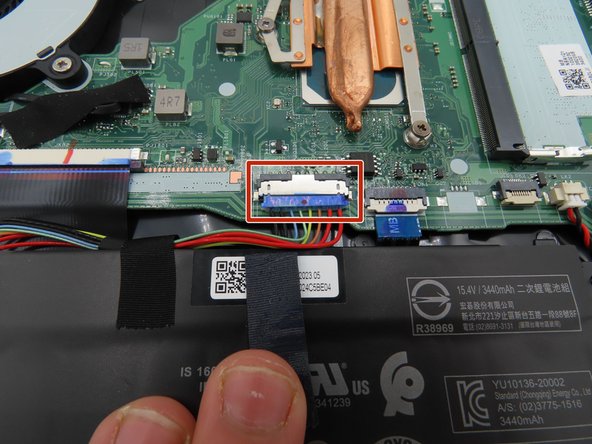
- Use a plastic spudger to loosen the black tape around the large battery connector on the motherboard.
- Once loosened, pull back on the tape to remove it from the connector.
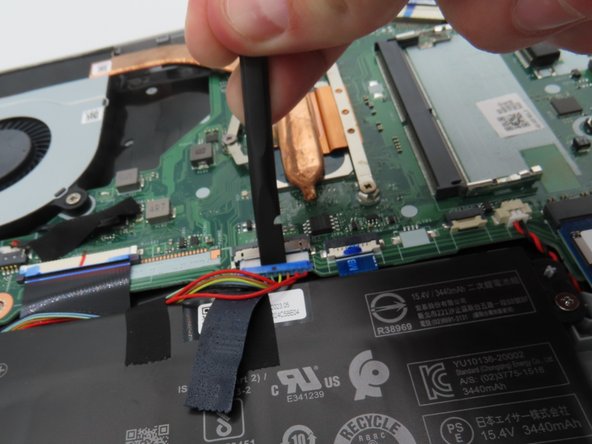
- Use a plastic spudger to pull the battery connector away from the motherboard.
- Leave the battery unplugged for the following steps.
- Press and hold the laptop's power button for about five seconds to discharge any remaining power in the system.
- Do not touch any exposed components while carrying out this step or put them in contact with conductive materials.
- Leave the battery connector unplugged and out of the way for the rest of the time the laptop is open.
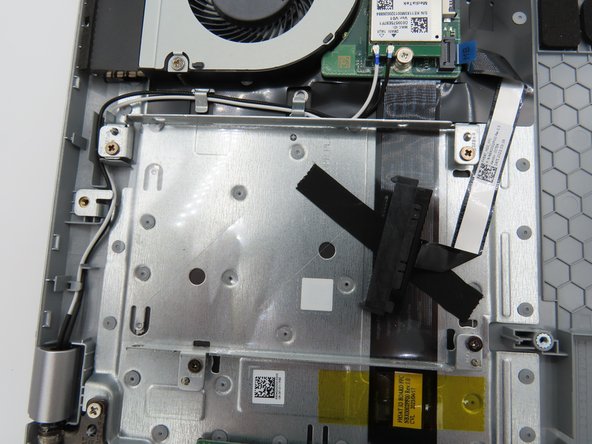
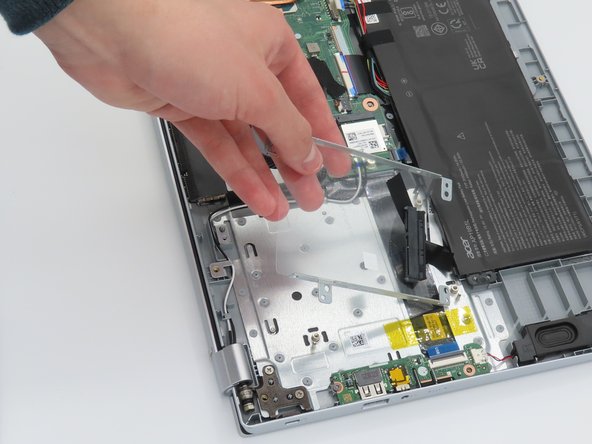
- Use a plastic spudger to gently pick off the black tape securing the SATA cable to the drive caddy.
- Rest the tape on the bottom of the drive caddy in order to secure the cable again if you ever remove the drive in the future.
- Using a Phillips #0 screwdriver, remove the four 4.7 mm screws that hold the drive caddy to the laptop chassis.
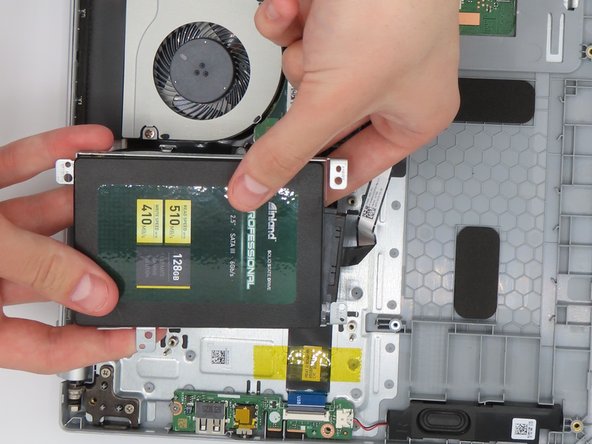
- Gently pull the drive caddy out of the laptop.
- Place the SATA drive into the newly-removed drive caddy.
- Make sure you insert the drive into the caddy exactly as displayed in the image. The SATA port on the drive must fit between the two screw posts on the drive caddy.
- Screw the SATA drive into the caddy.
- In most cases, your new drive will have come with the appropriate mounting screws.
- Plug the free SATA cable from the laptop into the SATA connector on your newly-installed drive.
- Insert the drive caddy back into its space on the laptop, and follow steps 6 through 1 in reverse order to reassemble your device.