Asus Q525U I/O Daughterboard Replacement
ID: 170602
Description: This guide will show you how to replace a...
Steps:
- Begin by powering off the device and flipping the device over.
- Carefully remove the two longer 9.5 mm screws on the corners with a Phillips #1 screwdriver.
- Remove the eight 7.5 mm Phillips #1 screws on the back of the device.
- Use an opening pick to separate the back cover from the device.
- For easiest removal, begin by prying at one of the front corners and sliding the tool under the cover in a counter-clockwise motion (to the left) toward the laptop hinge.
- Once the cover has been separated from the device, carefully lift the back cover off the device (begin by lifting from the front of the cover first).
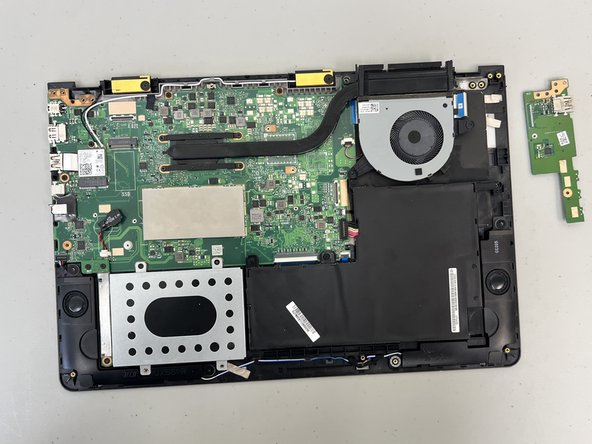
- The back cover should be easily removable, allowing full access to all of the internal components.
- Use a Phillips #1 screwdriver remove the two 5.7 mm screws.
- Remove the two PH1 4.6 mm screws.
- Loosen the hinge using a hex screwdriver.
- Use a Phillips #1 screwdriver to remove the single 3.4 mm.
- Remove the single 5.7 mm PH1 screw.
- Use a spudger or a clean fingernail to flip up the locking flap on the daughterboard ZIF connector—this is the unlocked position.
- Use the widest tool possible to avoid damaging the delicate hinge pins.
- Once the flap is in the unlocked position, use tweezers or your fingers to gently pull the cable out of its socket by the blue tab.
- To reconnect, make sure the locking flap is flipped up and gently reinsert the cable. Then, flip the locking flap down to secure the cable. The cable should slide into the socket with little to no force. If you're having trouble, remove it, check that the flap is fully unlocked, and try again.
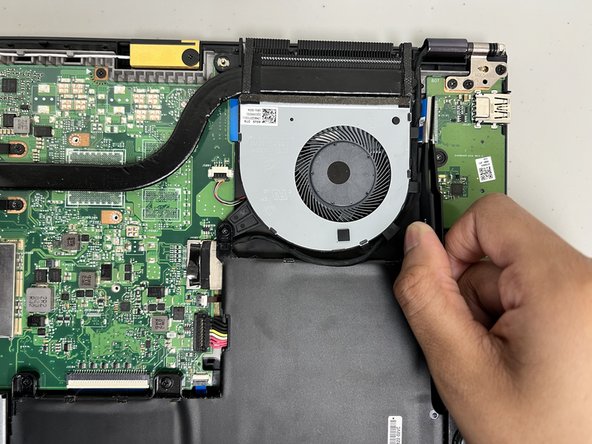
- Remove the daughterboard from the laptop.