Dell XPS 15 9575 CMOS Battery Replacement
ID: 170655
Description: This guide shows you how to replace the CMOS...
Steps:
- For your safety, please make sure the device is powered off and the A/C adapter is unplugged.
- Use your T5 Torx driver to remove all eight 3.2 mm screws holding down the back panel.
- Wedge an opening pick between the back cover and the base of the board, then slightly lift the tool to pop the clips on the back cover off.
- Make sure all screws are removed before you lift the panel to prevent any damage from occurring.
- Remove the bottom cover from the device when all sides are free.
- Use the Phillips #0 screwdriver to remove all four silver 3.2 mm screws fastening the interconnect cable.
- Carefully wedge the plastic opening pick between the fan and the interconnect cable.
- If this position does not release the interconnect cable, slide the opening pick along the edge until it is completely free.
- Remove the interconnect cable.
- Use the nylon tweezers to remove the interconnect pins from each of the circuit boards.
- Use the Phillips #0 screwdriver to remove all eight 6.4 mm screws from the battery.
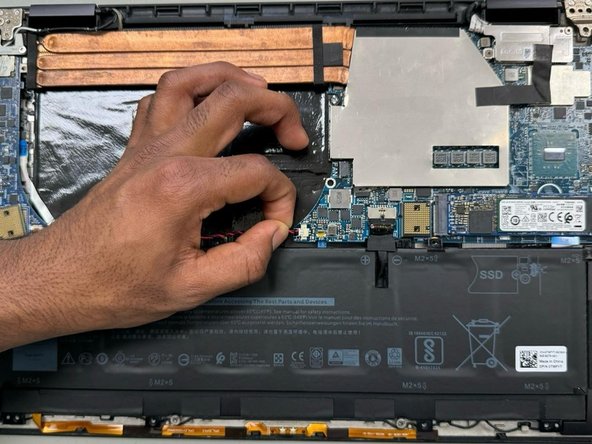
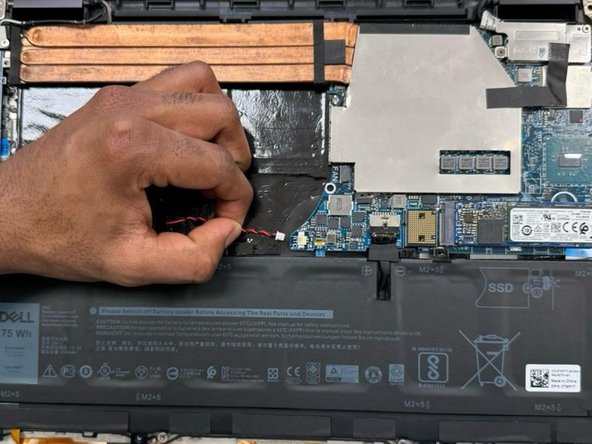
- Use a plastic opening pick to pry the black battery cable away from its silver adapter.
- Hold the pick at 35 degrees from the computer and push towards the battery to remove the cable from its socket.
- Do not push straight into the battery cable as this could damage the adapter.
- When you disconnect connectors like these, be careful not to dislodge the small surface-mounted components surrounding the socket.
- Use a plastic opening pick to separate the battery from the device.
- Lift the battery straight up and remove it when it is completely separated.
- Use the Phillips 0 Screwdriver to carefully extract each of the four 3.2 mm screws.
- Confirm all four screws have been extracted from the fan.
- Find the wire connecting the fan into the motherboard and use the plastic opening tool to push the wire out from the motherboard's port.
- The fan has been completely disconnected and is now safe to remove.
- Use a spudger to remove the CMOS battery from the board.
- It is attached with a small amount of adhesive so you may need to pry it off, but be careful not to puncture or bend the battery.
- Use a spudger to disconnect the CMOS battery connector cable from the motherboard.
- To disconnect, use the point of a spudger to push on alternating sides of the connector to "walk" it out of its socket.
- It may take a lot of alternating before the connector comes out. Be patient, and don't pull on the cables.
- To reconnect the cable, align the connector and use a spudger or clean fingernail to push it fully into the socket.
- Don't push on the cables themselves, or you may damage the connector.