Dell XPS 13 9360 SSD Replacement
ID: 170743
Description: If you need to replace or upgrade the SSD for...
Steps:
- Power off your laptop and unplug it from the charger.
- Close the laptop lid and place it so the bottom side faces up.
- Use a Torx T5 screwdriver to remove eight 3 mm screws around the edge of the back cover.
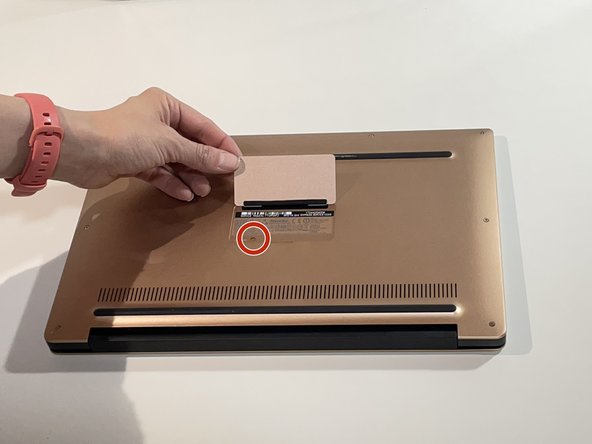
- Lift the small magnetic flap cover in the center of the back case.
- Use a JIS J0 screwdriver to remove the 6 mm screw under the flap cover.
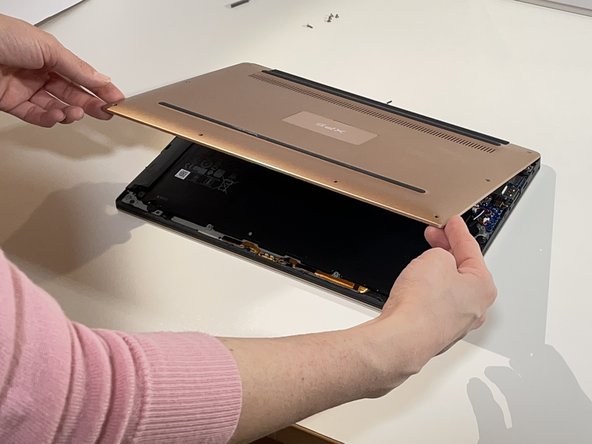
- Wedge the guitar pick between the cover and the base of the laptop.
- Start at the front edge of the base cover and continue around the perimeter of the laptop, carefully prying up the base cover.
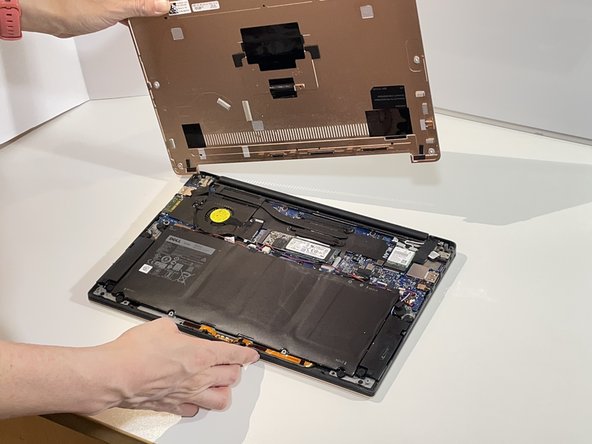
- Pull off the base cover.
- As you use the guitar pick to work around the base cover, it will gradually loosen. You can then gently pull it off completely.
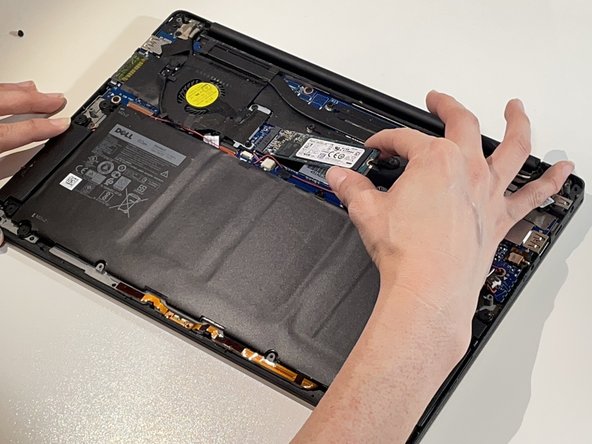
- Disconnect the battery before removing the SSD.
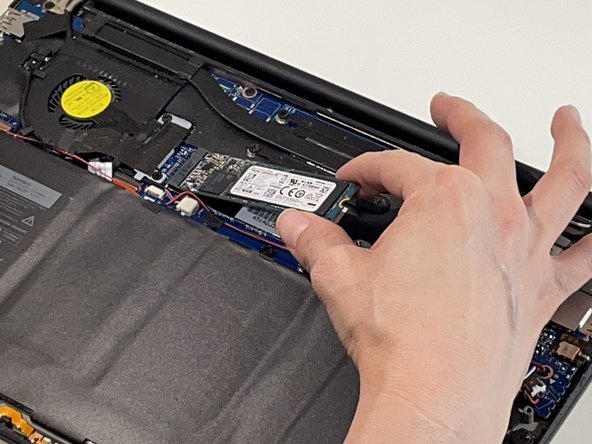
- Use the JIS J0 screwdriver to remove the single 2 mm screw securing the existing SSD.
- The SSD will automatically "pop up".
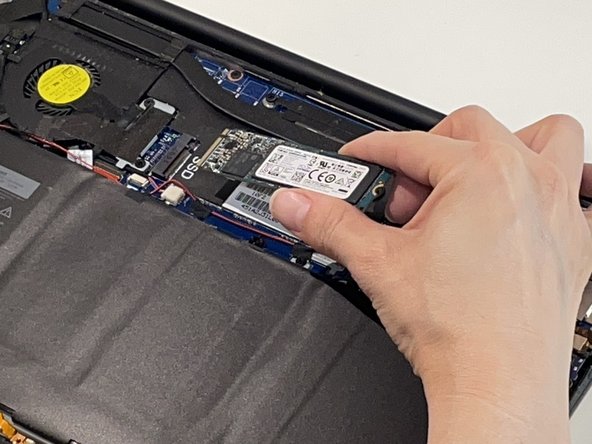
- Gently slide it out from the socket.
- Slide the new SSD into the slot at the same angle used when removing the old one.
- Make sure to align the notches on the SSD correctly with the tab openings of the slot to avoid damaging the SSD and the PCIe slot.
- Press down on the SSD gently to hold it down.
- Follow the remaining instructions in reverse order to reassemble.
- Make sure that when you replace the back cover you press down along the edges to ensure that it snaps back into place.
- Now you can power on the laptop again and use it!