2005 Buick LeSabre Headlight Replacement
ID: 170749
Description: This guide will show you how to replace the...
Steps:
- Lift the hood release lever to unlock the hood.
- The lever is under the dashboard, next to the emergency brake pedal.
- Pull the hood latch lever located underneath the hood, above the Buick crest up.
- Lift the hood all the way up and secure it in place.
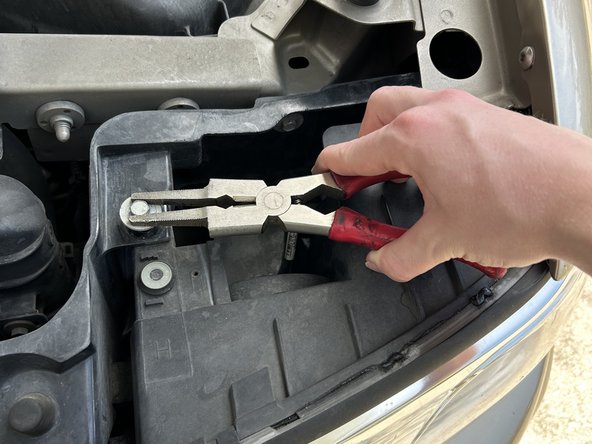
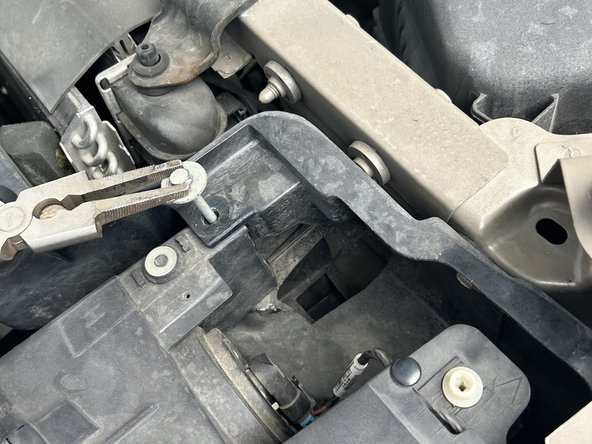
- Locate the headlight housing.
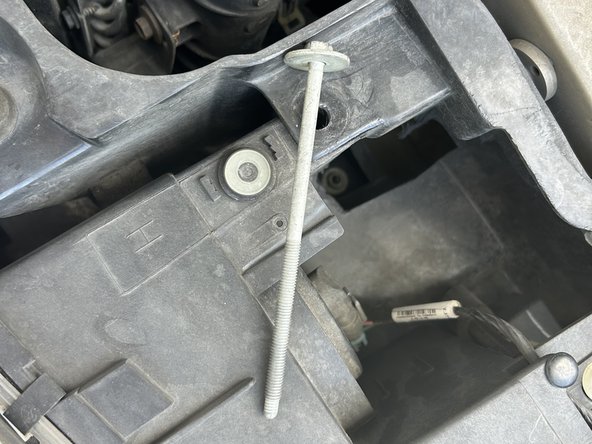
- Use a pair of pliers or an 11 mm socket wrench to remove both headlight housing bolts.
- Keep the bolts for reassembly.
- Loosen the housing by gently pulling it out toward the front of the car.
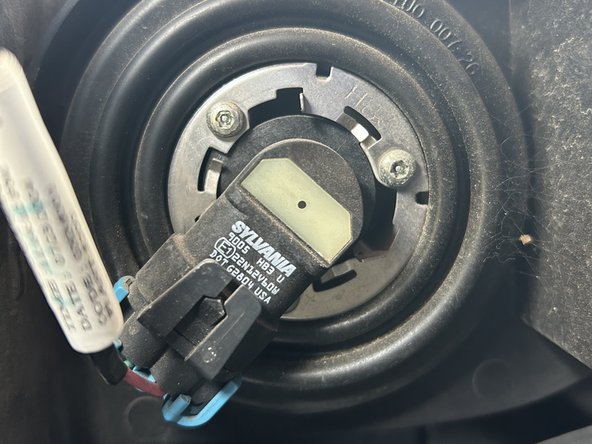
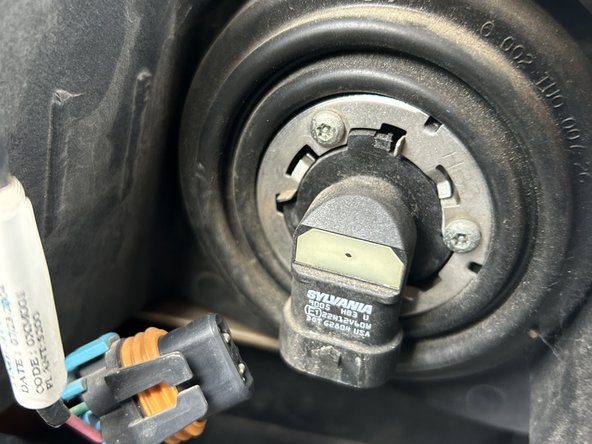
- Once the housing has been moved, find the headlight terminal on the back of the housing.
- This is the high-power headlight. If you are replacing a regular headlight, you will find it situated further toward the side of the car on the back of the housing.
- Potential for device damage: If the housing is pulled too far, it can fall out of the car, possibly severing the headlight wires. Therefore, be careful to support the housing while performing the repair.
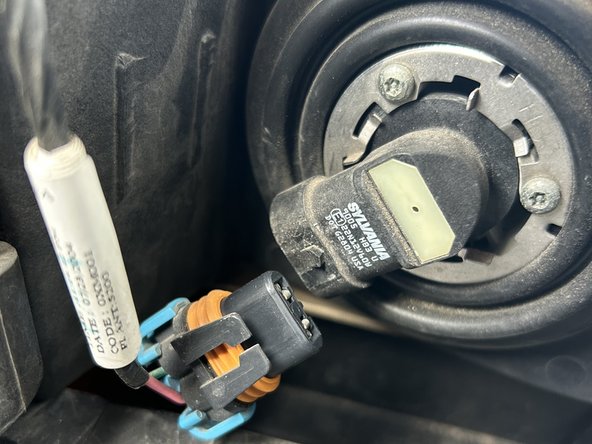
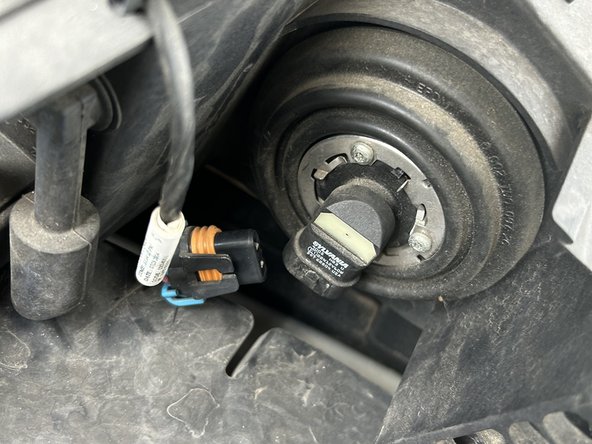
- Disconnect the quick snap power conduit by pulling up and back on the two retention tabs.
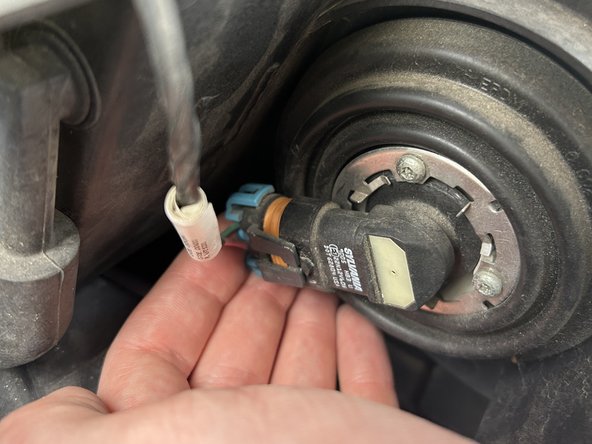
- Rotate the headlight counterclockwise to loosen it.
- Disconnect the cable.
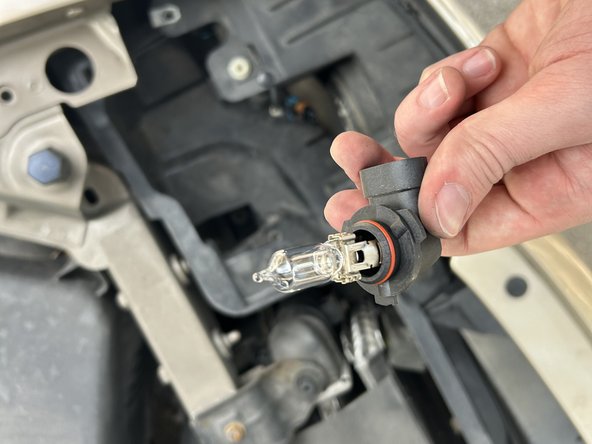
- Remove the old headlight by pulling it straight out.
- Replace it with the new headlight bulb.
- Avoid touching the light bulb, as the oil and salts on your hands can create a hotspot, potentially causing the bulb to burn out sooner than usual.
- Tighten the headlight by turning it clockwise until it stops.
- Push the quick snap power conduit back into the headlight socket to reattach.
- Push the headlight housing back into place.
- Replace the headlight housing bolts and tighten them using an 11 mm socket wrench.
- Congratulations, the repair is complete!