Voluas VL001 Screen/Motherboard Assembly Replacement
ID: 171127
Description: If your Voluas VL001 pet feeder's display is...
Steps:
- Remove the lid to the storage tank by using the latch and lifting off.
- Grab the food storage tank on both sides. Depress the tabs that say "Push" on them and lift the tank off.
- Place your pet feeder upside down.
- Squeeze the lock and remove the battery cover.
- Remove the three 1.5V D alkaline batteries.
- Insert a metal spudger under the adhesive part of each rubber foot.
- Pry the foot off.
- Remove four screws from the corners of the device using a Phillips #2 screwdriver.
- These holes were previously covered by the rubber feet.
- Using the magnetic tip of the screwdriver, carefully lift the screw out of the hole.
- Turn the device over so it is oriented right-side up.
- Lift the top part of the feeder off, exposing the mechanisms that run the feeder.
- With the top part of the feeder sitting upside down, you can remove the chute.
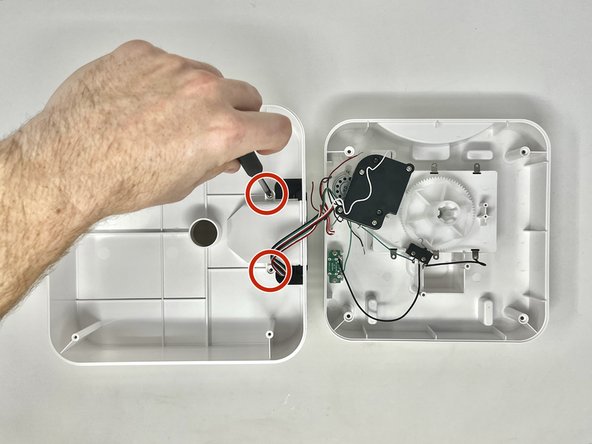
- Using a Phillips #2 screwdriver, remove the two 11.1 mm screws on either side of the chute.
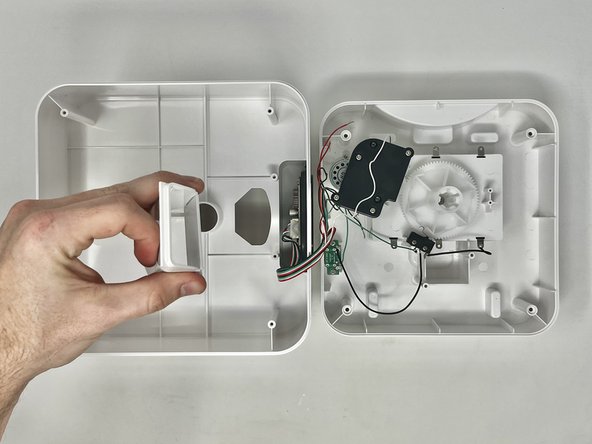
- Grab the feeder chute on both sides and lift it off to remove it from the feeder.
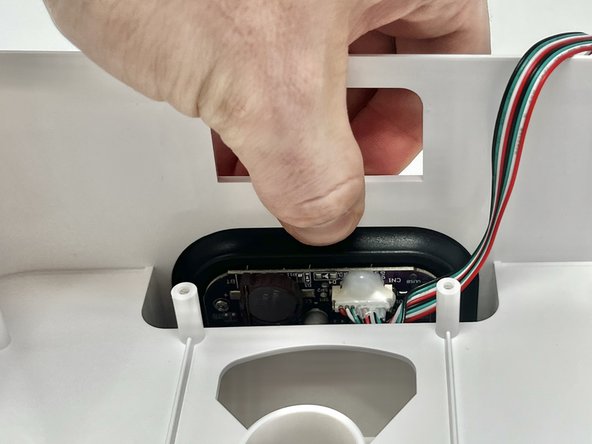
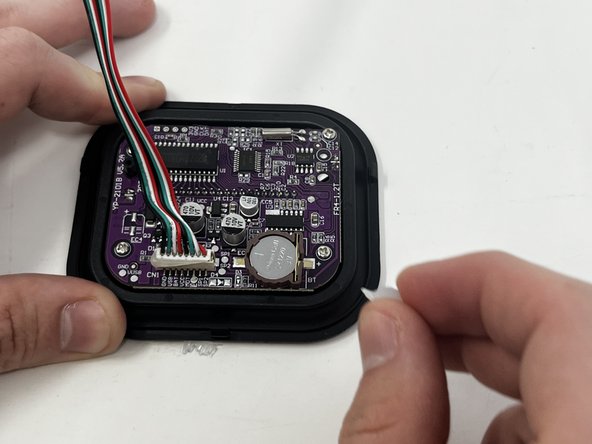
- Using your finger, depress the tab that holds the assembly onto the device.
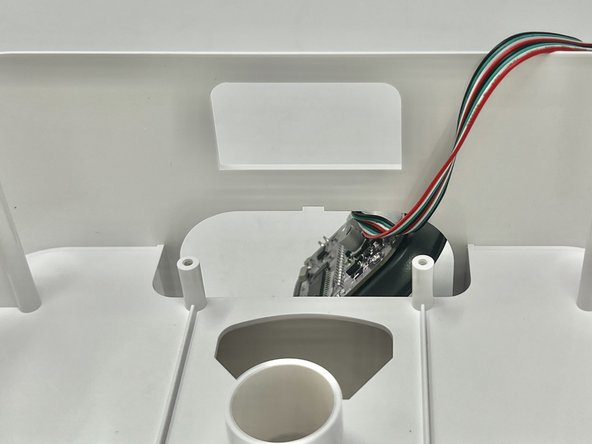
- While pushing the tab down, push the screen out of the device.
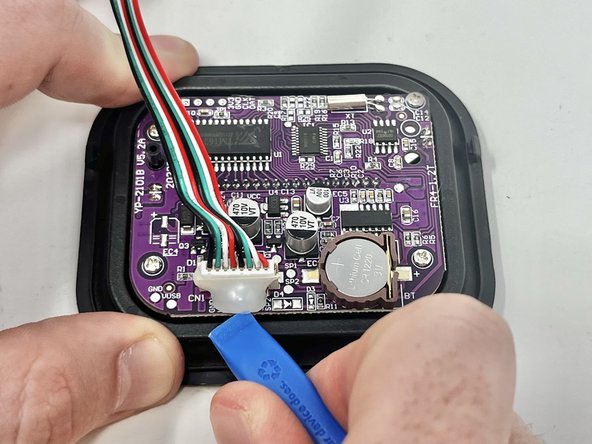
- Using an opening tool, pry the dried silicone from around the connector.
- Because you are working around the motherboard, try to limit how much you use its surface for leverage. It is a fragile part and can damage easily.
- If needed, peel any remaining glue off with your fingers.
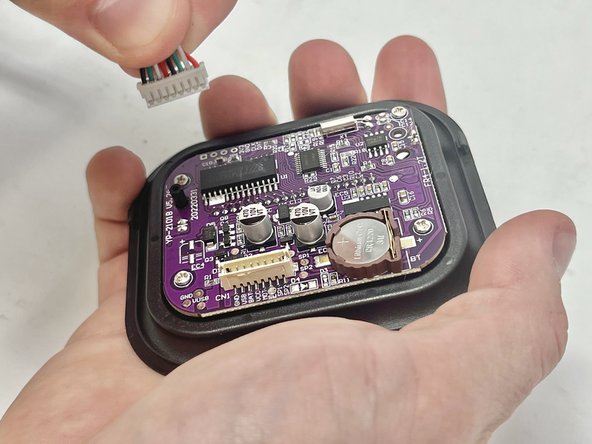
- Firmly grab the connector, just above the plastic end, and pull firmly to remove.