Nintendo Super Famicom SHVC-001 Cartridge Port Replacement
ID: 171660
Description: Is your Super Famicon experiencing start up...
Steps:
- Remove the six 13.5 mm screws on the lower case with a 4.5 mm Gamebit screwdriver.
- Flip the Famicom over and set it down.
- Lift off the upper case.
- Remove the mechanism by lifting the axle slightly to the right and drawing it out.
- A tiny spring holds the mechanism back in place. It's not too tense, but take care not to lose it. Also, take note of how it is arranged for future reassembly.
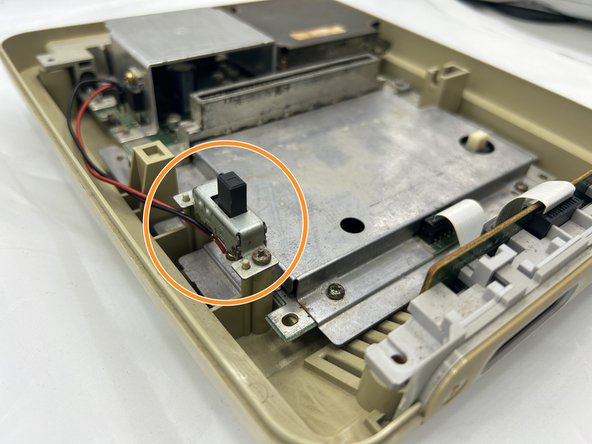
- Use a Phillips screwdriver to remove the two screws that secure the power switch.
- The power switch is connected to the main board via a little plastic connection; grip the motherboard connector and pull it straight out of its port.
- Do not pull on the wires to avoid harming them. Instead, pull on the plastic connector.
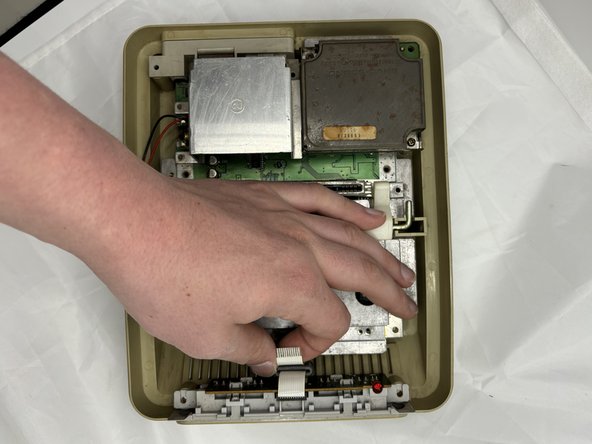
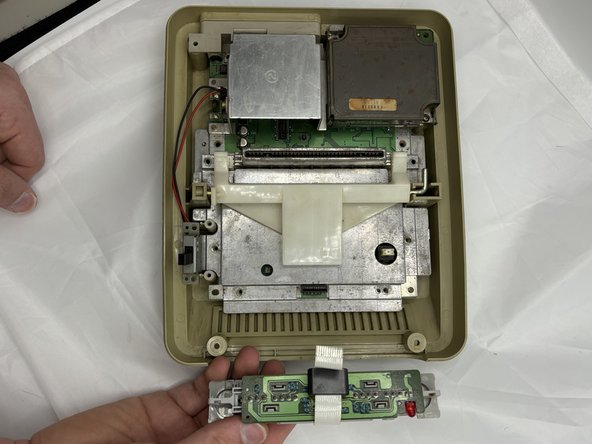
- Carefully pull the ribbon cable that is attached to the controller board and the main board.
- Remove the controller port.
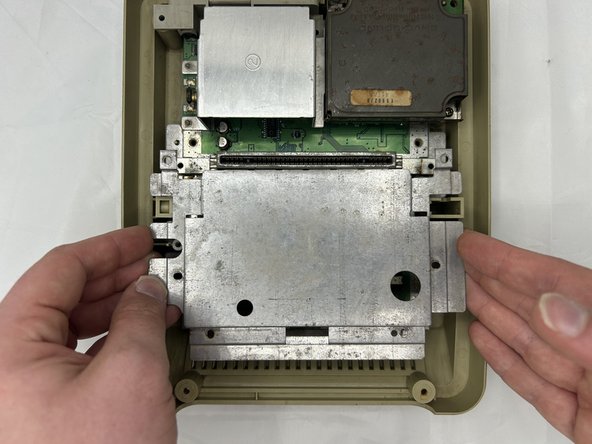
- Use a Phillips screwdriver to remove the six 15.6 mm screws that secure the silver protective shield.
- Remove the silver shield.
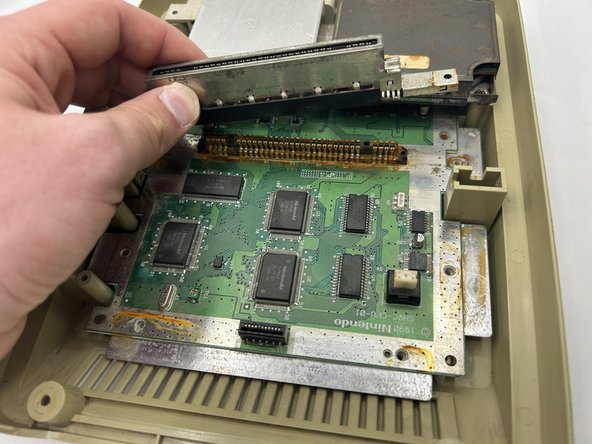
- Lift the cartridge slot up and out of the device.
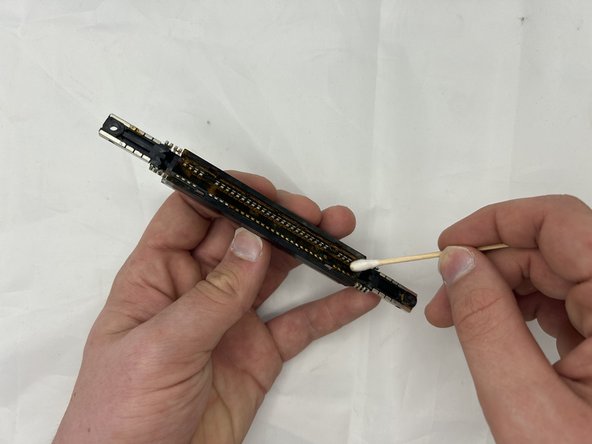
- If the contacts are rusted or corroded, use a cotton swab damp with high-concentration isopropyl alcohol to remove the rust.
- Replace the cartridge slot.