Amazon Fire HD 8 Plus 12th Gen Motherboard Replacement
ID: 171820
Description: If your kindle fire HD 8 12th generation is...
Steps:
- Unplug the charger, power down the device, and remove the SD card before beginning.
- Insert an opening pick into the seam between the rear case and the screen assembly.
- Slide the opening pick around the perimeter, prying periodically, until the screen assembly begins to release.
- Insert an opening tool into the gap you created, and continue to pry periodically around the entire perimeter until the screen assembly fully releases.
- Be patient and don't pry too hard in any specific place. Excessive force may cause damage to the device.
- Remove the rear case.
- Use an opening tool to lift the battery connector until it disconnects.
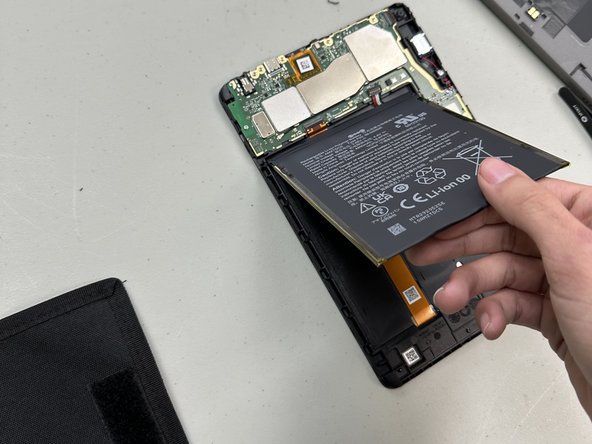
- Gently and slowly grip and pull the three white adhesive tabs that secure the battery until they fully release.
- The adhesives are marked with a black flap with a white adhesive. You will know it has been successfully removed when you can move the battery around.
- Gently pry around the entire perimeter of the battery with an opening tool until the adhesive releases.
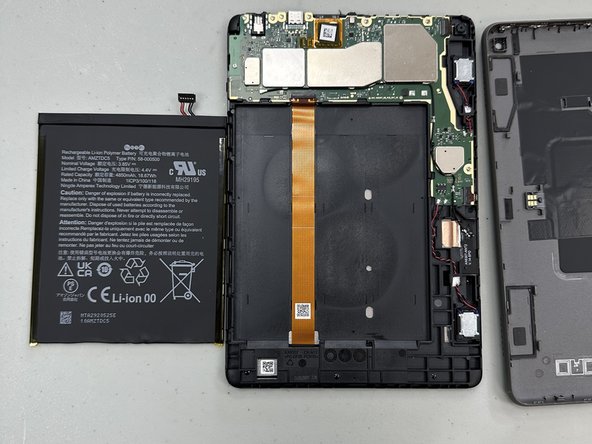
- Remove the battery.
- Take care not to bend or puncture the battery while prying the battery.
- Clean under the old battery and insert a new battery with adhesive to ensure the battery stays in place.
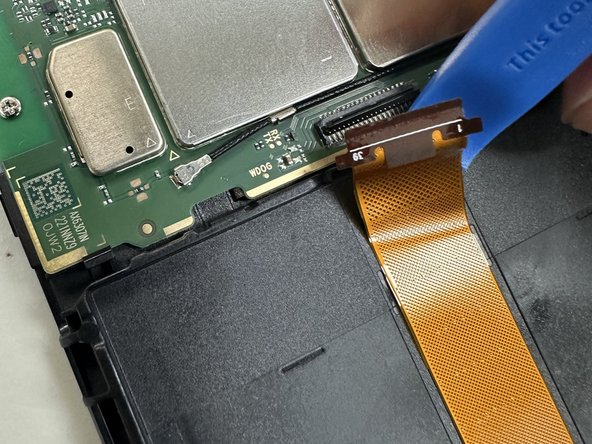
- Lift the black ZIF locking flap.
- Disconnect the ribbon cable.
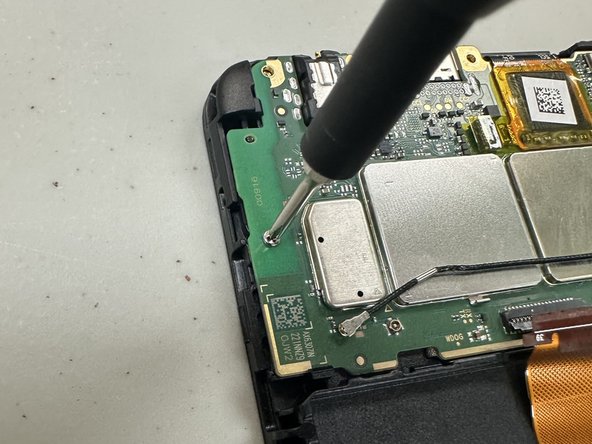
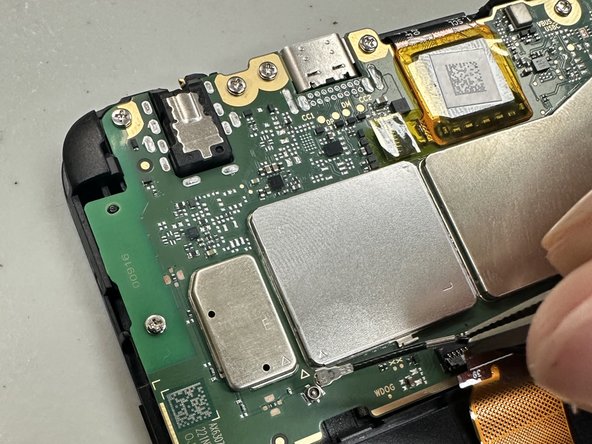
- Remove all of the Phillips screws that secure the motherboard.
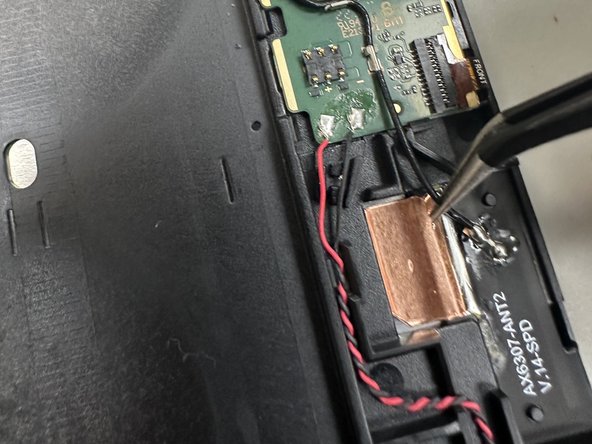
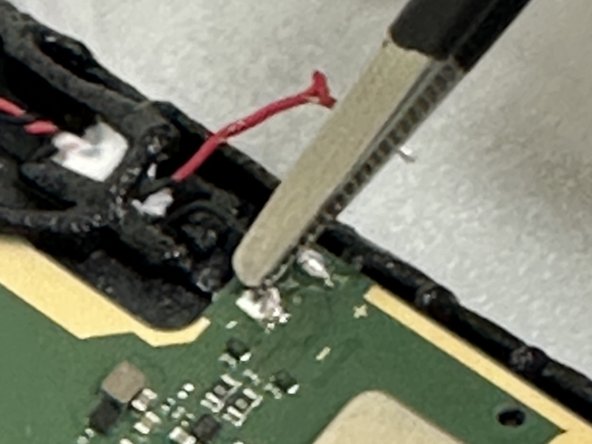
- Desolder all of the soldered motherboard connections.
- Soldering can cause fires and burns. Always solder in a well-ventilated workspace.
- Lift the motherboard up and out of the chassis.