8BitDo Ultimate Wired Vibration/Rumble Motor Replacement
ID: 171917
Description: You can access the vibration/rumble motors for...
Steps:
- Orient the controller such that the back of the controller is facing you.
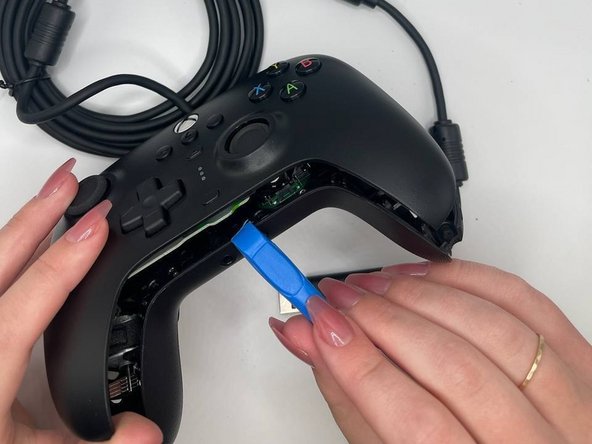
- Insert an opening tool into the small opening on the back of the grip, and gently pry the grip cover away until it pops free.
- Pry the other grip panel off using the same method.
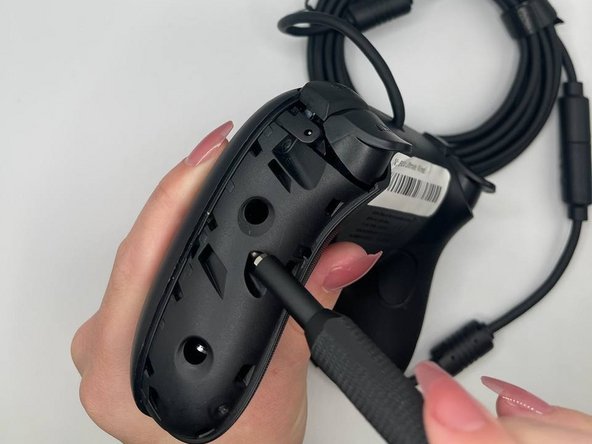
- Use the TR6 Torx Security screwdriver to remove the top left 10.44 mm screw on the backside.
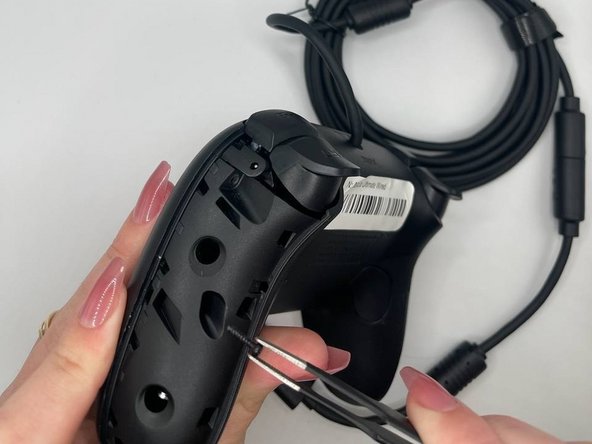
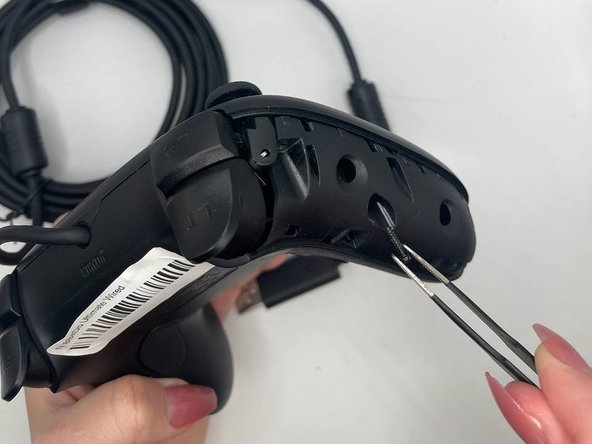
- Use tweezers to help you remove the screw if it does not come out with the driver.
- Use the TR6 Torx Security screwdriver to remove the middle left 10.44 mm Torx screw on the backside.
- Use the TR6 Torx Security screwdriver to remove the bottom left 10.44 mm Torx screw on the backside.
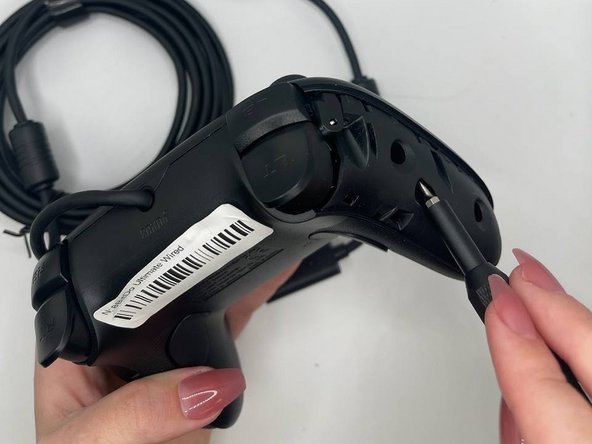
- Use the TR6 Torx Security screwdriver to remove the top right 10.44 mm Torx screw on the backside.
- Use the TR6 Torx Security screwdriver to remove the middle right 10.44 mm Torx screw on the backside.
- Use the TR6 Torx Security screwdriver to unscrew the bottom right 10.44 mm Torx screw on the backside.
- Orient the controller such that the back of the controller is facing you.
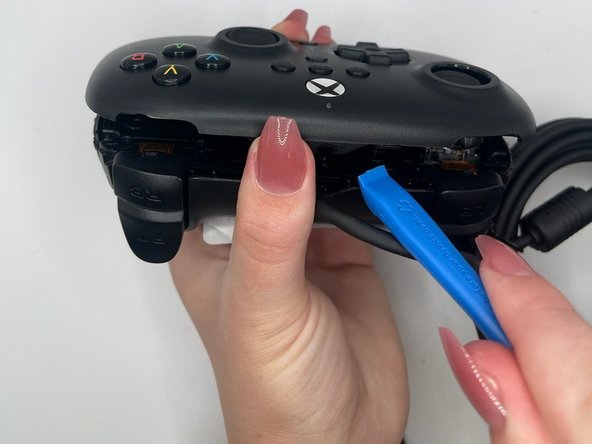
- Insert an opening tool into the small opening between the front and back panels, and gently pry the back panel away to open the bottom clamps of the top panel of the controller.
- Insert an opening tool into the small opening between the front and back panel (top view) and pry away to remove the top half.
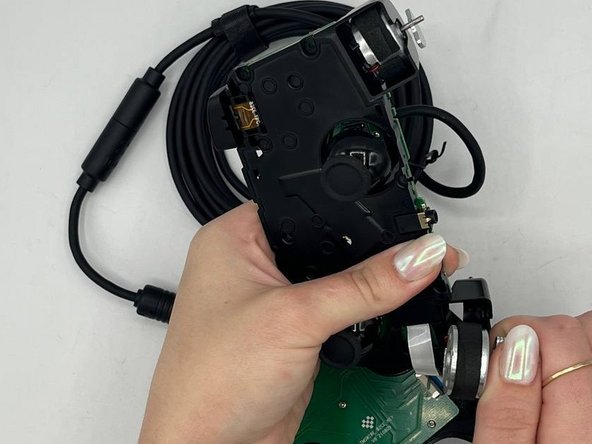
- A ribbon cable connects the front and back portions of the controller.
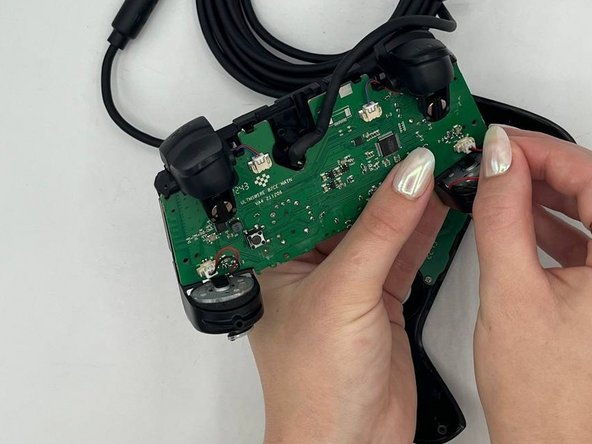
- Pull the midframe free with an adequate amount of force.
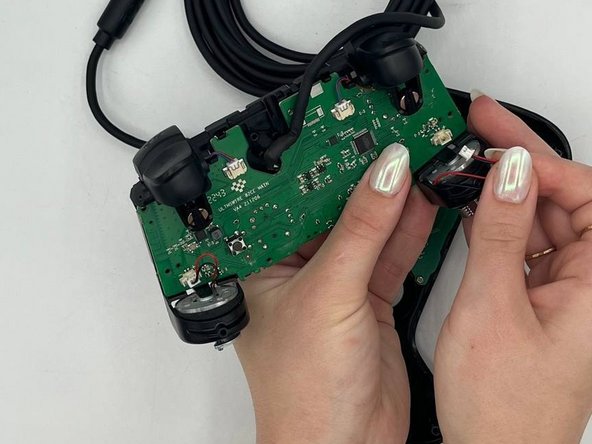
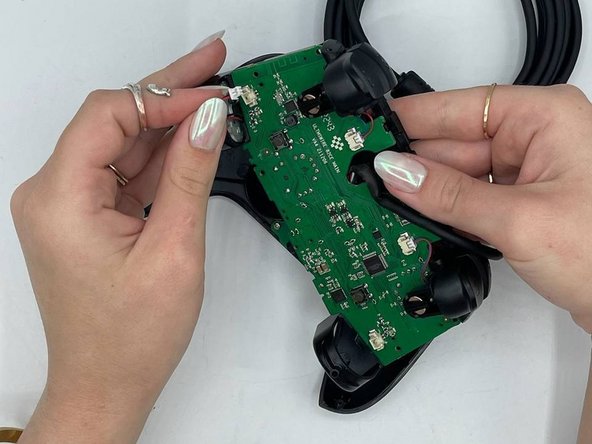
- Detach the motor connector from the motherboard.
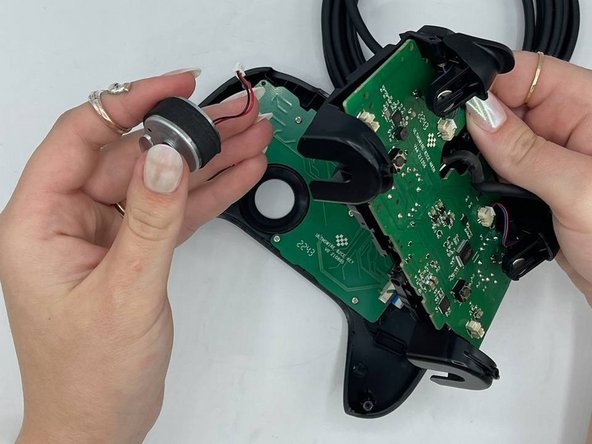
- Pull the weight out of the housing with adequate force.
- Remove the rumble or vibration motor from the controller.