Corsair M55 RGB Pro Gaming Mouse Motherboard
ID: 172046
Description: Replacing the motherboard of the Corsair M55...
Steps:
- Use a spudger to gently peel off and remove the three mouse feet on the bottom of the mouse.
- If you are not replacing the mouse feet with a new set, put them aside to replace them at the end of the repair.
- Use a Phillips #1 screwdriver to remove the four 10 mm screws from the bottom of the mouse.
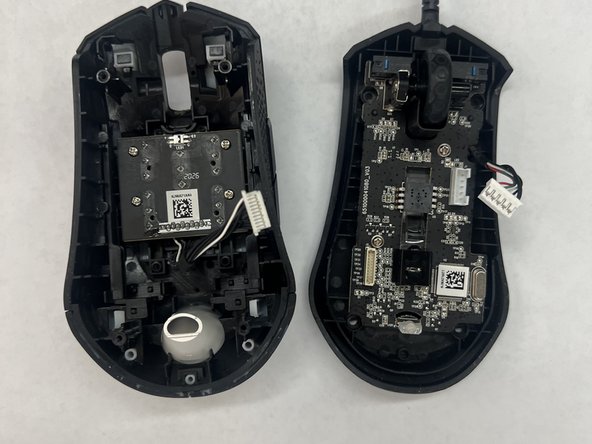
- There is a cable connecting the bottom and top of the mouse.
- Use a spudger to separate the top and bottom of the mouse.
- Don't pull them apart as they are connected by a cable connector and could become damaged.
- Pull the PCB cable away from the connector in the same direction as the individual wires are running.
- Pull evenly on the full width of the cable so that no individual wires are overly strained.
- Pull the USB pin cable away from the connector in the same direction as the individual wires are running.
- Pull evenly on the full width of the cable so that no individual wires are overly strained.
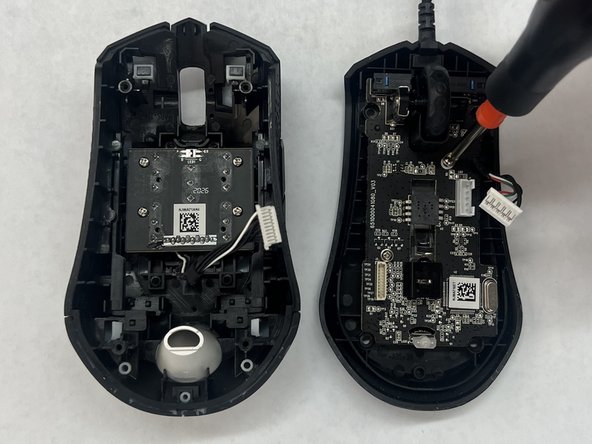
- Use a Phillips #1 screwdriver to remove the two 5 mm screws that secure the motherboard.
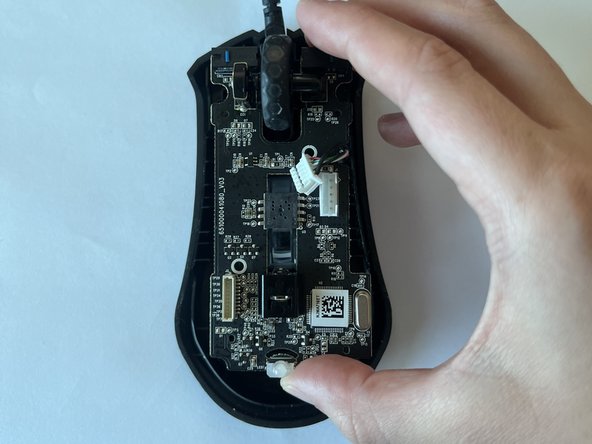
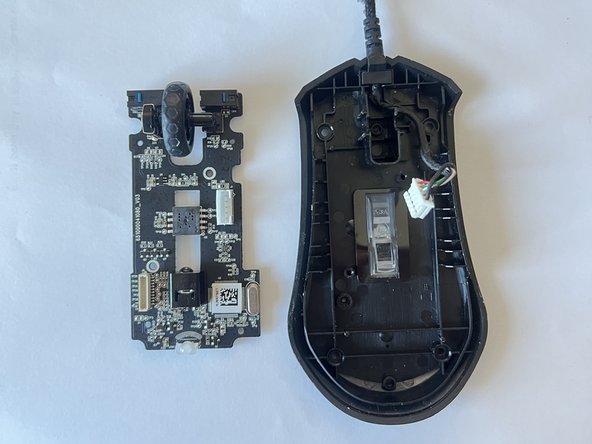
- Carefully lift the motherboard out of the base of the mouse by the edges.
- If necessary, remove the mouse wheel by sliding it to the right.
- It should come out of the slot easily as it's not attached.