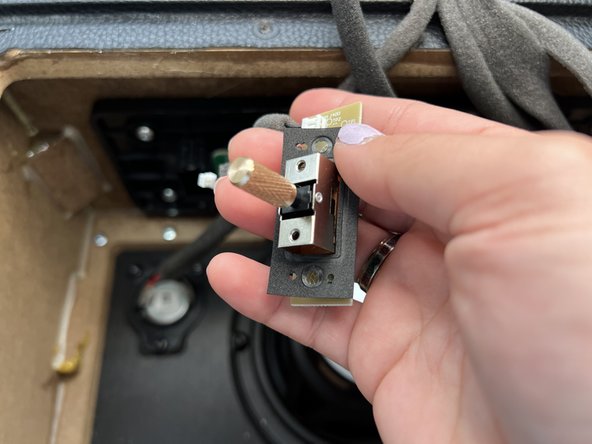
Marshall Stanmore II Power Switch Replacement
ID: 172099
Description: This guide is intended to replace the power...
Steps:
- Turn off the device and unplug the cable from the wall and the speaker.
- Lay the speaker with the back panel facing up on a flat, stable work surface.
- Use a Phillips #2 screwdriver to remove the ten 20.5 mm screws that secure the rear panel to the chassis.
- Carefully lift the rear panel and let it rest on an object, like a stack of books, to avoid straining the cables.
- Do not attempt to fully remove the panel, as this will damage the connections inside.
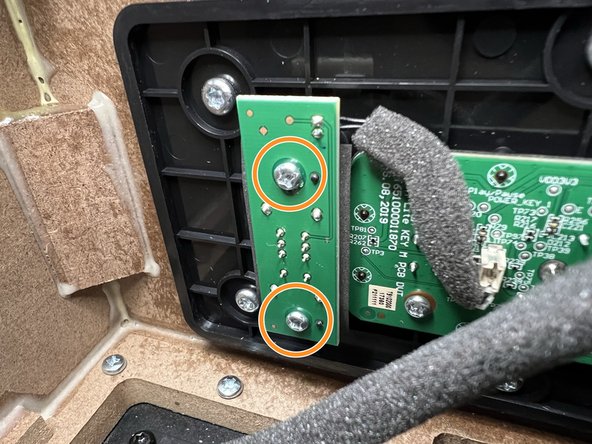
- Locate the Power Switch PCB on the left-hand side above the subwoofer.
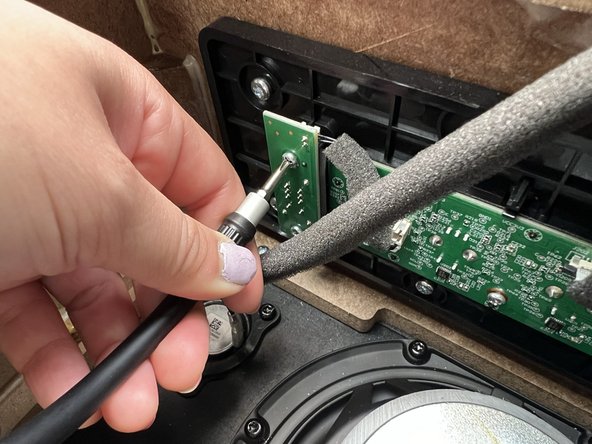
- Use a Phillips #2 screwdriver to remove the two 10 mm screws that secure the PCB.
- Because the space inside is somewhat cramped, consider using the iFixit 150 mm Flex Extension included in the iFixit Pro Tech Toolkit.
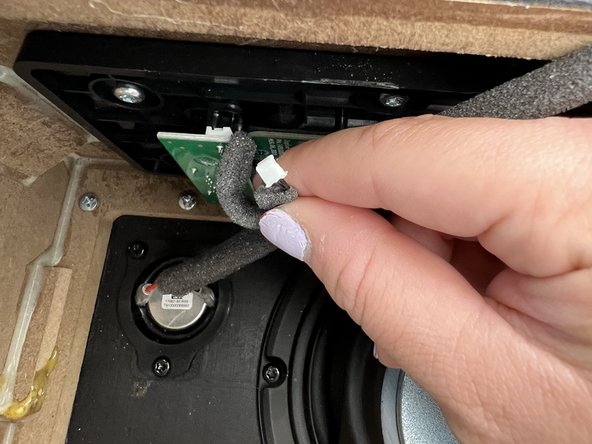
- Locate the PCB's black wire connector and gently disconnect it.
- Do not pull on the wires.
- Pull the PCB out of the mount.
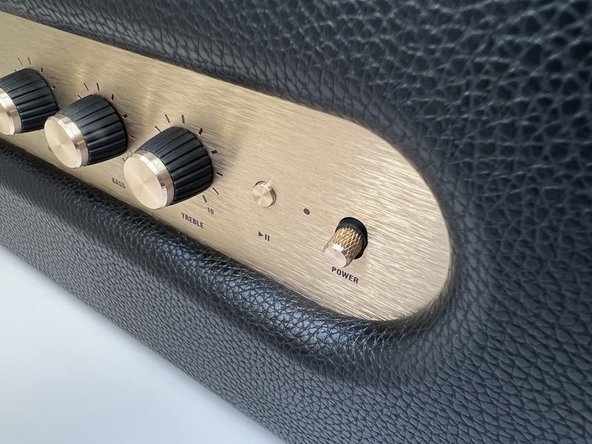
- Take care not to damage the rubber seal surrounding the switch base as depicted in picture two.
- Rocking the PCB back and forth while pulling may help remove the module.