Lenovo IdeaPad 1 14IGL7 Speakers Replacement
ID: 172194
Description: This is a guide on how to replace the...
Steps:
- Power off your laptop before beginning disassembly.
- Place the computer upside down on a flat surface.
- Remove the nine 7 mm screws from the back panel using a Phillips #00 screwdriver.
- Insert an opening pick between the back panel and the body of the laptop.
- Pry up the latches around the back panel and remove the panel from the laptop.
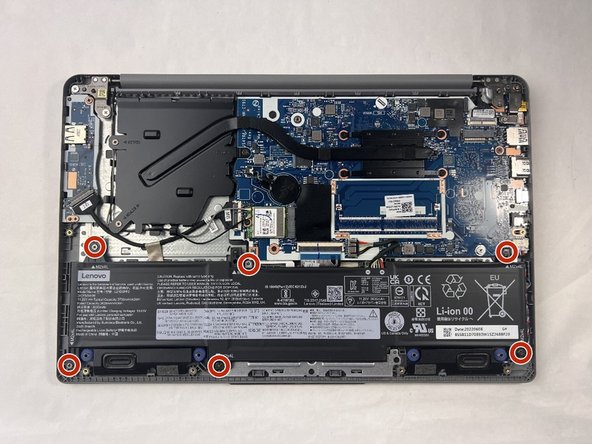
- Remove the six 5.5 mm screws that secure the battery using a Phillips #00 screwdriver.
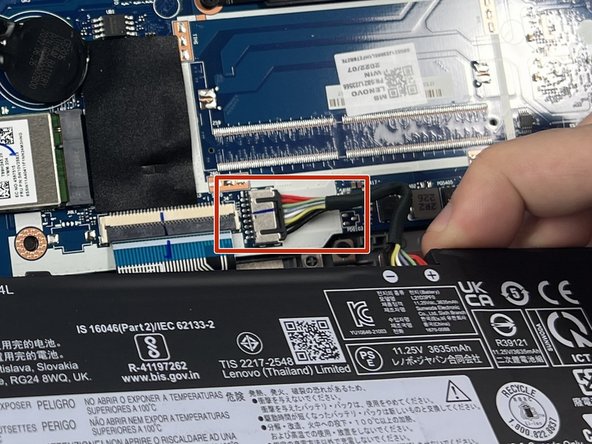
- Gently pull on the cable attached to the motherboard in the same direction as the individual wires are running.
- Be sure to ground yourself by wearing the anti-shock wristband to prevent damage to the components.
- Pull evenly on the full width of the cable so that no individual wires are overly strained.
- Remove the battery.
- Remove the three 3 mm screws that hold the metal bracket in place using a Phillips #00 screwdriver.
- Carefully lift the metal bracket from the device and set it aside.
- Remove the wire linking the two speakers by gently pulling it from the device, proceeding gradually.
- Be careful not to damage the cable while trying to remove it from the device.
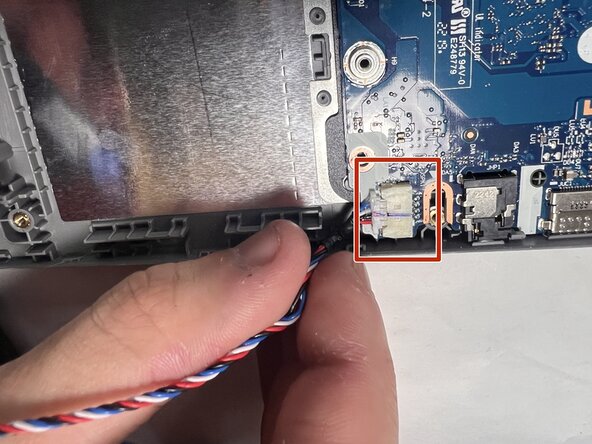
- Gently pull on the wire that connects the speakers to the motherboard.
- Pull the cable away from the connector in the same direction as the individual wires are running.
- Pull evenly on the full width of the cable so that no individual wires are overly strained.
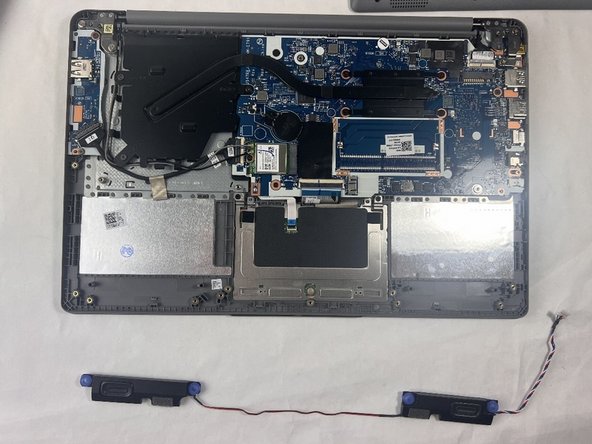
- For each of the two speakers, remove each end separately from the device.