How to Replace the Cord Stopper in a Sleeping Bag
ID: 173409
Description: The cord stopper is a small but useful part of...
Steps:
- Locate the damaged or broken stopper.
- Prepare for removing the old stopper and make sure you have an available replacement.
- Press the button of the stopper to open the hole inside (red arrow).
- Make sure that the circle of the hole is big enough for both cords to pass through.
- Cut the cord in half along the middle to make sure it is divided into equal halves.
- Gently slide down the stopper to remove it.
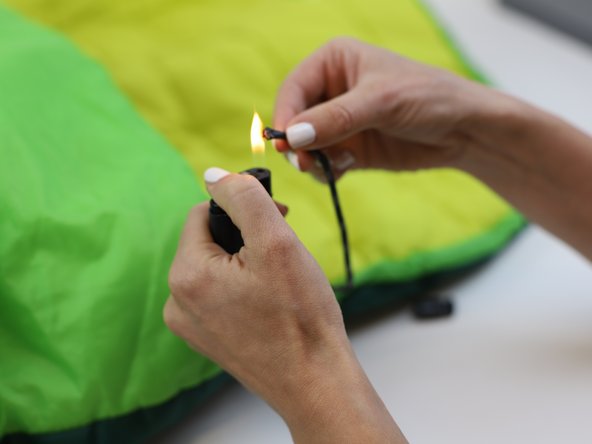
- Use a lighter to slightly melt the material of the tip.
- Tip: The flame does not need to touch the lace directly, only to melt the fibres through indirect heat.
- While the tips are still semi-melted, press each tip together with your fingers while twisting gently to create a thin, rounded ending.
- Once the tips have cooled, hold both ends of the cord and insert the new stopper.
- Slide the stopper up to the end of the cords and secure the tips with a "sailors" knot.
- Tip: For the knot:
- Hold one end of the cord in each hand.
- Cross the right end over the left end and bring it under, forming the first half of the knot.
- Cross the left end over the right end (which is now on your left side) and bring it under, completing the knot.
- Pull both ends to tighten the knot.
- Pull the knot to check if it is sturdy enough.
- Test again, this time pulling both the stopper and the knot.
- 🛠️🏆👏 Congratulations! The repair is complete, and you're ready to go!