Corsair Dark Core RGB PRO SE Scroll Wheel Encoder Replacement
ID: 173733
Description: Hello, this is my first guide so feel free to...
Steps:
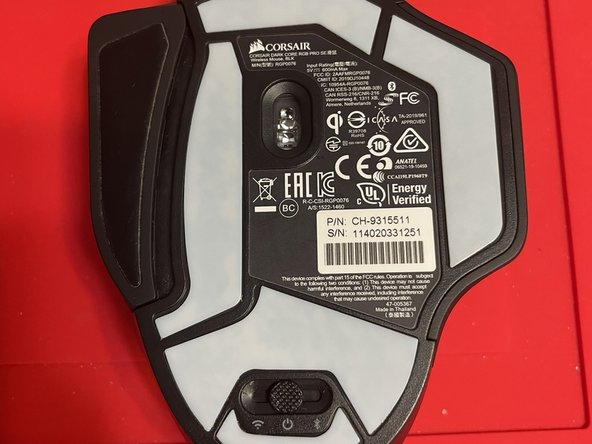
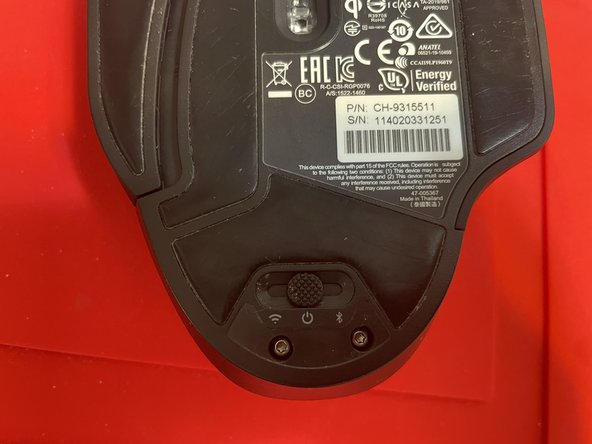
- Only the bottom foot must be removed. However, replacement kits often come with the full set (excluding the foot on the magnetic side panel) so you may remove more. Feet that are grey in the photo are what came with the replacement set available.
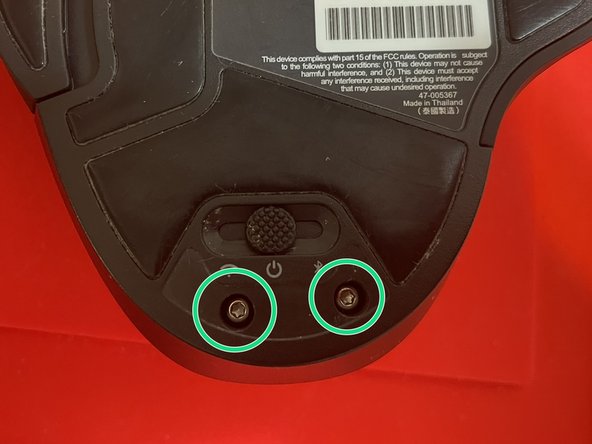
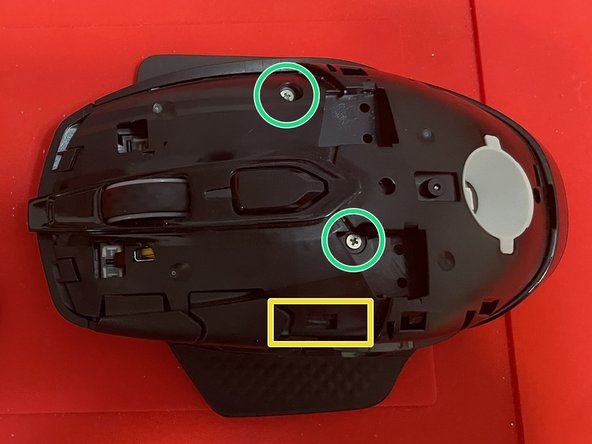
- Remove 2 screws revealed by step 1 using Torx TR6
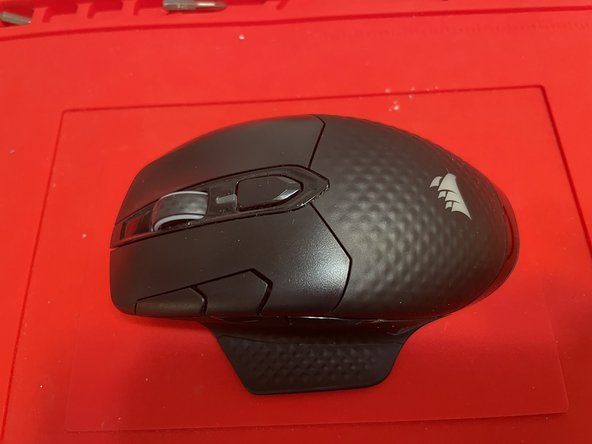
- Remove textured plate by wedging something thin such as the ifixit spudger under the edges and prying it off. The plate is held in place by plastic clips that will pop out when force is applied at the right angle.
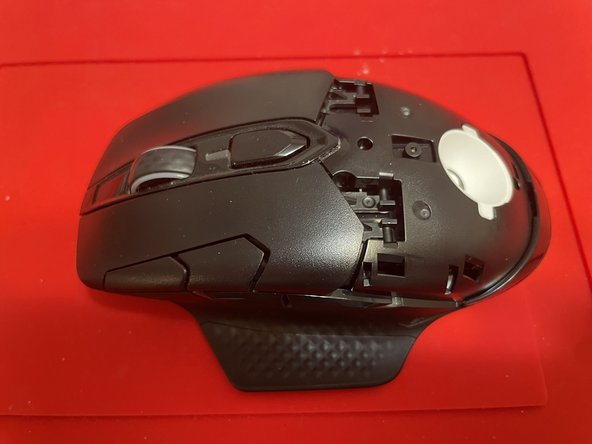
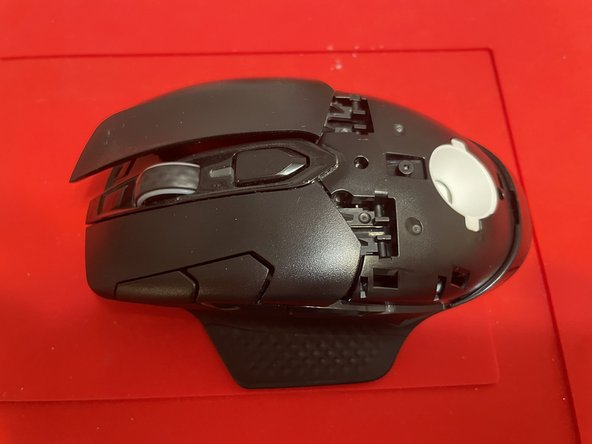
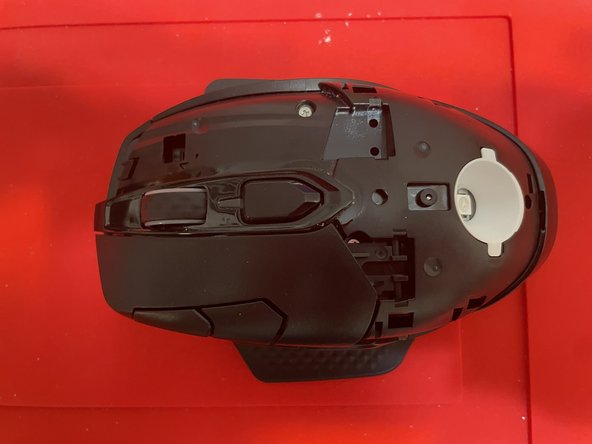
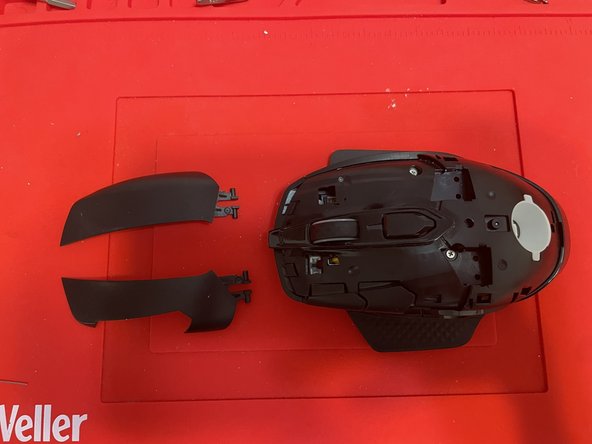
- Remove both mouse buttons by lifting at the front end of the mouse and then applying a squeezing/twisting force to the hinge to dislodge the pins.
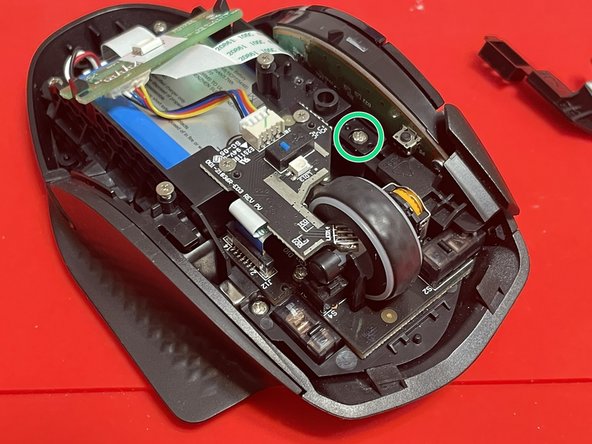
- Remove 2 screws using PH0 driver
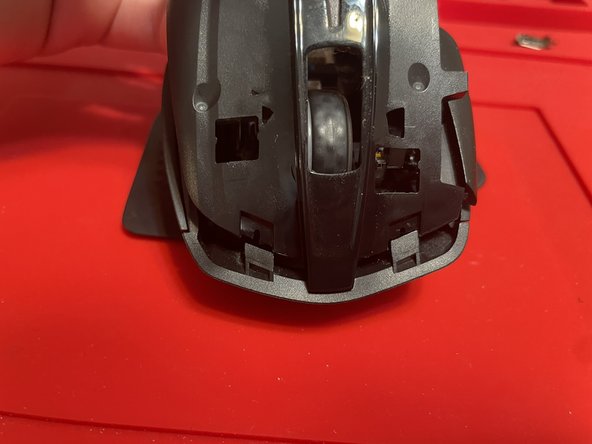
- Pry cover off using spudger or other thin tools around the edge. One plastic tab shown in the yellow square was very difficult to remove and broke off for me, this did not affect my mouse significantly once reassembled.
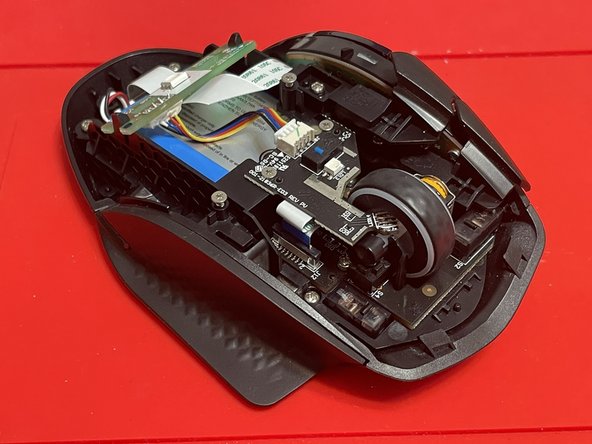
- Each button cover is held down with a screw, use a PH1 driver to remove the screws and pull off the covers. The small plastic pins aligning the cover will cause some resistance.
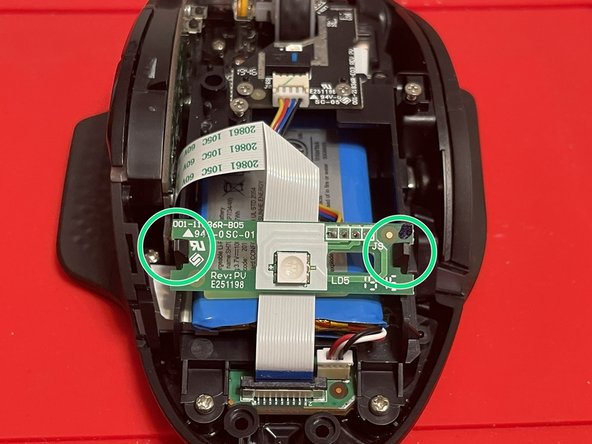
- The LED board is held in with a plastic clip on each side. It can be easily removed by applying pressure to the plastic clips pushing them away from the board.
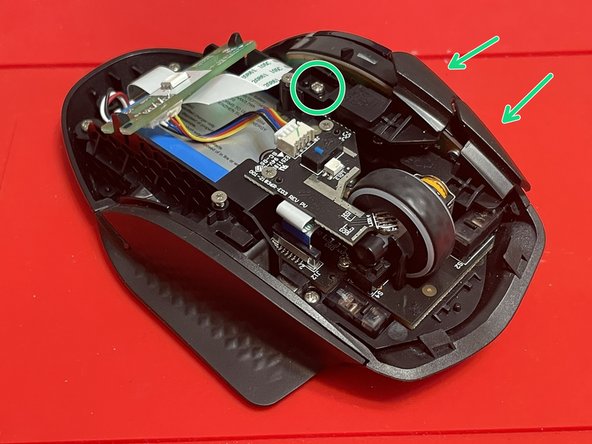
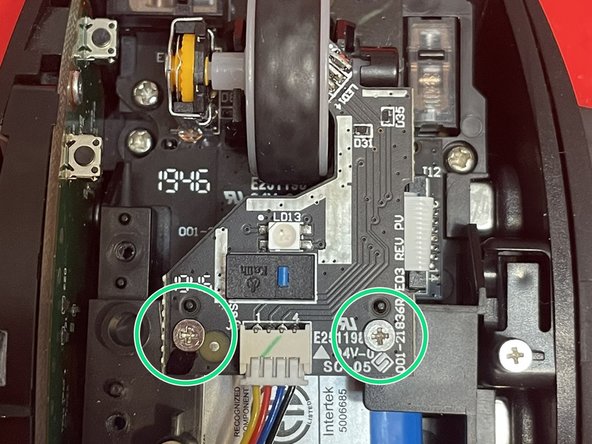
- Remove 2 screws using PH0 driver and lift board off. Be careful to remove the LED that is protruding into the scroll wheel. Carefully set board to the side while the cable is still connected.
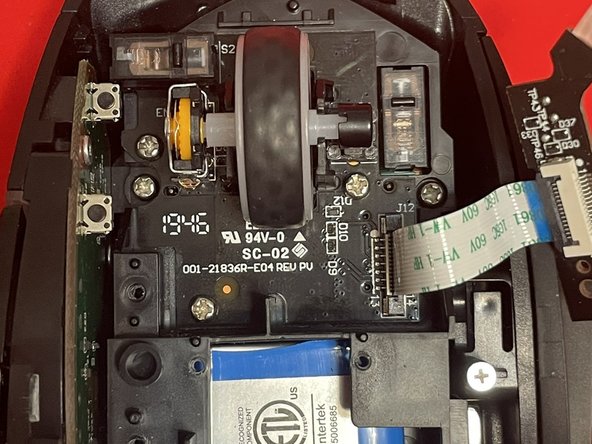
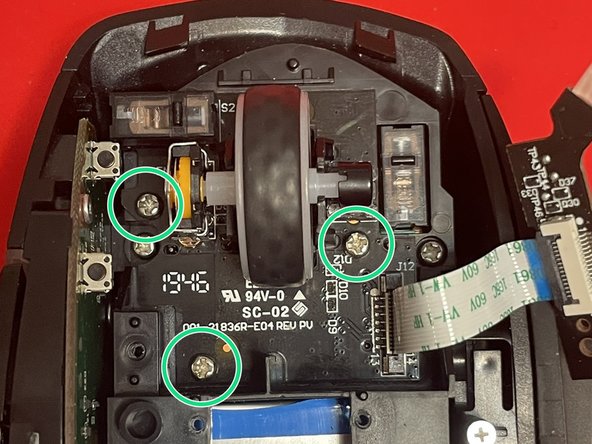
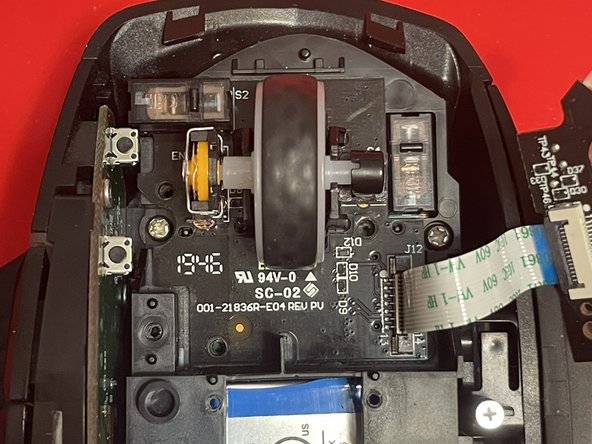
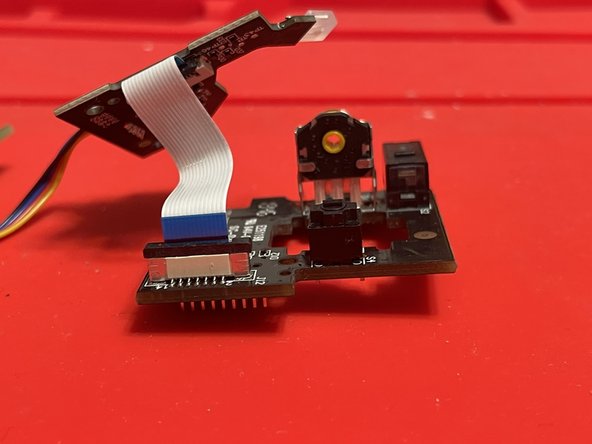
- Remove 3 screws using PH1 driver and lift board straight up off of the mouse. The scroll wheel axis is held in place from below in plastic clips, it is best to remove the board by gently lifting around the edges until it disconnects from the PCB below.
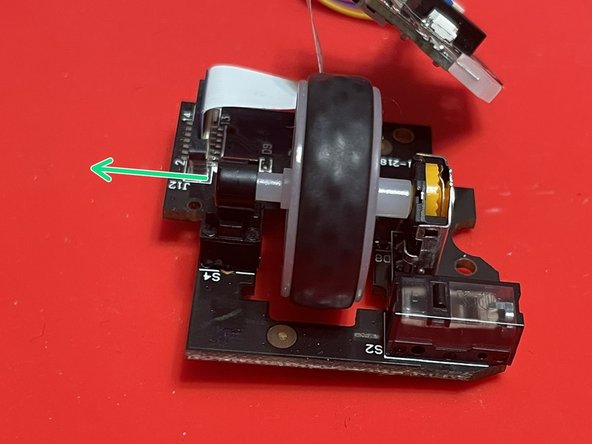
- Gently remove scroll wheel. The axle must be pulled out from the encoder.
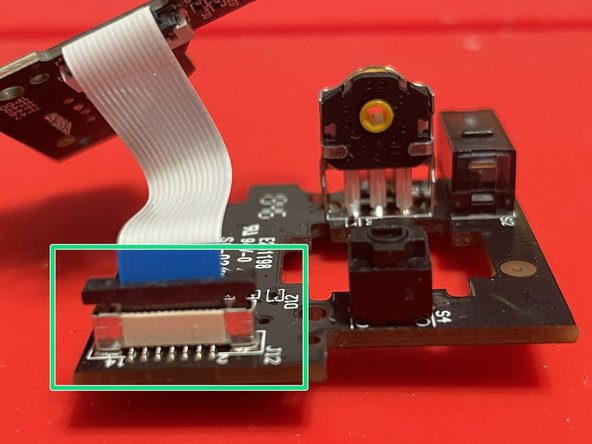
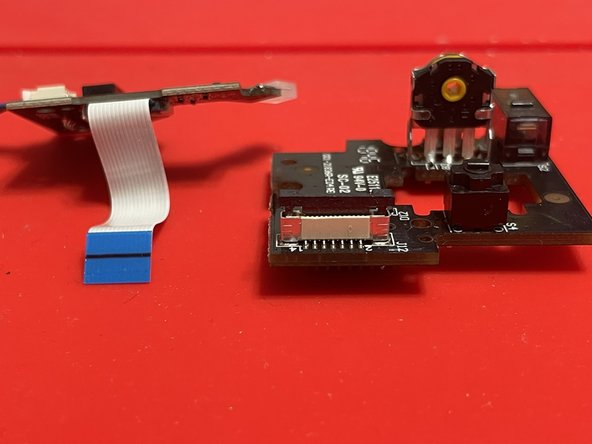
- Gently lift black part of connector from both sides to release the cable.
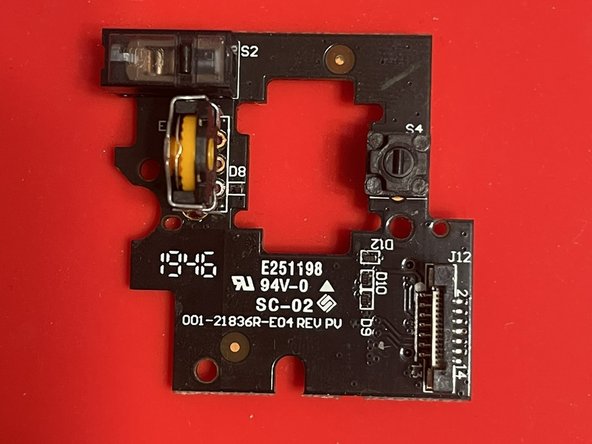
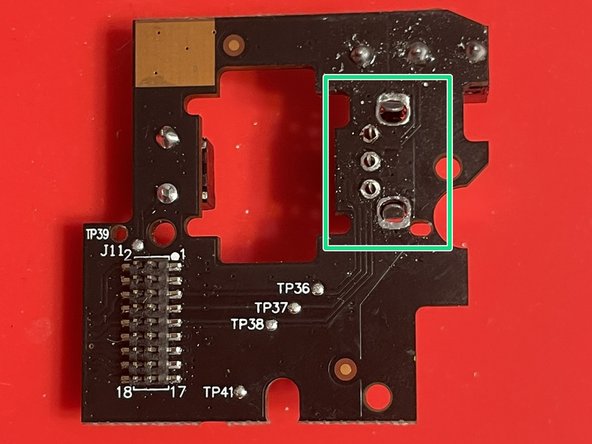
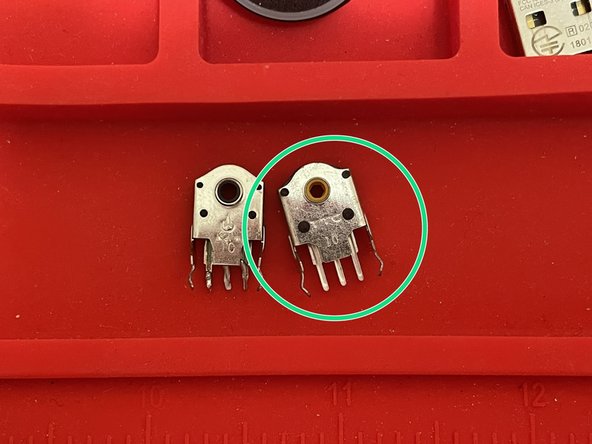
- Desolder old encoder and replace it with the new one. Make sure that it is 10mm tall as labeled on the casing.