How to Fix a Broken Seam in a Camping Chair
ID: 174387
Description: Introduction: Even the sturdiest camping chairs...
Steps:
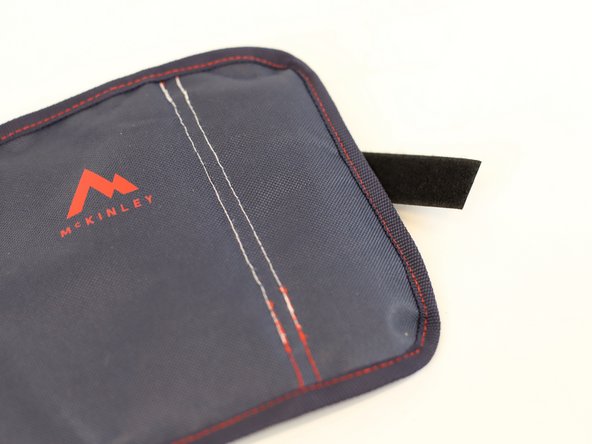
- Locate the broken seam that needs to be fixed.
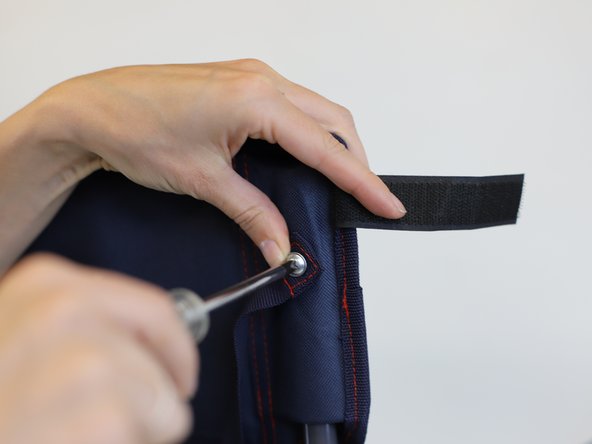
- Use a screwdriver to disassemble the back support and set aside the screws and remaining parts.
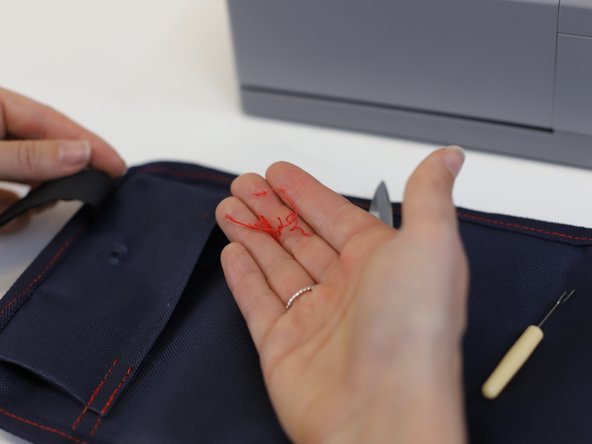
- Using a pair of scissors and a "seam ripper" remove the loose threads.
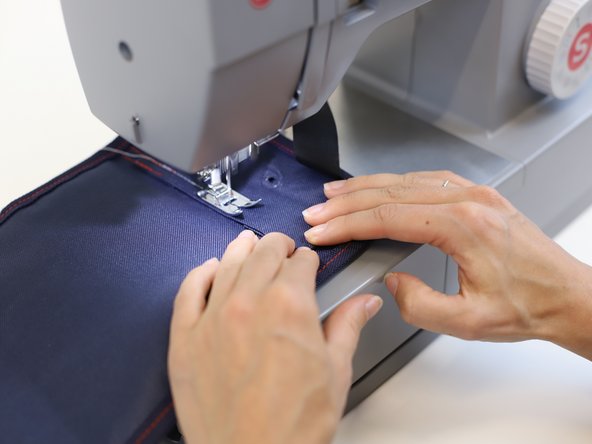
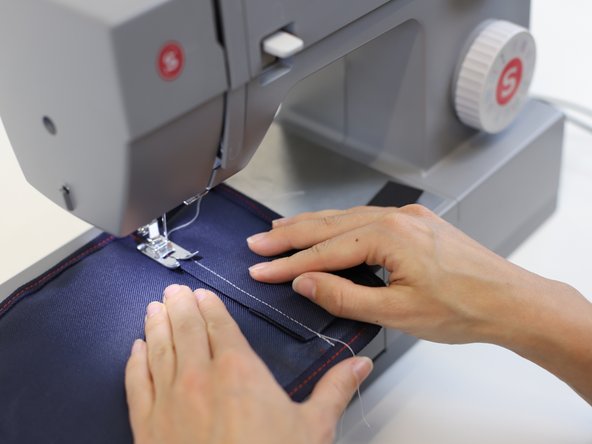
- Sew along the "dotted line" following the direction of the red arrow. This is the path where the previous stitch used to be.
- Note: in this example, the original seam used to have 2 lines of stitches, this is why a second line of stitches is needed to reinforce the area.
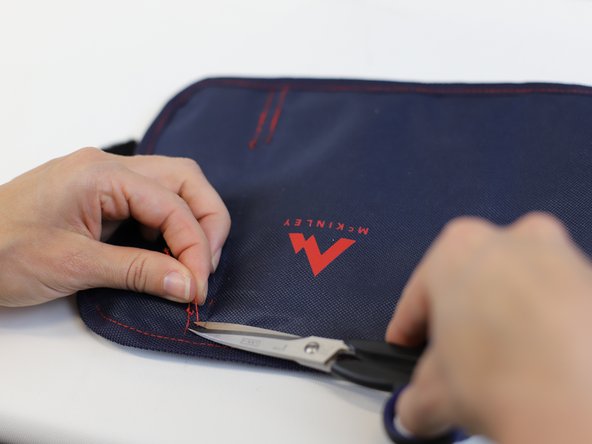
- Using a pair of scissors cut the remaining threads to clean the area.
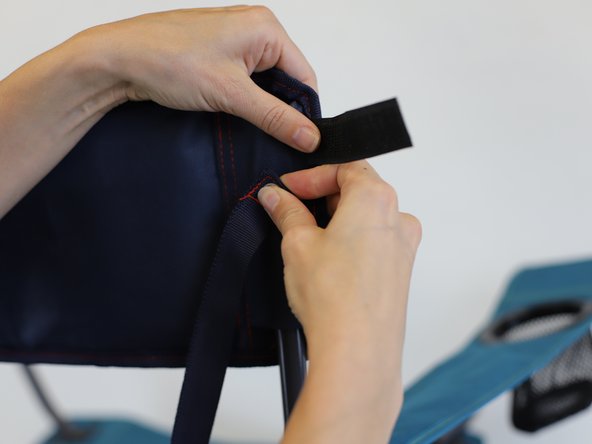
- Start by putting the components back, first the repaired fabric and then the rest of the parts.
- Tip: make sure the holes in the metal part of the chair match the holes of the fabric (orange circles).
- Screw back the pieces that were taken on the previous steps.
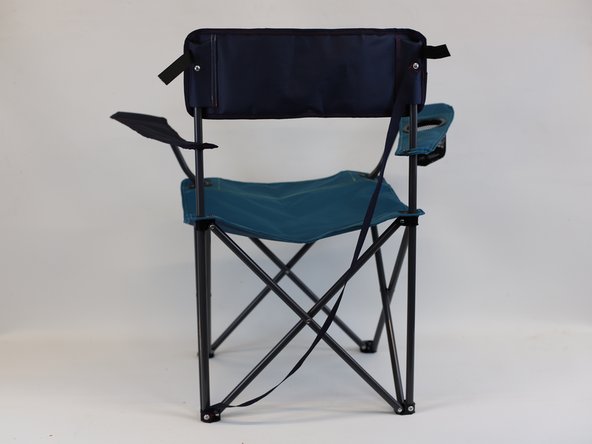
- 🛠️🏆👏 Congratulations! The repair is complete, and you're ready to go!