How to Repair a Tear in a Camping Chair
ID: 174388
Description: If you've noticed a tear in the fabric of your...
Steps:
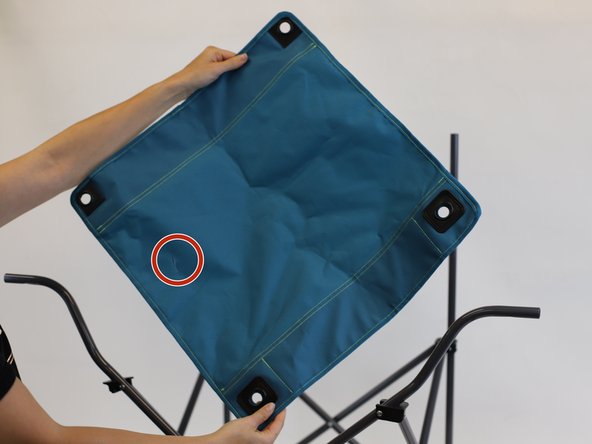
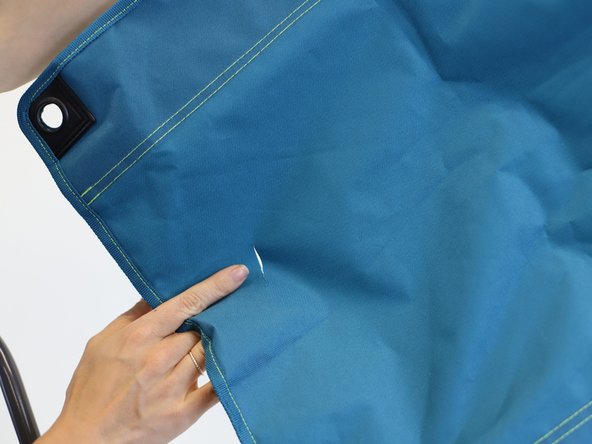
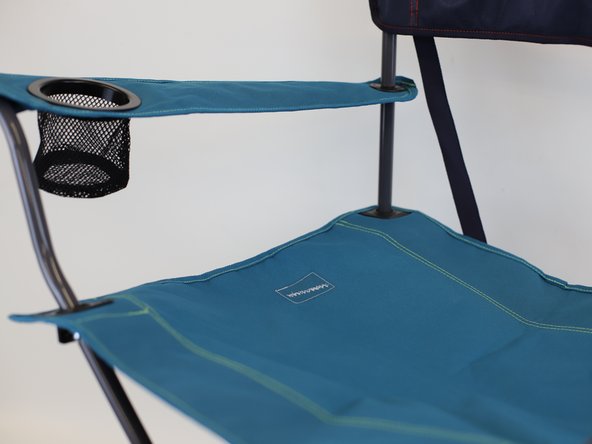
- Locate the tear that needs to be fixed.
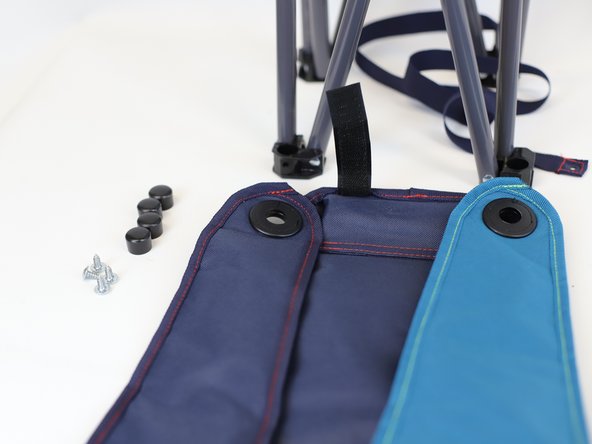
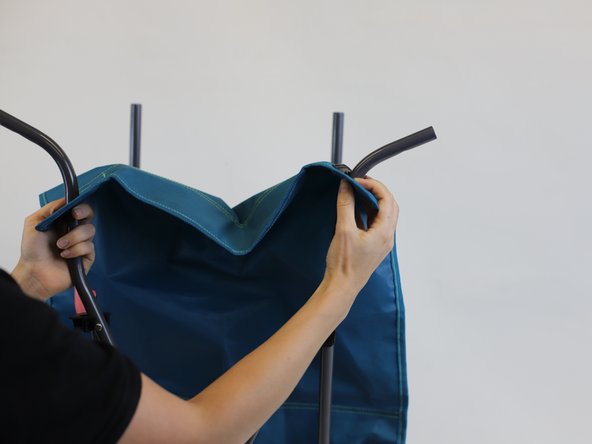
- Use a screwdriver to disassemble the chair and then remove the parts piece by piece.
- Continue to take the pieces and set them aside until you reach the fabric that needs to be stitched.
- In this step, you simply need to use your hands to slide off and gently remove each part.
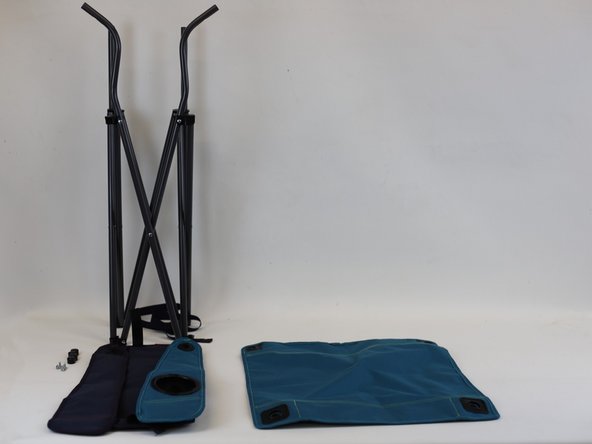
- Set aside all the components of the chair, sort them out in small groups and prepare for stitching.
- Use a pair of scissors to cut a piece of cloth.
- Note: we recommend using a piece of cloth that matches the material of the torn fabric. In this example, we used a non-stretch fabric that had a similar texture and feel to the original.
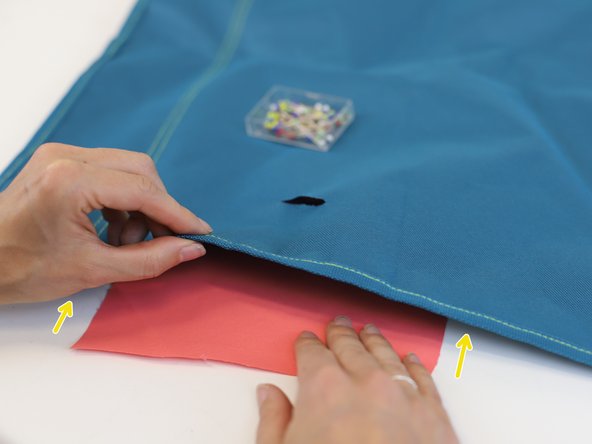
- Place the cloth underneath the tear and get ready for the next step.
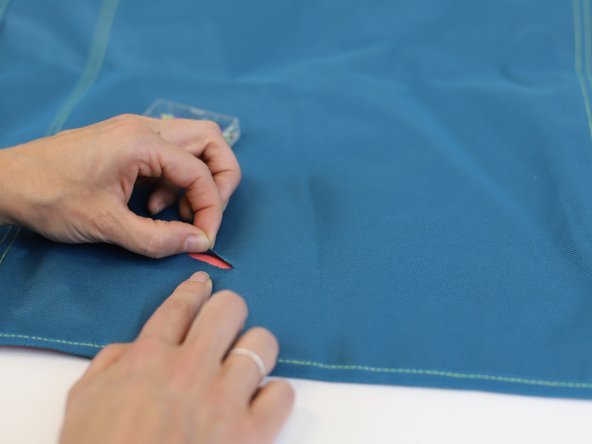
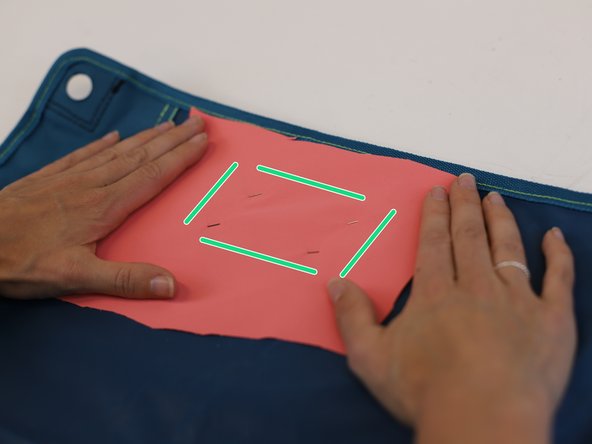
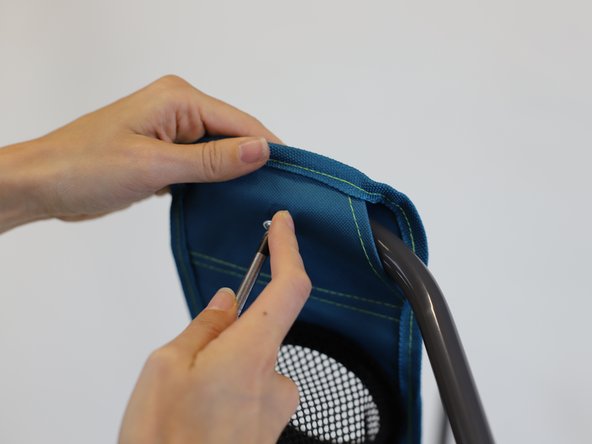
- Use sewing pins to fix the piece of cloth in place. Put the pins around the tear, forming a "square" shape (green lines).
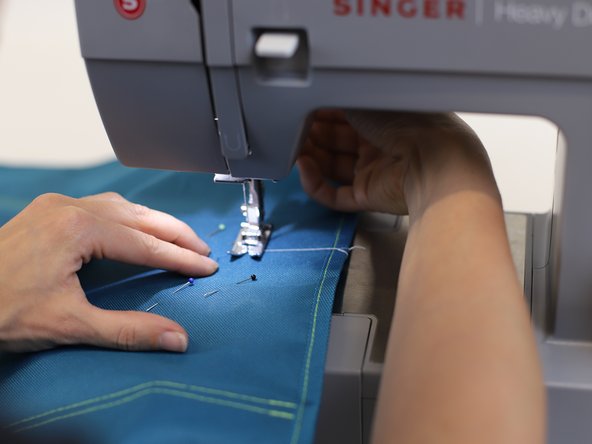
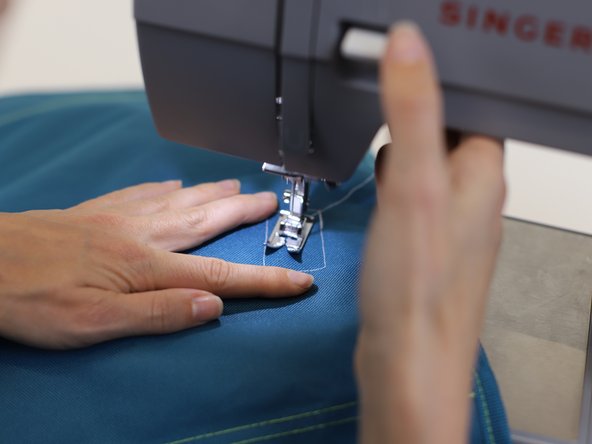
- Use a straight stitch to sew a "square shape" around the tear.
- Tip: For tips on setting up the machine take a look at this iFixit guide.
- Rotate the piece as much as you need to find the position that makes the stitching more comfortable.
- Once you have completed the stitch, use a pair of scissors to clean the loose threads.
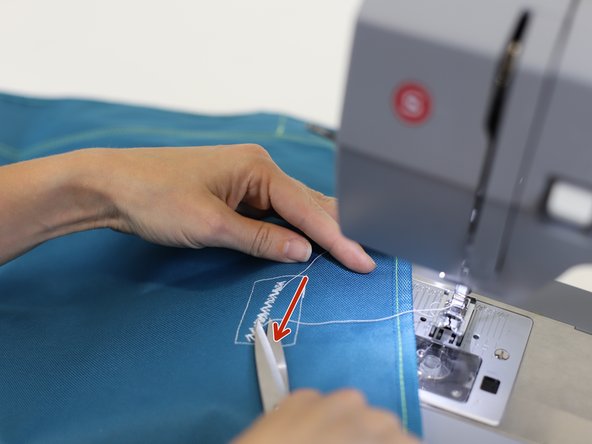
- Adjust the sewing machine to the Zig-Zag stitch setting and the length to "3".
- Stitch a diagonal line following the direction of the red arrow.
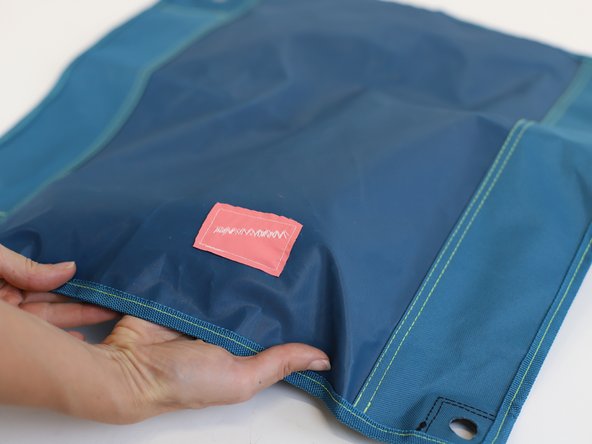
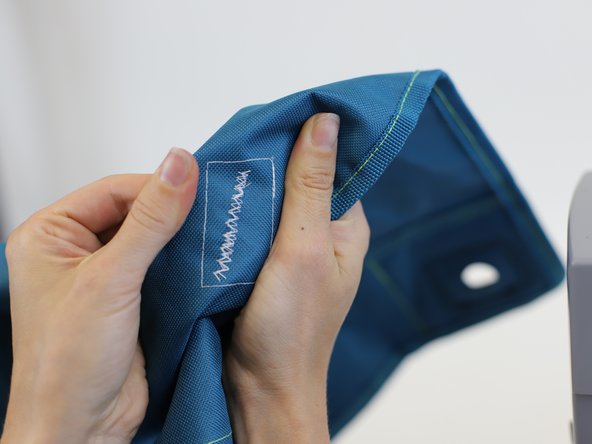
- Use a pair of scissors to cut the loose parts around the stitch and clean the area.
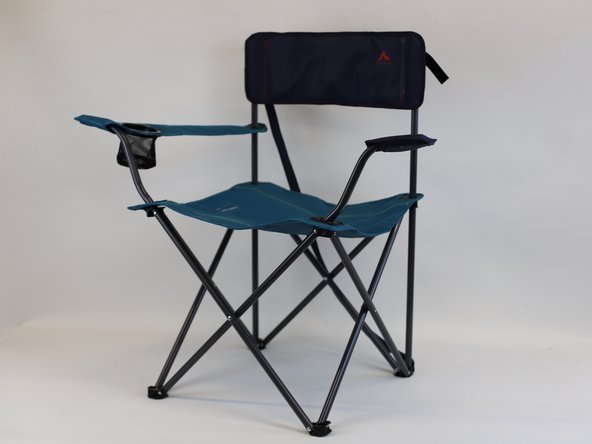
- Start by putting the components back, first the repaired fabric and then the rest of the parts.
- Screw back the pieces that were taken on the previous steps.
- 🛠️🏆👏 Congratulations! The repair is complete, and you're ready to go!