Microsoft Surface Laptop 7 (13.8-inch) Lower Case Replacement
ID: 174590
Description: Follow this guide to replace a damaged lower...
Steps:
- Unplug all cables and fully shut down your laptop.
- Close your laptop and lay it down so the rubber feet are facing up.
- Gently slide one arm of your angled tweezers into the recess near the upper right edge of one of the feet.
- You can also use the point of a spudger. However, you're more likely to damage the foot, if you're reusing it.
- Use your tweezers to pry up and remove the foot.
- The feet may eject very quickly—be careful not to lose them.
- Repeat the process to remove the remaining feet.
- To install a foot, align the pegs on the bottom with their cutouts in the frame and press the foot into place.
- Throughout this repair, keep track of each screw and make sure it goes back exactly where it came from.
- While the Surface Laptop 7 uses Torx Plus screws, standard Torx bits work. Make sure to apply constant, downward force to prevent stripping.
- Use a Torx Plus 5IP screwdriver to remove the four 4.5 mm‑long screws (with washers) securing the lower case.
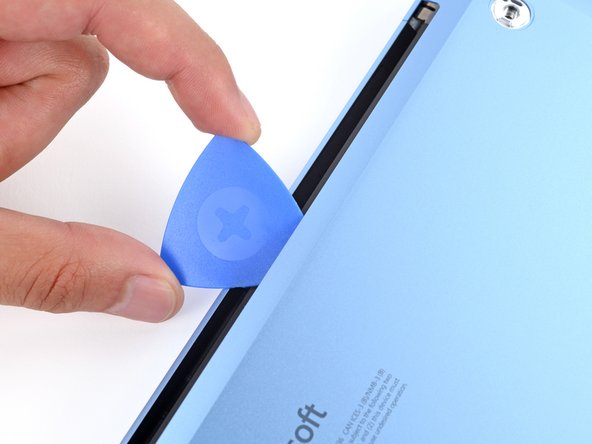
- Insert the tip of an opening pick under the top edge of the lower case, about an inch (2.5 cm) to the left or right of the Microsoft logo.
- Don't insert the pick near the outer edges or you'll damage the antenna bar.
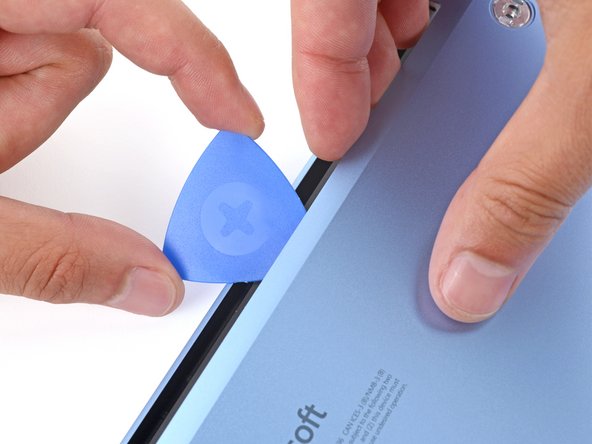
- Twist the pick to lift the lower case enough that you can grip it with your hand.
- Lift the lower case and remove it.