Samsung Galaxy Buds Plus Case Battery Replacement
ID: 178424
Description: Use this guide to replace the dead or worn-out...
Steps:
- Before you proceed, discharge your battery below 25%. A charged lithium-ion battery can catch fire and/or explode if accidentally punctured.
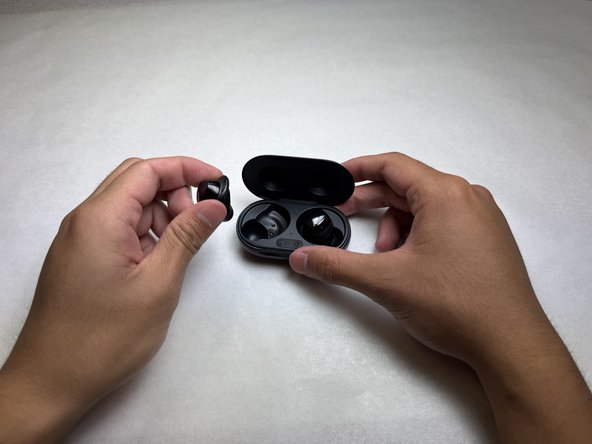
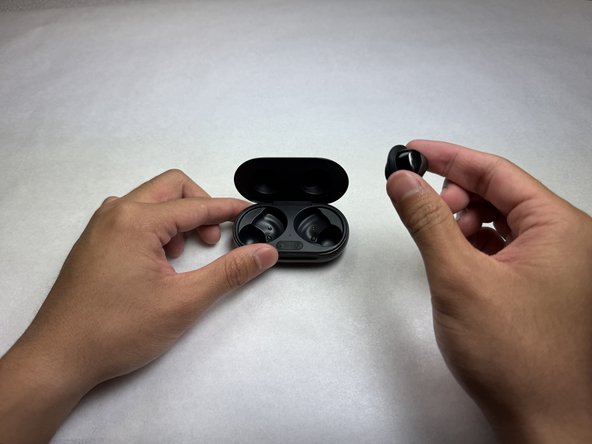
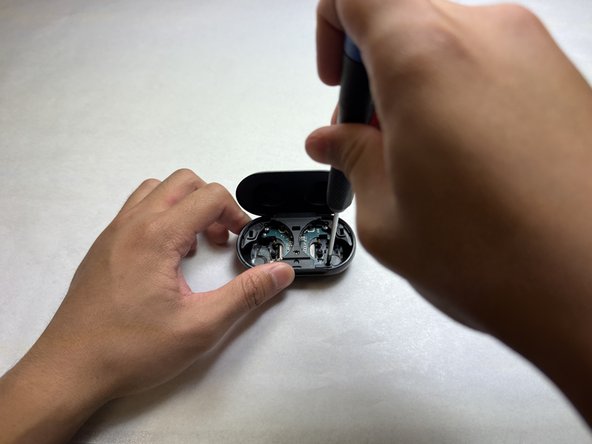
- Open the case and remove both of the earbuds.
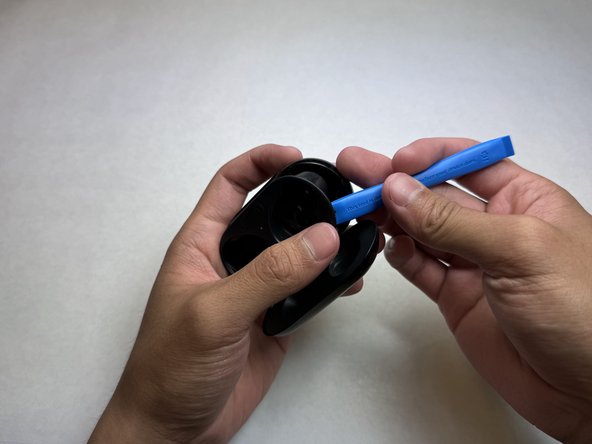
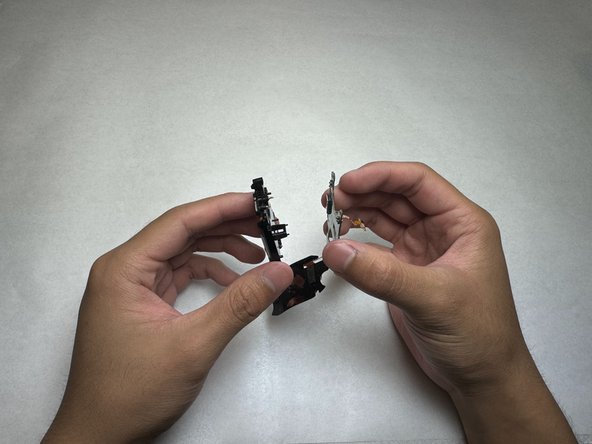
- Insert an opening tool between the interior plastic cover and the exterior case.
- This may take multiple tries at different contact angles.
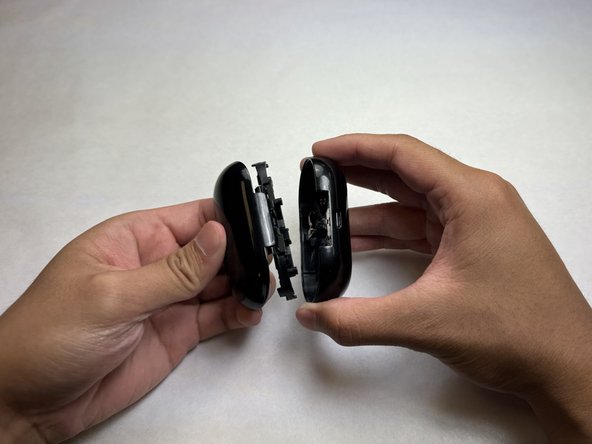
- Once inserted, pry up to begin separating the interior cover from the exterior case.
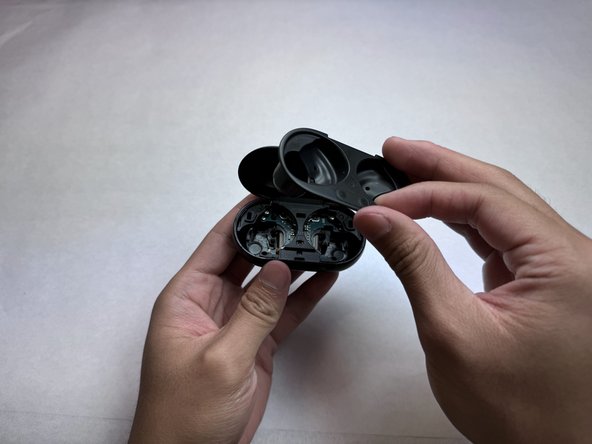
- Move the opening tool around the edge until all of the clips holding the interior cover in place are released.
- Remove and place the interior cover to the side.
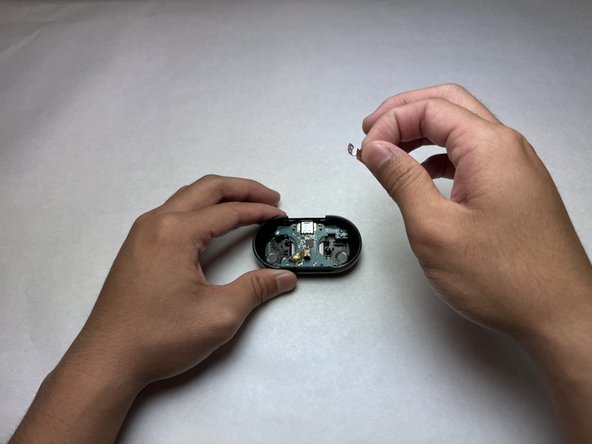
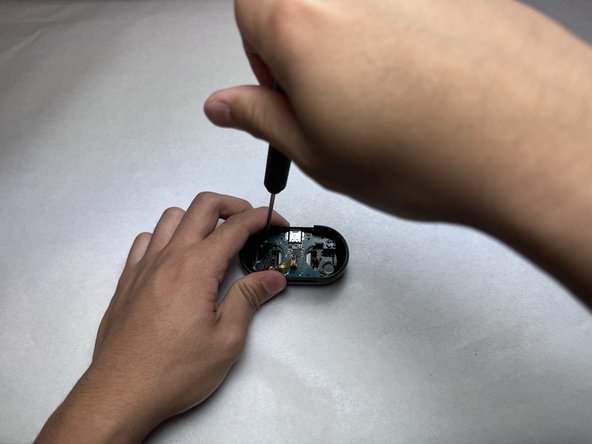
- Use a Phillips #000 screwdriver to remove the four screws holding the case's lid and hinge.
- All of the screws in this guide share the same head and are the same length.
- Flip the case over to the back.
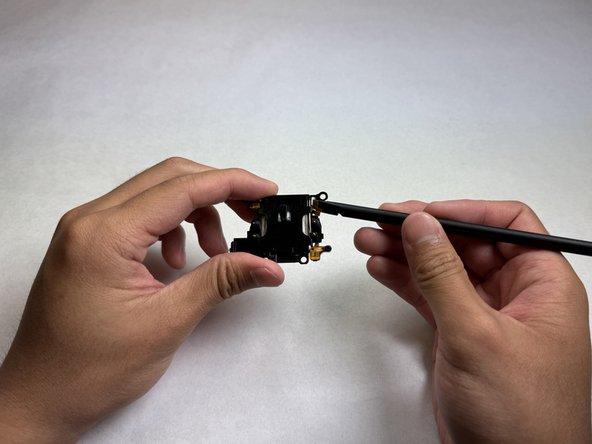
- Use a nylon spudger to pry and pop out the hinge from the body of the case.
- Use a Phillips #000 screwdriver to remove the two screws on either side of the USB-C port.
- Remove the metal shielding from the USB-C port.
- Remove the final Phillips #000 screw securing the motherboard and battery to the case.
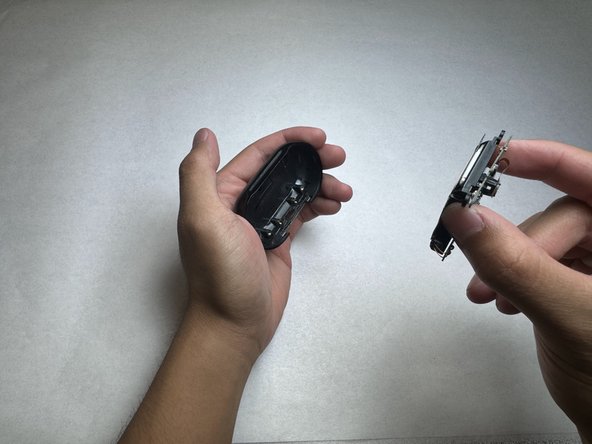
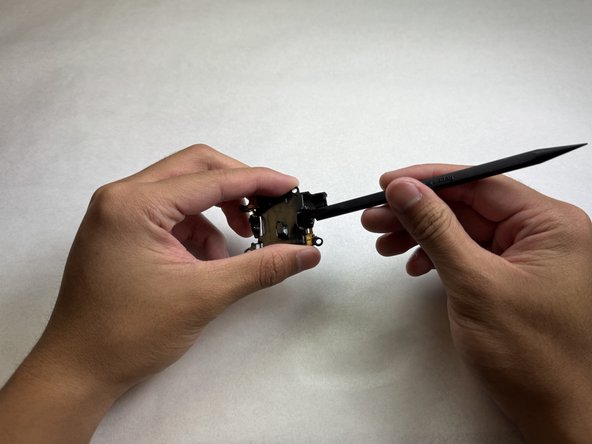
- Firmly hold the case in one hand and pull out the motherboard and battery from the case using two fingers.
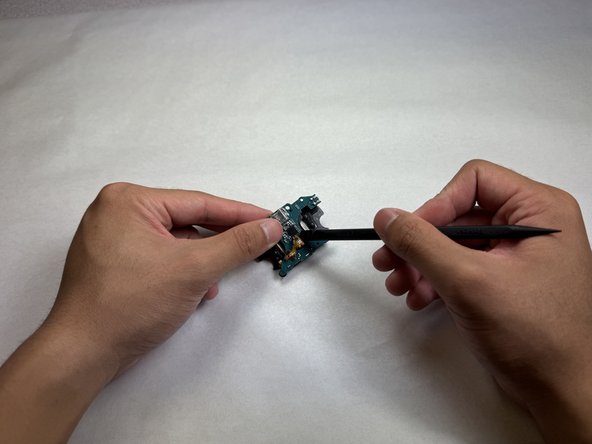
- Identify the LED indicator and gently detach it from the plastic housing of the motherboard using the spudger.
- Flip the board over and peel off the wireless charging coil.
- Be careful not to break the two thin wires connecting the charging coil to the motherboard.
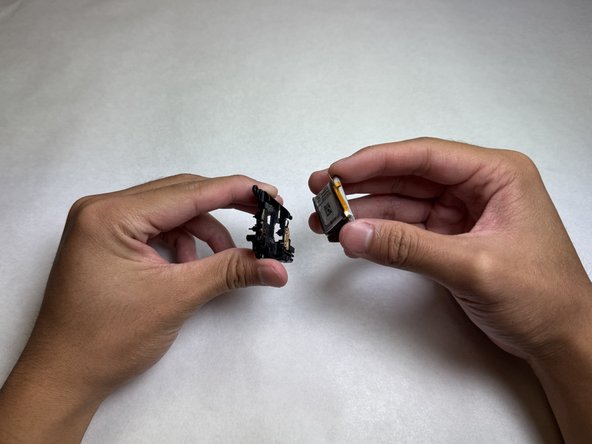
- Separate the motherboard from the battery and plastic housing.
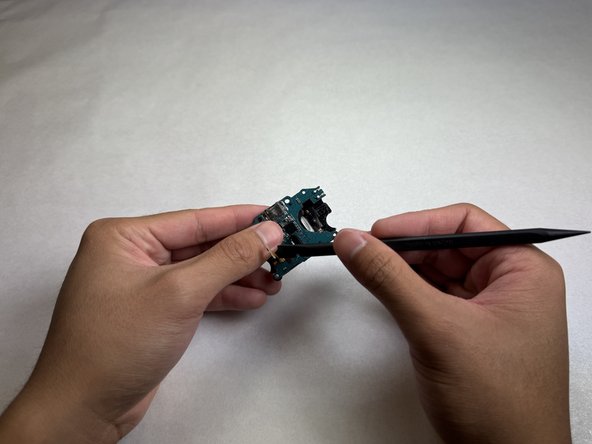
- Identify the positive and negative terminal pads that are connected to the battery.
- The corner that is diagonal to the correct pads should not have any pads.
- Use the spudger to detach the pads from the plastic housing.
- Use a heat gun or hair dryer on medium to low heat to soften the battery adhesive for 20-30 seconds.
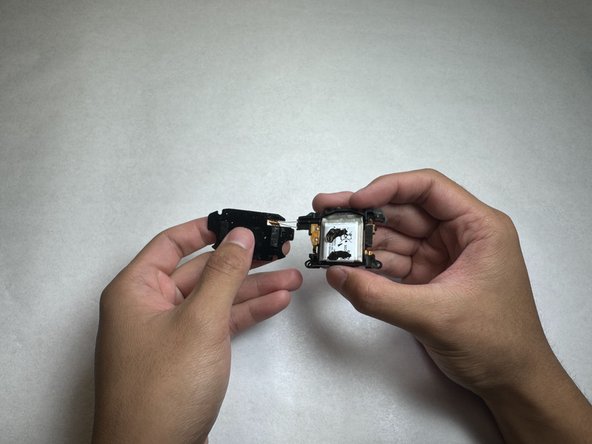
- Insert the spudger between the battery and the plastic housing and gently pry up until the battery is free.
- Overheating or puncturing the battery may cause it to ignite.
- Remove the battery from the plastic housing.