Midea FC307B Rice Cooker Teardown
ID: 175902
Description: This teardown was completed as part of my...
Steps:
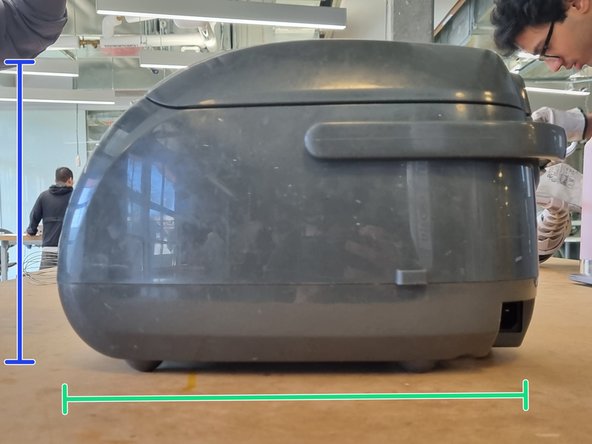
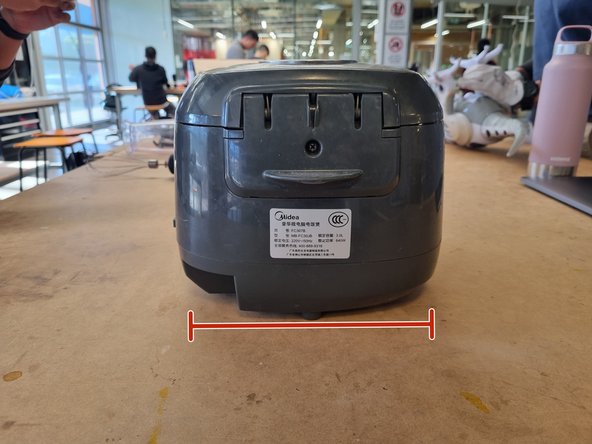
- Midea FC307B Rice Cooker (prior to this teardown) in full working order, though the outlet cable had been lost.
- Cooker weighs 3.2kg
- Length: 304mm
- Height: 218mm
- Width 210mm
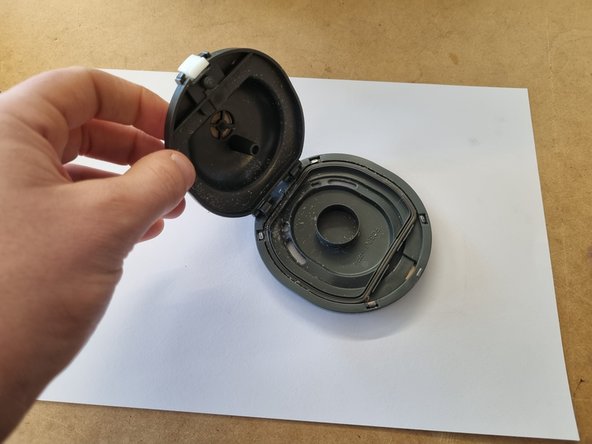
- Top filter pops off easily.
- Top weighs 65g (both parts)
- Length: 117mm
- Width: 90mm
- Height/Depth: 35mm
- Top filter further breaks down into two more assemblies held together with a hook hinge and a latch
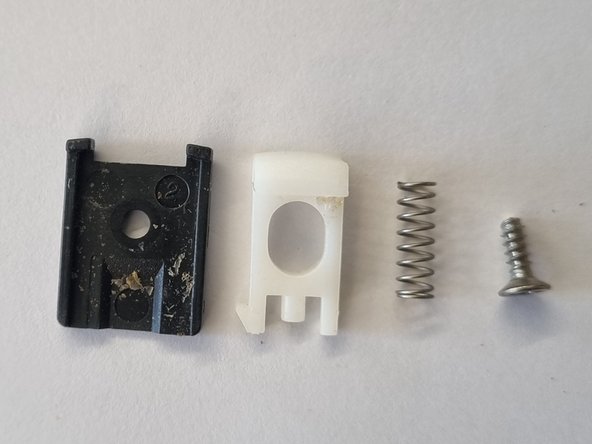
- Latch mechanism is held to the part with a single Phillips head m2 screw
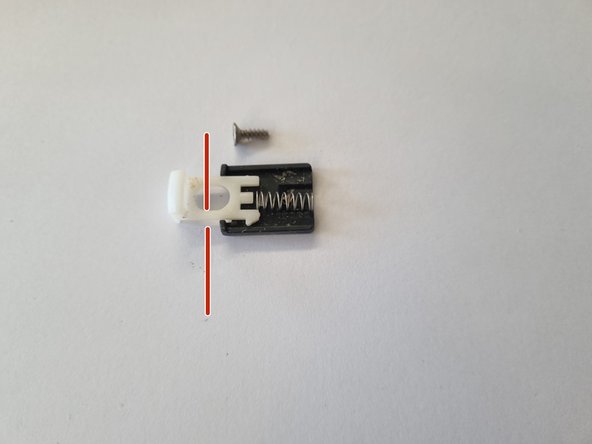
- The 4 parts sit together (as shown) to form the latch mechanism.
- Note: the large slot in the white button component, that allows it to slide past the screw which intersects it. The red line illustrated how the screw intersects it.
- All component's are made from ABS plastic with exception of the stainless-steel screw, and steel spring.
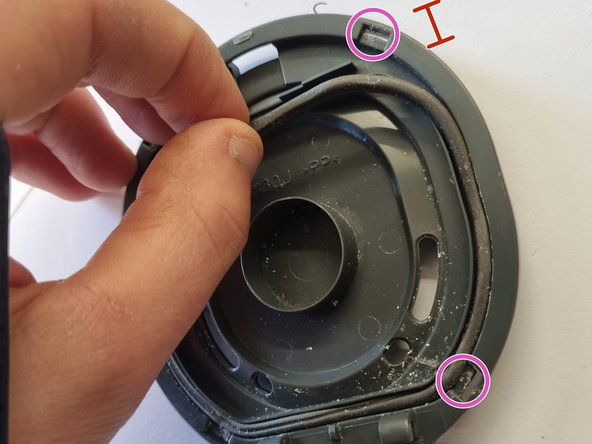
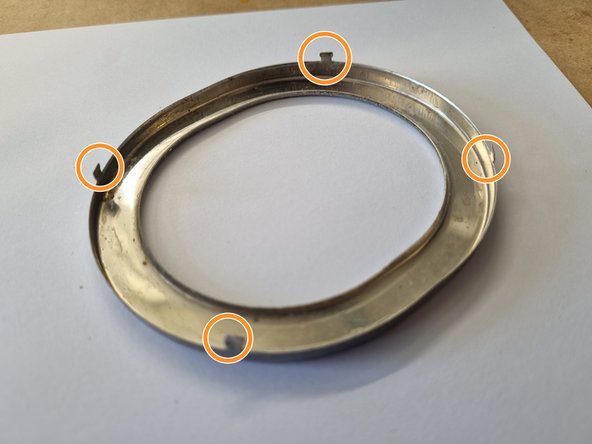
- The top of the filter had three parts that came off relatively easily. A neoprene gasket that could just be pulled off, the main injection moulded ABS plastic body. And a stamped stainless steel element.
- The stainless-steel element had tabs that were folded around the main plastic body. It could easily be removed using a flat wedge screwdriver to flip them up.
- These tabs folded into gaps on the underside of the plastic body.
- Length: 117mm
- Width: 90mm
- Height/Depth: 12mm
- Bottom component made from grey ABS injection moulded plastic.
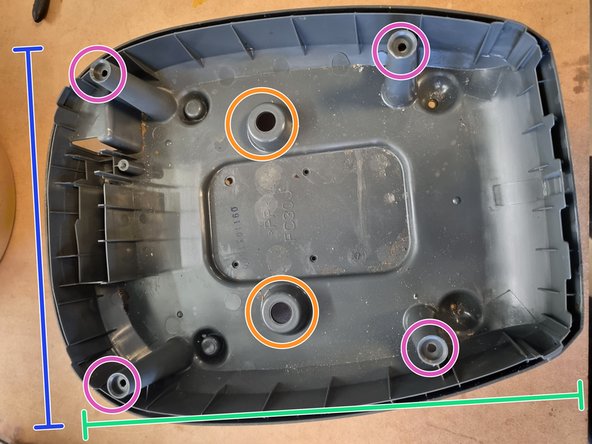
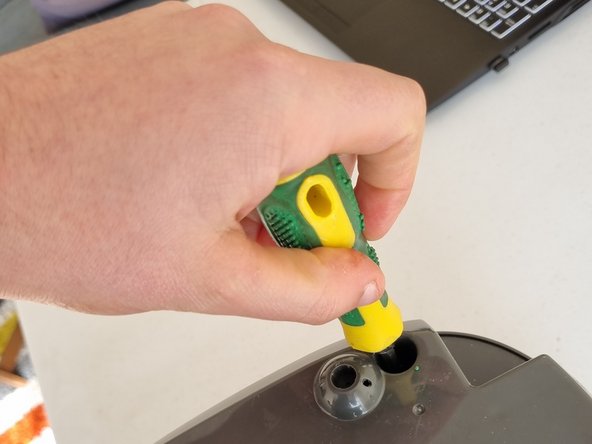
- Bottom is held to the upper body of the cooker using 4 long Phillips head m3 screws which had to be accessed with a long screwdriver.
- Bottom was further supported by 2 shorter m3 screws that also held neoprene stoppers on the underside of the cooker. I am not sure what is the purpose of these neoprene stoppers, possibly heat insulation?
- Length: 317mm
- Width: 245mm
- Depth/Height: 75mm
- All the components I removed whilst unscrewing the bottom
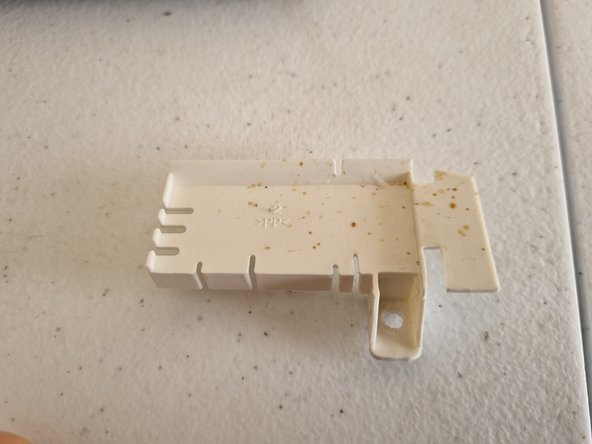
- White injection moulded ABS plastic housing for the outlet cable.
- Neoprene white stoppers, held on using m3 screws. Not sure what purpose they have.
- Neoprene feet, prevent the cooker from falling off a surface by creating friction with the surface.
- 13mm long m3 Philips head screws, holds the bottom of the rice cooker to the upper
- Removing the base by removing the screws, the inner workings of the cooker are exposed.
- PCB circuit board - controls the cooker
- Power outlet
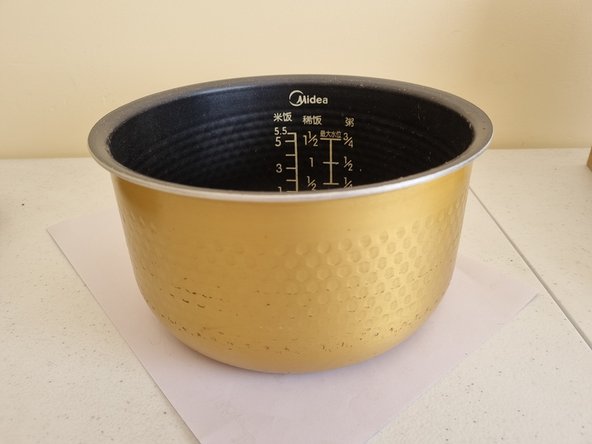
- Cooking/heating bowl - heats the removable aluminium bowl (second picture)
- SEE STEP 18 FOR BOWL DETAILS
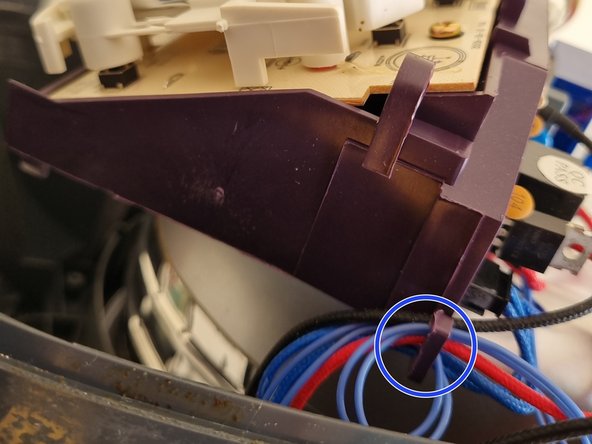
- Mechanical buttons and circuit board are connected to a purple ABS injection moulded plastic frame
- Frame is held to the main body of the cooker using 3 hard to access m2 Phillips head screws (here I have removed them)
- Special hooks on the plastic frame for collecting and holding all the wires
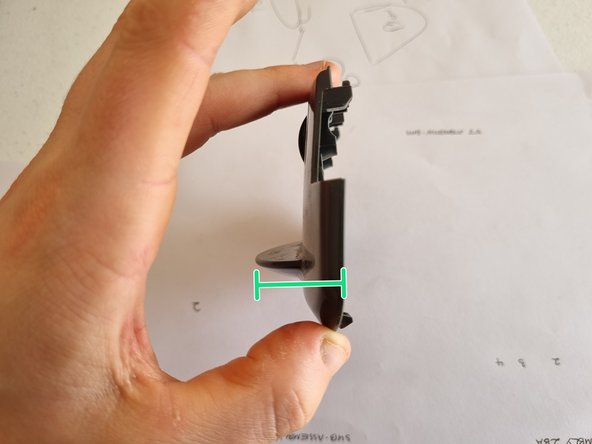
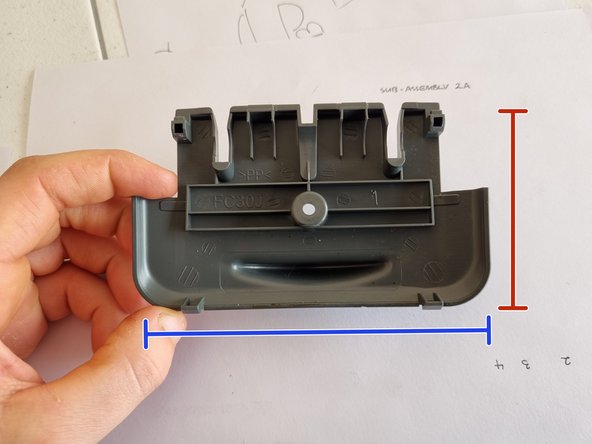
- Back cover had two purposes: (1) to prevent the handle from being able to line up with its slots (see next step) and (2) to cover the torsion springs that actuate the lid
- Width: 32mm
- Height: 77mm
- Length: 130mm
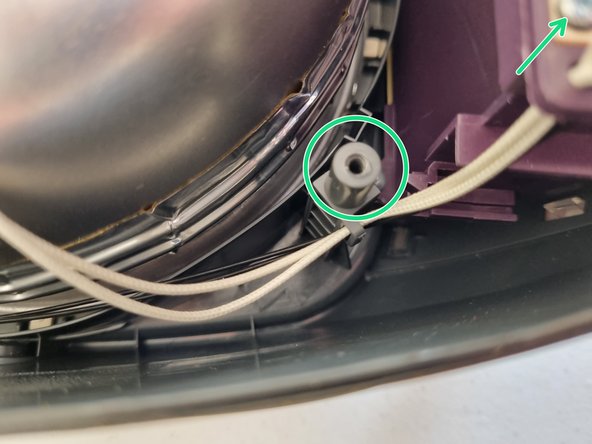
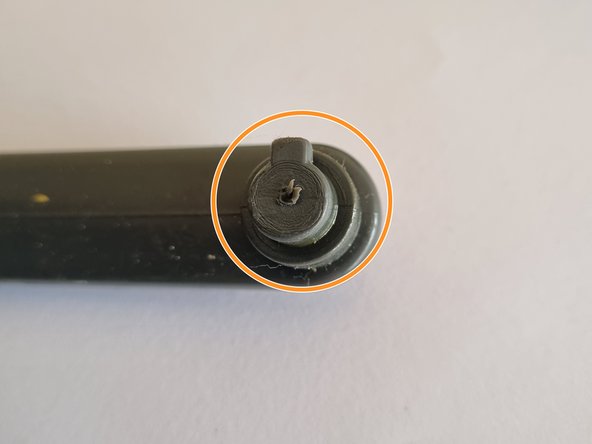
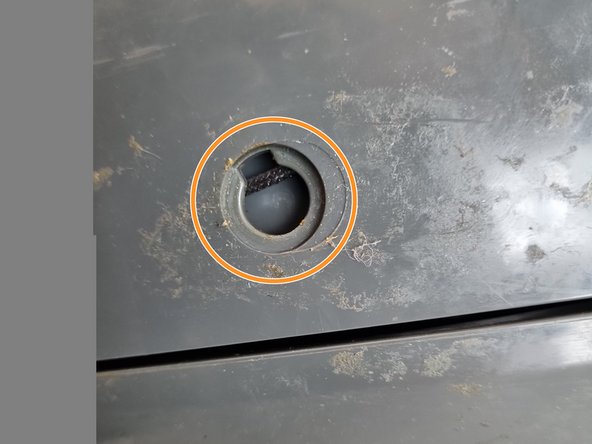
- After removing the bottom was able to see inside and see where the handle poked through onto the inside of the corner. Noticed the end of the handle had a nodule. Realised that the only way to remove the handle was to line up the nodule slot in the side.
- Nodule slot on the handle, and on the side of the cooker
- Weight of handle: 81g
- Handle made from injection moulded ABS plastic. The mould notable has two halves indicated by the seam that runs along the inside of the handle
- Height: 188mm
- Width: 22mm
- Length: 245mm
- To remove handle and line it up with eh slots, the back cover had to be removed (previous step)
- Removing the lid interior
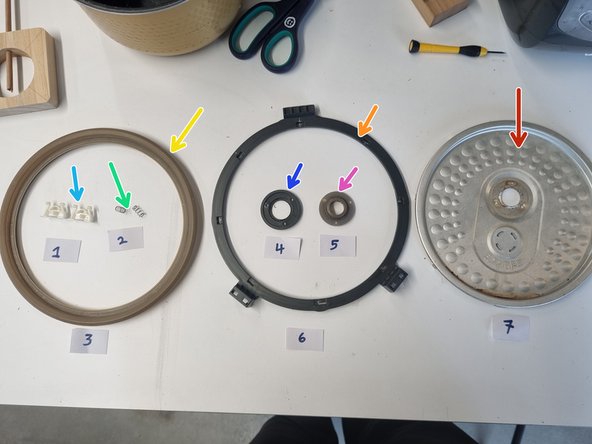
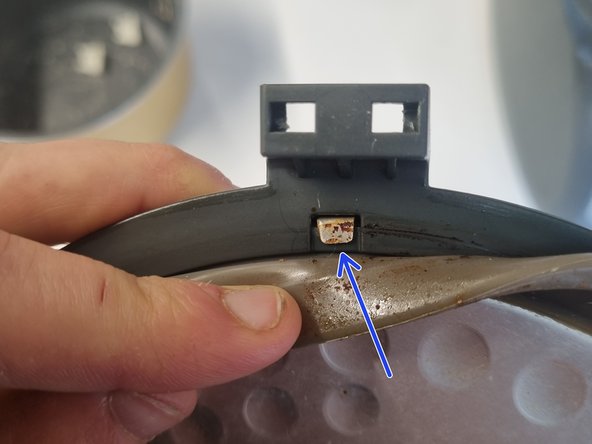
- button latches hold the lid interior inside of the lid - see arrows
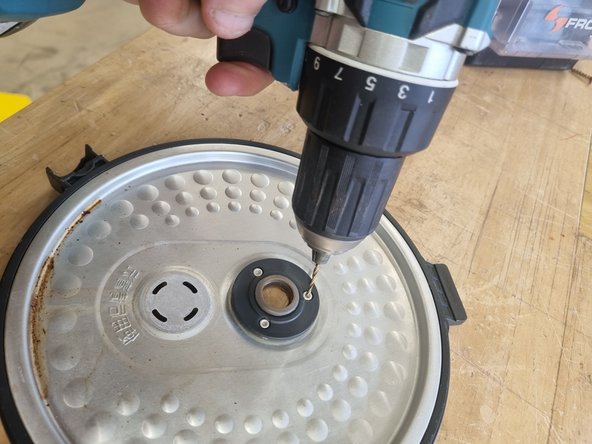
- Lid interior was held together using aluminium pop rivets - had to remove them by drilling the head off and using a punch to knock the rivets out.
- Stamped aluminium plate
- Outer neoprene gasket - injection moulded
- Inner neoprene gasket - injection moulded
- Main body housing - ABS plastic injection moulded
- Steel springs
- Riveting surface? ABS plastic injection moulded
- Latches - ABS plastic injection moulded
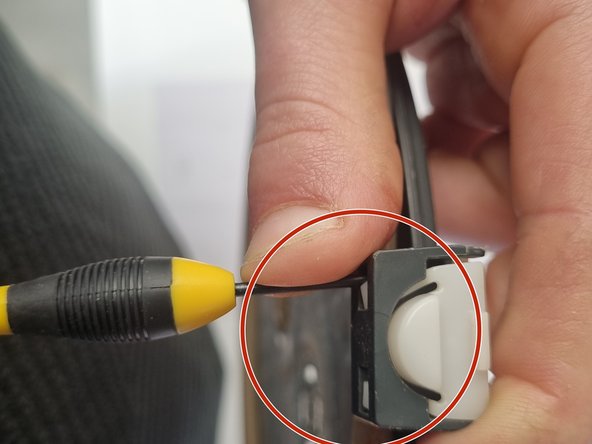
- To remove the ABS plastic clips I had to use a nail/thin screwdriver to push the clip ends inside the housing
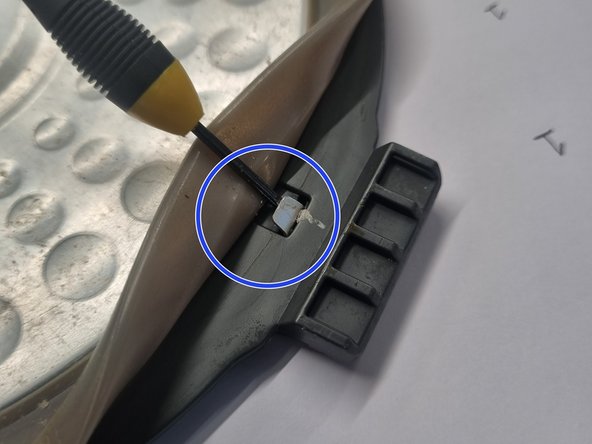
- Aluminium plate (like other parts of this cooker) held on by crimped tabs - had to uncrimp them using a thin screwdriver
- Inside the lid there was a secondary stamped aluminium Pannel. It was held onto the lid curiously by 13 individual Phillips head screws
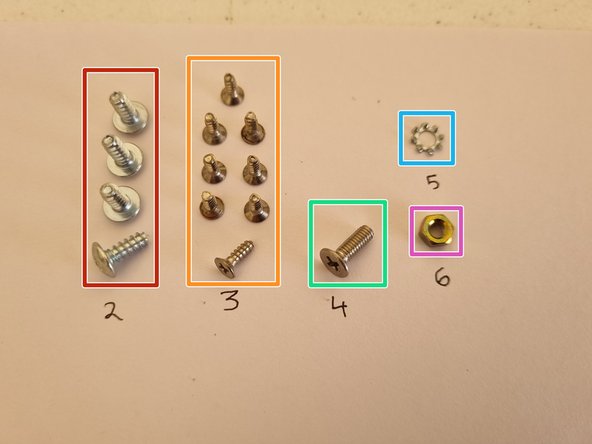
- 12mm m3 Phillips head screw - stainless steel
- 9mm m2 Phillips head screw - stainless steel
- 12mm m3 Phillips head screw - nickel plated steel
- Why 3 different types of screw with two different types of material used?
- Brass nut for m3 screw/bolt
- m3 washer for electronic component?
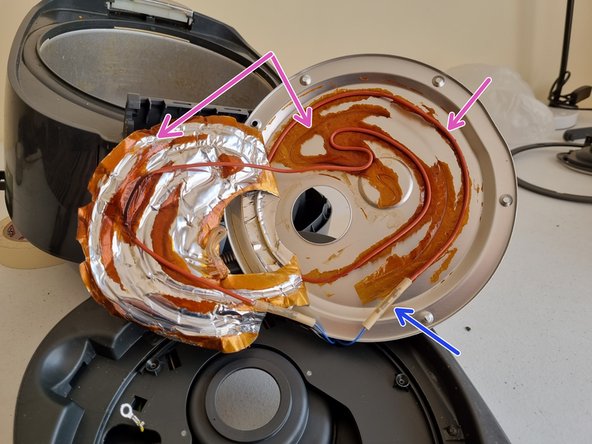
- Once the interior aluminium plate was removed, there was a thin layer of aluminium foil held on using a thermal resistant adhesive. I pulled the foil off revealing a heat sensor
- Heat sensor
- Adhesive
- Fuse?
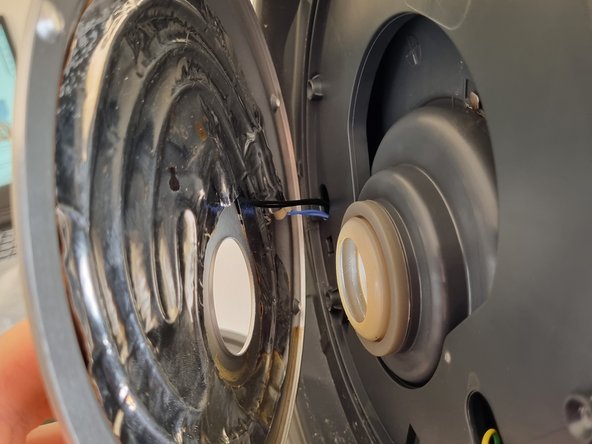
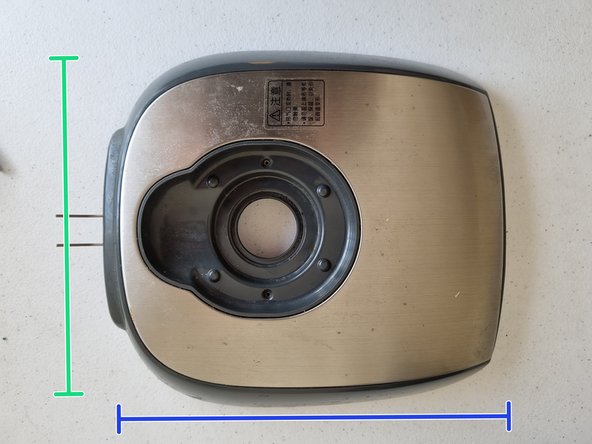
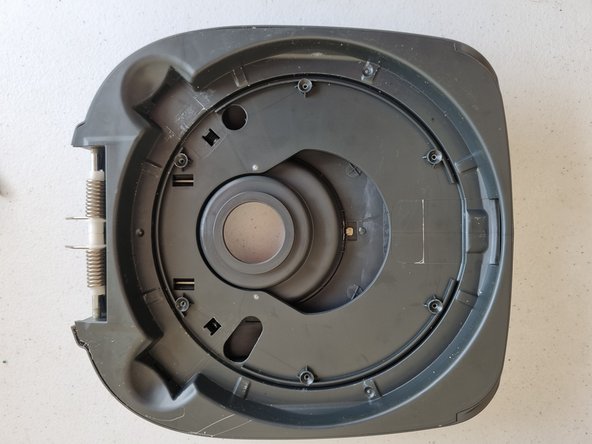
- Lid was connected by wires/leads that were adhered to the inside of the lid. Had to cut the wires with a wire cutter to be able to remove the lid.
- Length: 270mm
- Width: 232mm
- height/Depth: 45mm
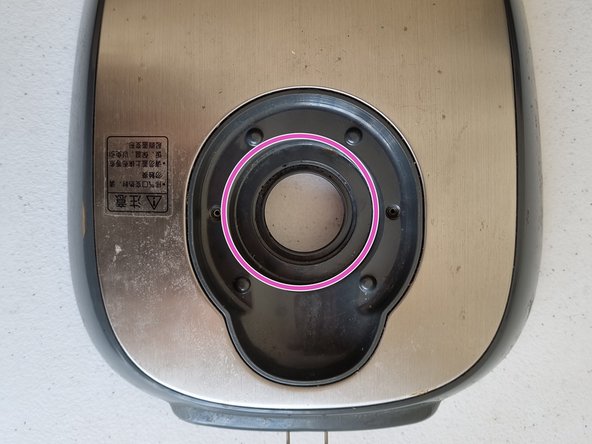
- Inside the lid was a neoprene gasket - see purple for indication of where it went
- Diameter of gasket:50mm
- Hehgiht:15mm
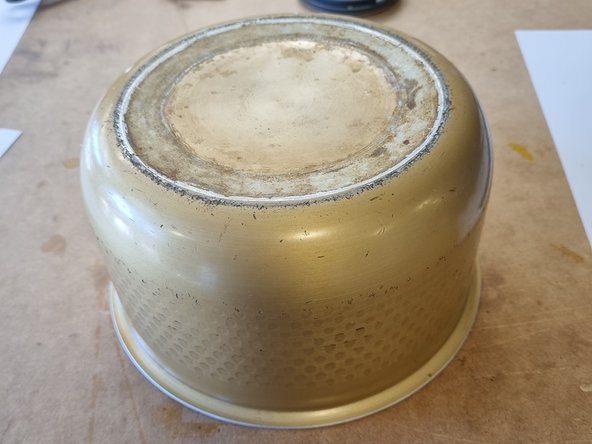
- Spin moulded anodised aluminium bowl
- PTFE nonstick coating on the inside
- Height: 110mm
- Diameter: 206mm