Pentax ME Super Light Meter Adjustment
ID: 176292
Description: The light meter of the ME Super is very...
Steps:
- Wrap a piece of masking tape around your thumb, sticky side out.
- Turn the wind lever cap clockwise to remove (it is reverse threaded).
- Remove the wind lever lock ring (it is also reverse threaded).
- Remove the brass spring washer.
- A pair of fine tipped pliers or nippers can be used in place of a spanner wrench. Be careful!
- Place a tool in the fork of the rewind spindle.
- Unscrew the rewind lever.
- Remove the lock ring with a spanner.
- Lift off the ISO/Exposure Compensation dial.
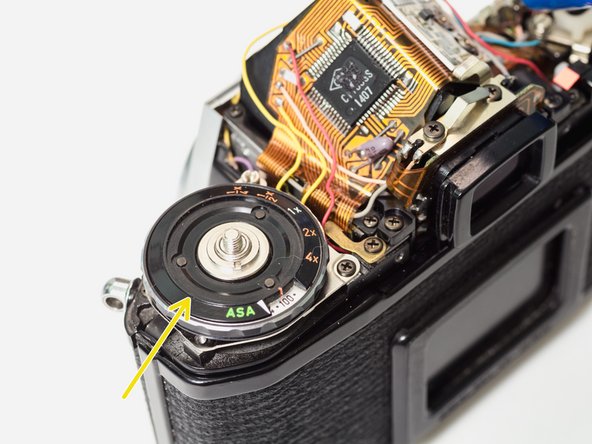
- Ensure that the ISO dial couples with the tab on the resistor.
- Turn the Exposure Compensation to 1/4x then back to 4x while gently pushing down. This will help the dial engage with the detent mechanism properly.
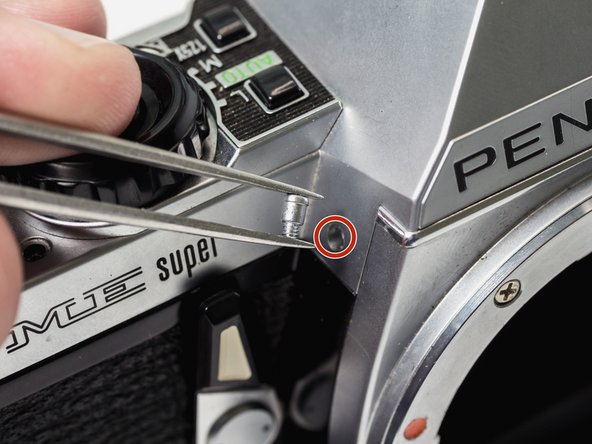
- Remove two 3.3 mm #00 screws.
- Remove one 3.2 mm #00 screw.
- Remove one 2.6 mm #00 screw.
- Remove two 4.3 mm #00 screws.
- Lift off the top cover. The silver trim piece is loose and may fall away.
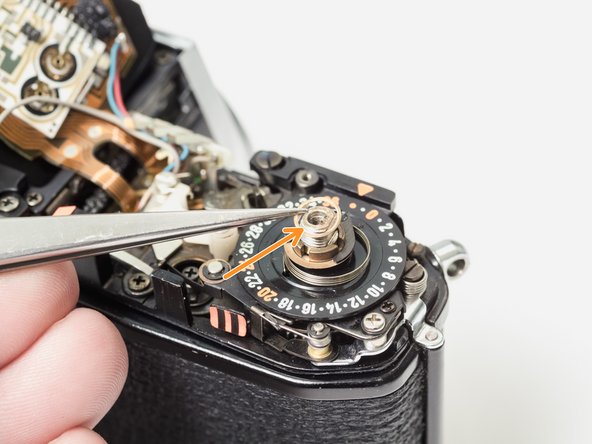
- Remove loose washer.
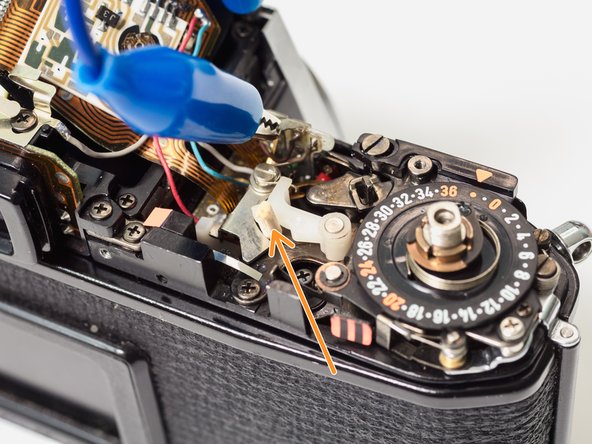
- The shutter pin is loose. Make sure it is in place before installing the top cover.
- The mode dial pin must be properly coupled with the mechanisms in the camera for it to work.
- Set the mode dial to 'M'. Place the top cover on the camera. Move the mode dial to 'B' then back to 'M' while gently pushing down.
- The mode dial should click into place and work properly.
- Ground the right most mode contact to the camera body. This puts the camera electronics in 'Auto' mode.
- Insert a small rod between the mode levers. This puts the mechanics of the shutter in 'Auto' mode.
- Install the ISO dial.
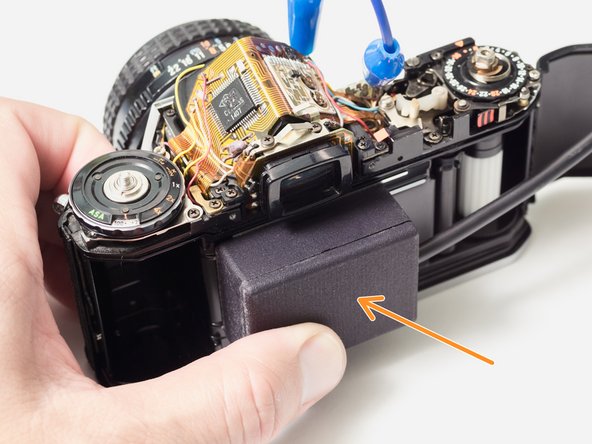
- Create a scene that fills the viewfinder with even brightness.
- The ME Super has a stepless shutter in 'Auto' mode, which means it can fire at speeds inbetween the standard one stop increments. The indicated speed may be 1/60 but the metered speed could be anywhere from 1/45 to 1/90. The shutter will fire at the metered speed.
- Use the 1/3rd stop increments of the ISO dial to determine if the indicated value is in the center or at the edge of the possible range. Adjust until it is centered.
- Use a shutter speed tester to check the actual speed of the shutter and compare it to the indicated speed.
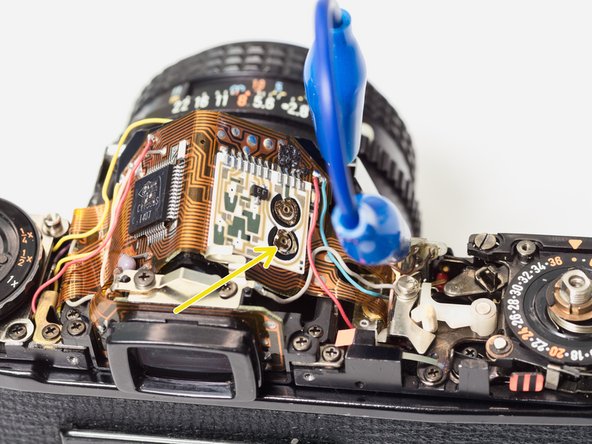
- Adjust VR2 until the measured speed matches the indicated speed.
- VR2 only affects the indicated speed in the viewfinder. It should not change the actual speed of the shutter.
- Mount a lens on the camera and measure the exposure for the scene with a known good light meter or camera.
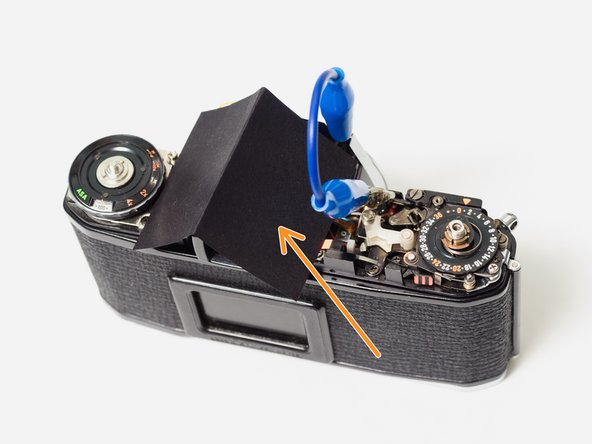
- Use a shroud to keep ambient light away from the light sensor. The light meter should only read light from the focusing screen of the camera.
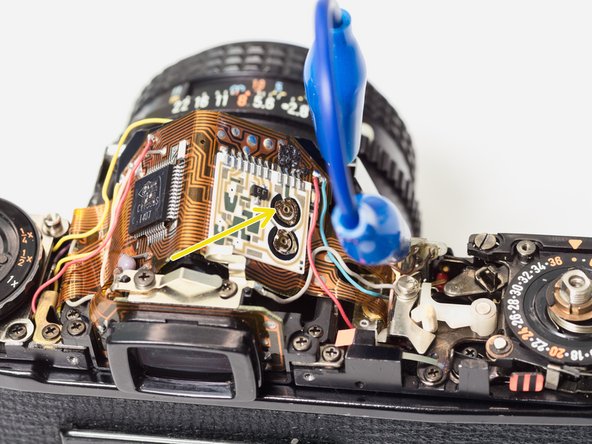
- Adjust VR1 until the metered exposure matches the correct exposure.
- Repeat the last two steps at different exposure values for additional calibration points.
- VR1 affects the speed of the shutter and the speed indicated in the viewfinder. They should change at the same rate.