2020 Ford F150 3.5L Cold Air Intake Replacement
ID: 177808
Description: If you're looking to improve the performance of...
Steps:
- Before you begin, make sure the truck is turned off and in park.
- Open the hood and ensure it is securely propped up.
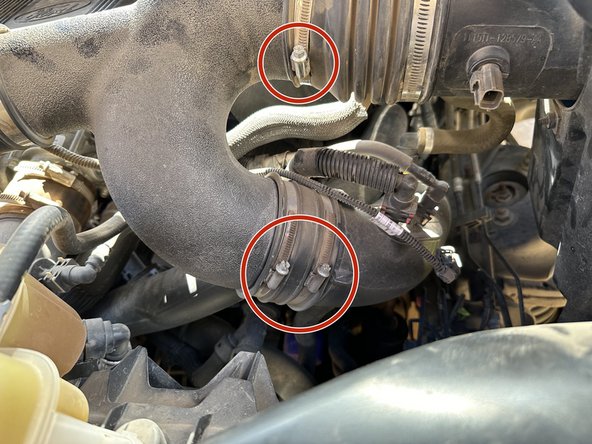
- Loosen the clamps on the factory air intake using a flathead screwdriver.
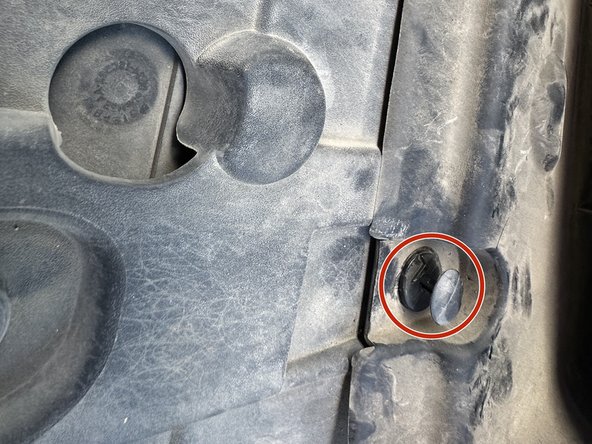
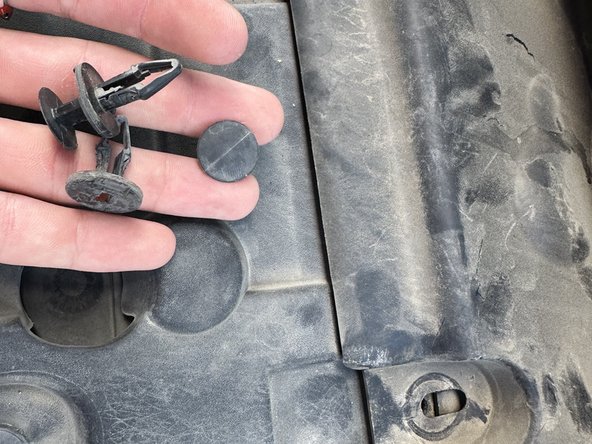
- Remove the clips from the stock air suction hose
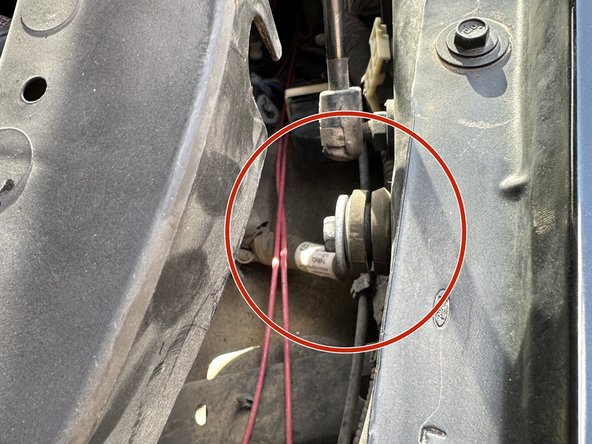
- Disconnect the cable connector.
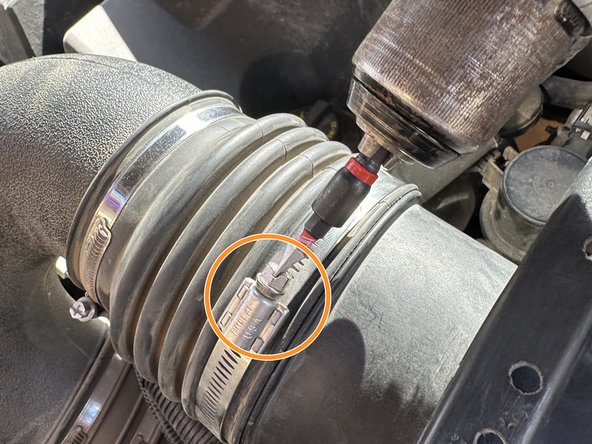
- Connect the new dual air hoses to the stock air hose and tighten them using a flathead screwdriver.
- Attach the stock air scoop to the casing of the new intake using a 6mm socket and bolt.
- Remove the stock 12mm screw using a socket, then place the grommet on before screwing it back in. Leave enough space for the new air intake casing to fit securely into the grommet.
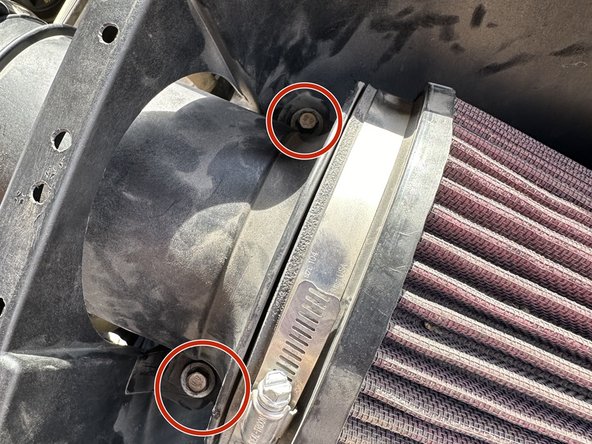
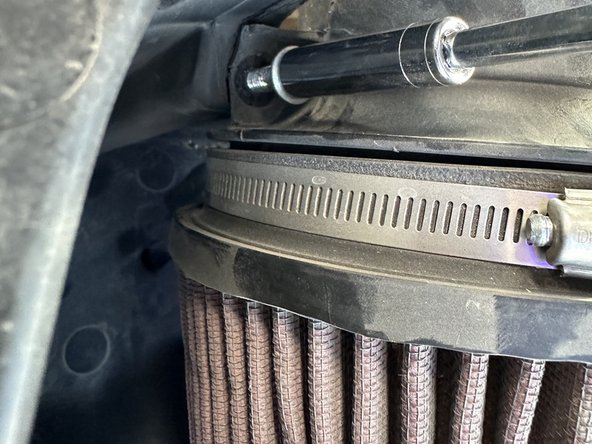
- Bolt in the two 8mm bolts that secure the new air filter.
- Once secured, fit the new air filter into place.
- Push the clips into the two fittings in the engine bay.
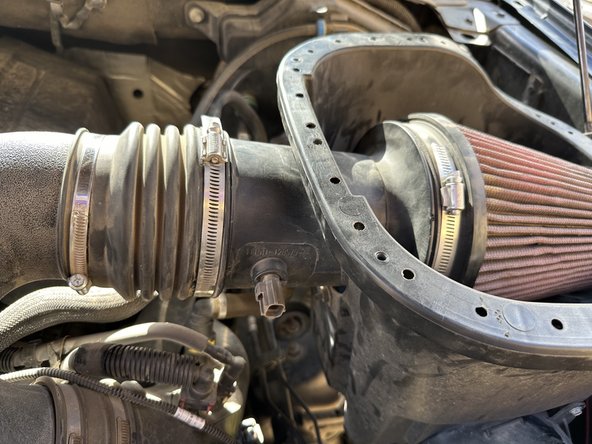
- Connect the air hose and tighten it securely.
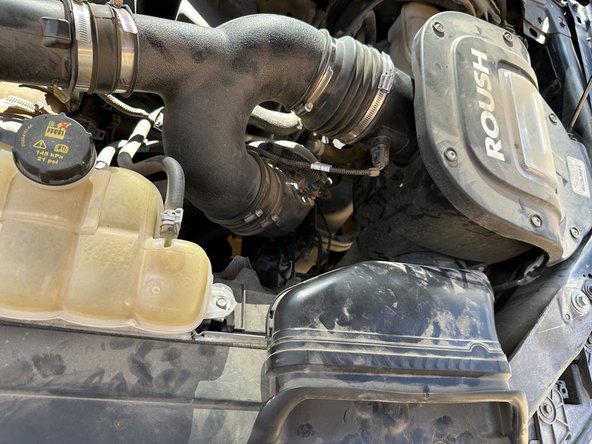
- The new intake casing should now fit into the air hose and engine bay without any extra parts.
- Put the clips back into the stock air shovel intake
- Reconnect the stock wiring to the new air hose so the truck’s electrical system can detect emissions and any signals that may trigger alerts.
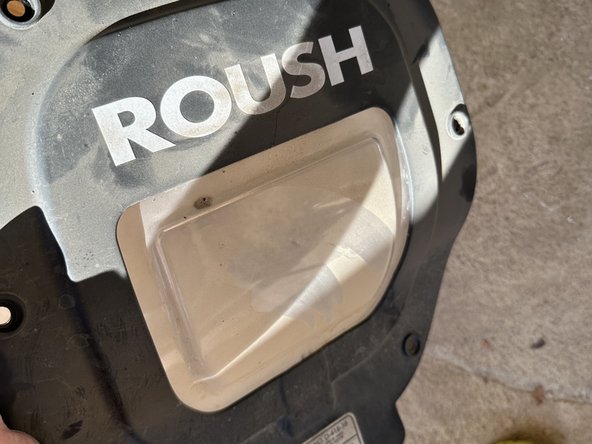
- If desired, apply the decorative "Roush" sticker to the air intake casing cover, which represents the brand of the new intake filter.
- After attaching the sticker, place the casing on for appearance purposes.
- Bolt in the 6 T20 Torx screws to secure the casing.
- Once all 6 T20 Torx bolts are tightened, you've successfully installed your brand new cold air intake, which improves airflow and boosts both performance and efficiency.