How to Replace Wooden Dresser Drawers
ID: 177934
Description: Dresser slides often break, making the slides...
Steps:
- Place the dresser drawer on a flat surface.
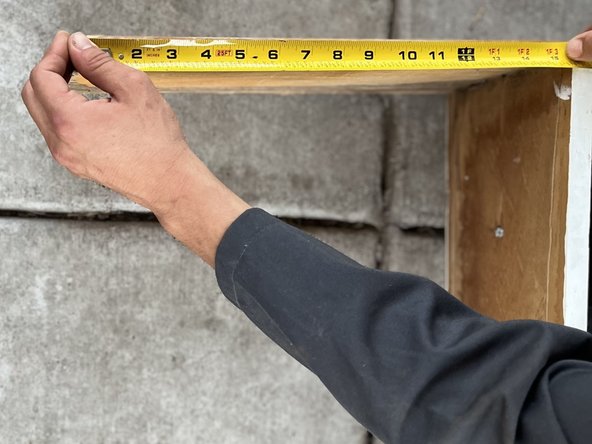
- Measure the amount of wood needed to replace the bottom of the dresser by placing the measuring tape side to side.
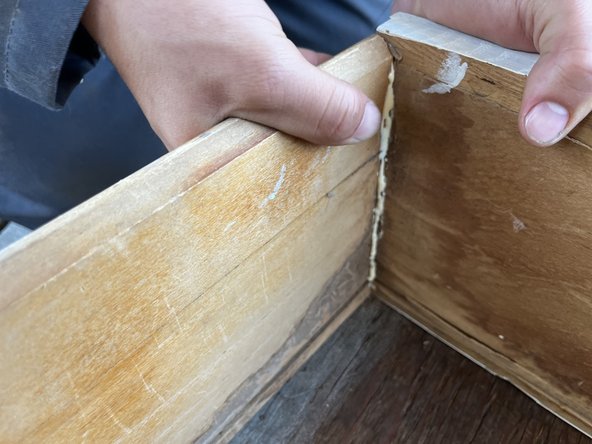
- Place wood glue on the corners to the sides attached to the front of dresser to ensure sturdiness.
- Start from the top and work your way down.
- Using your hands, use pressure to tightly secure the corners of the dresser.
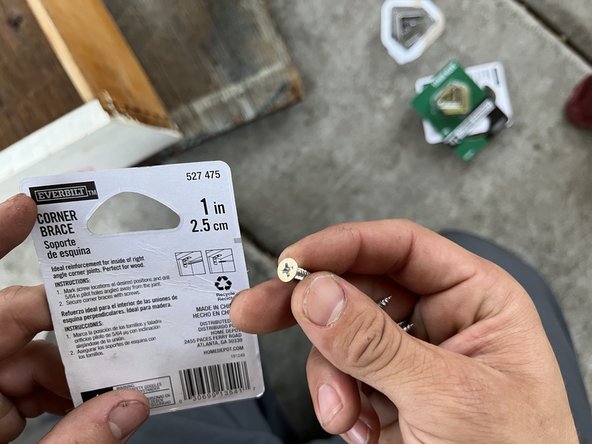
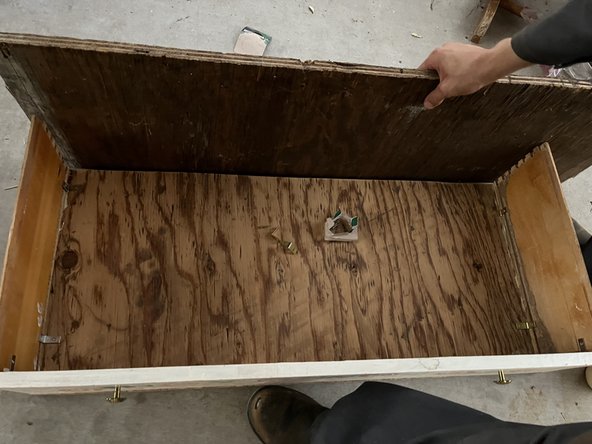
- Two corner braces will be placed on the corners where the glue was placed to further keep it in place. Beginning on the right side of the dresser (optional where you start).
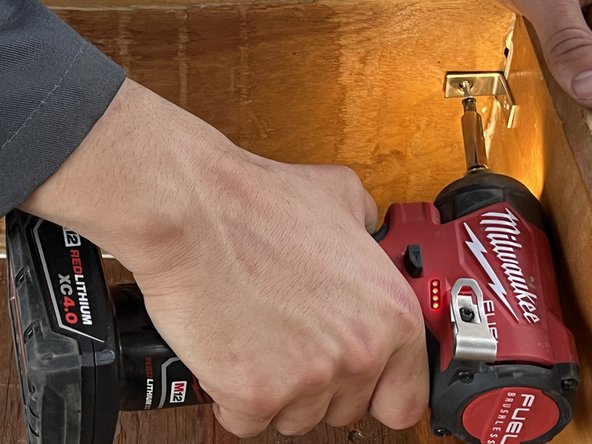
- Using your hands measure and steady the corner brace placement to place it on the upper corner of the side.
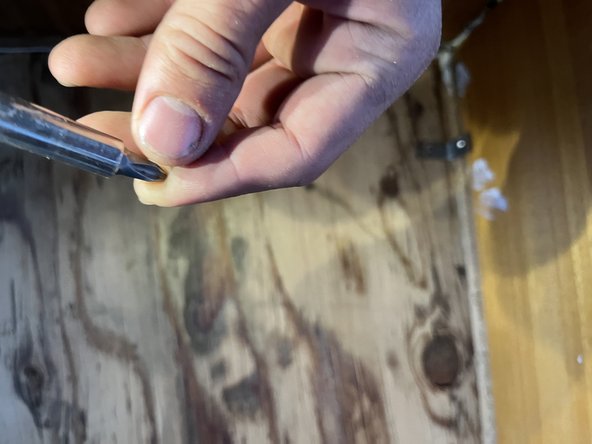
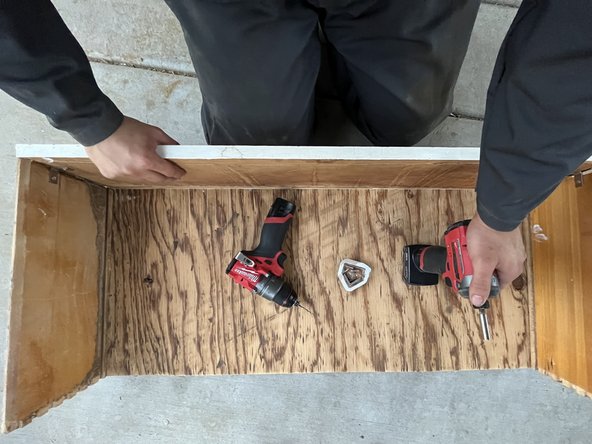
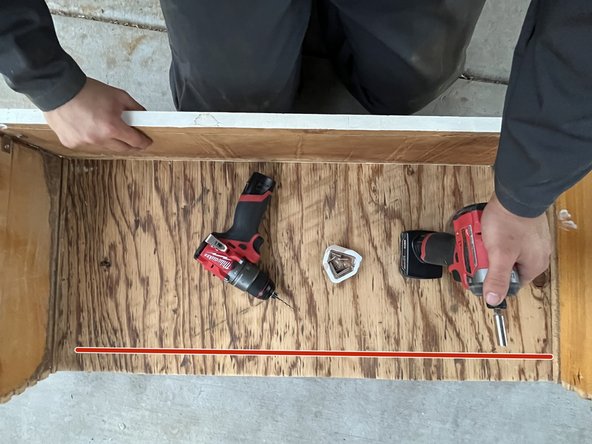
- Use your power drill to screw in holes where you measured the corner brace using 1 inch drywall screws.
- Drill a hole using the corner brace to measure its placement.
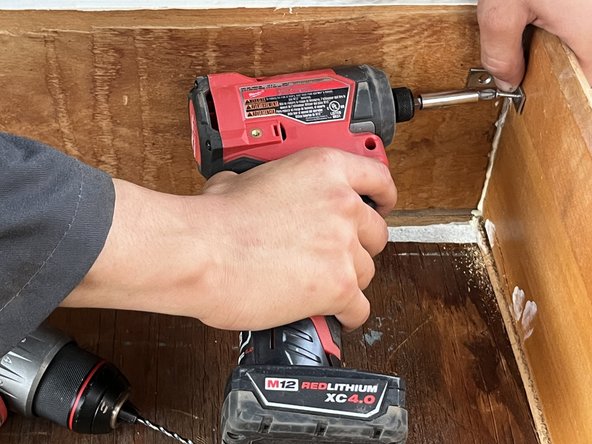
- Repeat the same process for the placement of the lower half corner brace.
- Repeat process for the left side of the dresser.
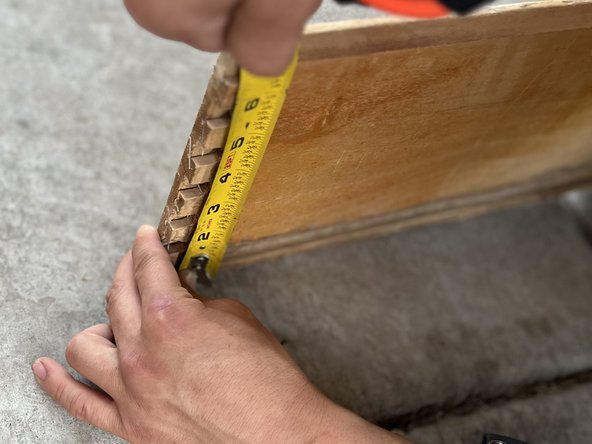
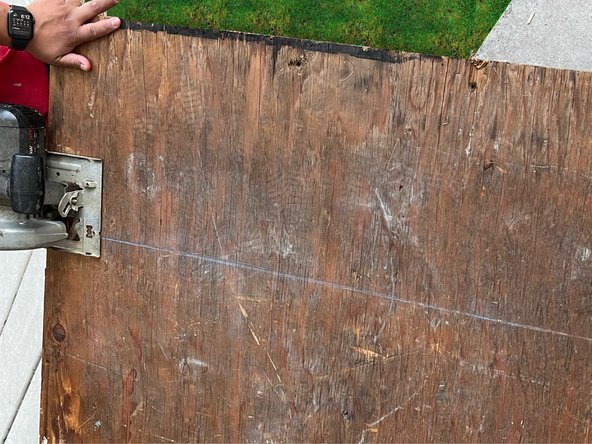
- Place the wooden plank underneath the dresser to measure the size.
- Using a pencil, mark your measurement.
- Using a circular saw, cut the marked measurement.
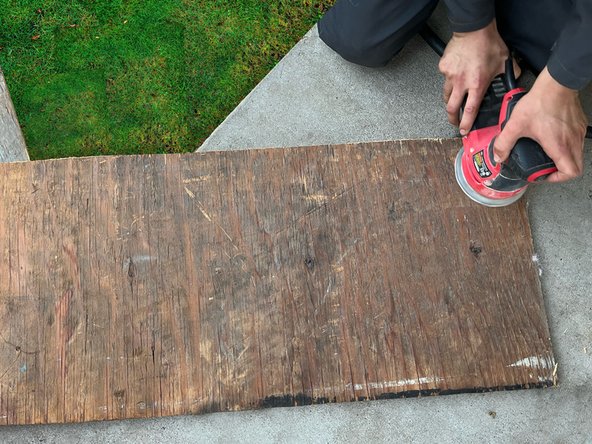
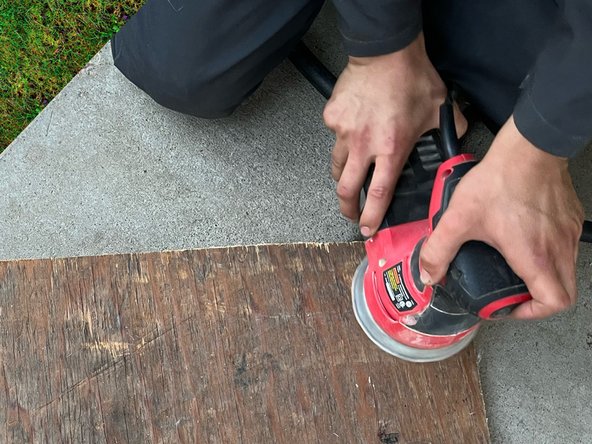
- Sand down the wooden plank.
- Using wood glue, apply to all three sides of the bottom of the dress slide.
- Firmly place the top of the dresser onto the glue.
- Using the remaining of the wood measure for the back side of the dresser.
- Cut the measured wood.
- Sand down the wood.
- Add wood glue to the back side of the dresser.
- Using the power drill, drill holes to place the corner brace (repeat on both sides top and bottom).
- Once all corner braces are placed, Dresser will have all four sides and bottom wood.