HyperX Pulsefire Haste Battery Replacement
ID: 178254
Description: After continuous usage, the batteries of...
Steps:
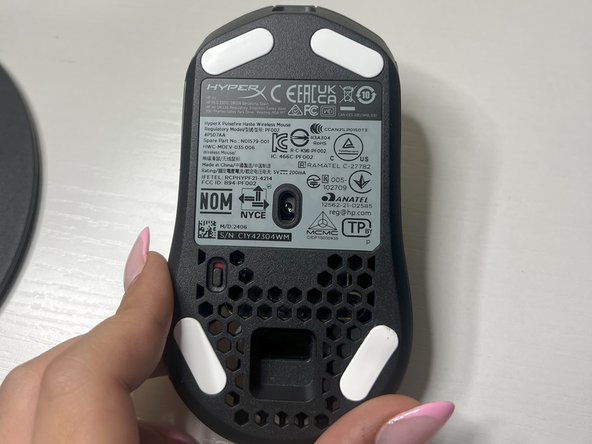
- Power off the mouse using the switch located underneath and rest on the underside.
- Using the plastic spudger, remove the white mouse sticker grips on both sides of lower portion of the bottom mouse to reveal the screw holes underneath.
- Remove both of the screws on the bottom of the mouse using a TR6 Torx screwdriver.
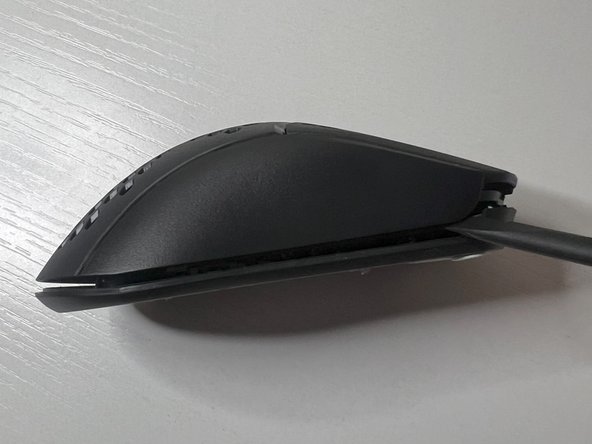
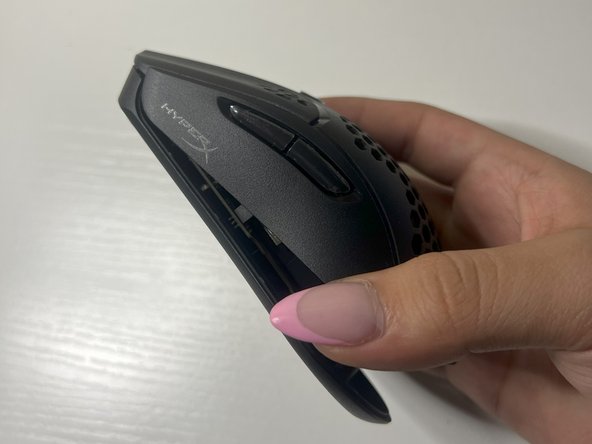
- Use the plastic spudger to separate the mouse covering from the base on both sides of the mouse.
- It is helpful to place the spudger in the front crevices underneath the mouse buttons and move in upward and downward motions until it loosens.
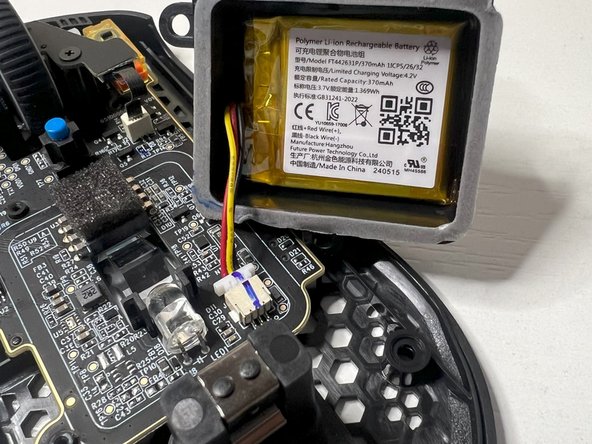
- Remove the three screws located on the battery casing at the top, left, and right sides using a TR6 Torx screwdriver.
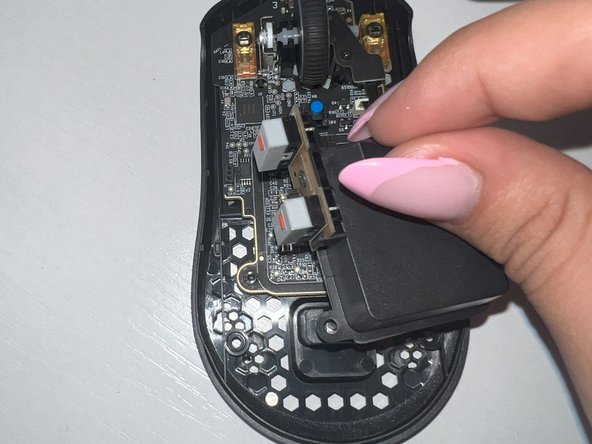
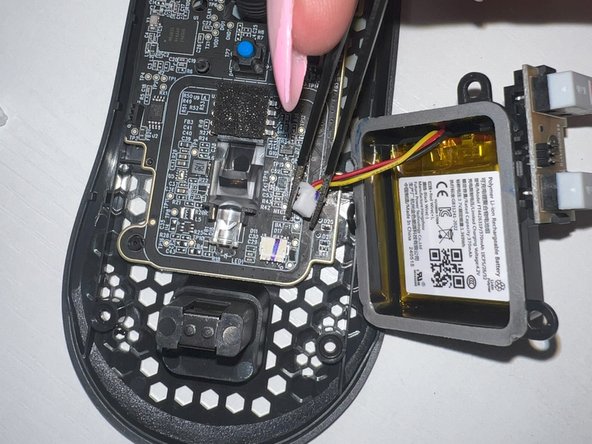
- Use the plastic spudger to gently lift the battery cover with the battery inside, ensuring the wiring is still connected, setting it nearby.
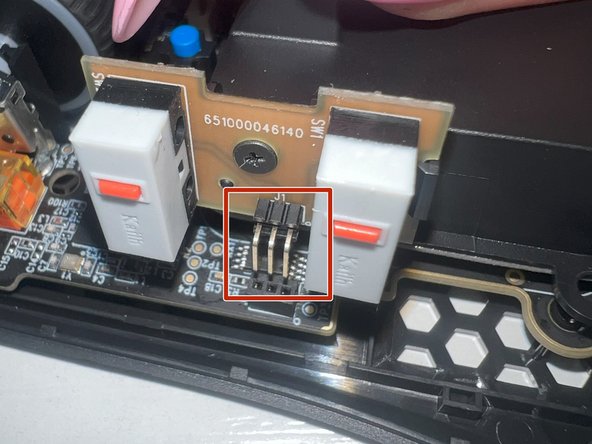
- Use the tweezers to grab the white connector and remove the battery wiring from the mouse base.
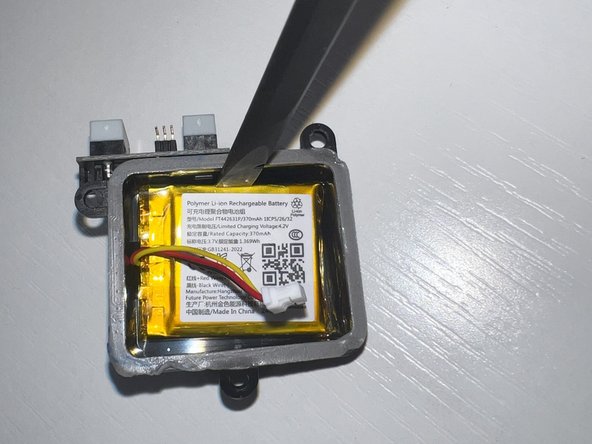
- Place the new battery with the label facing upwards into the casing.
- Ensure you set the old battery aside to be able to be properly disposed of, either by taking it to a recycling center or returning it to the retailer. Do not throw the battery in the trash.
- Using the tweezers, gently connect the wire back to its location, while ensuring the three pins are back in their original pinholes.
- Using the TR6 Torx screwdriver, screw back all three of the screws originally taken off of the battery casing.
- Place the mouse covering back on, ensuring the component is properly aligned with the screw holes underneath.
- Screw both of the outer screws back on the lower bottom of the mouse using a TR6 Torx screwdriver.
- Place the mouse sticker grips that you previously took off back on to cover the screw holes.