Sony WH-XB910N Headphone Cushions Replacement
ID: 178333
Description: Headphone cushions can get worn down and broken...
Steps:
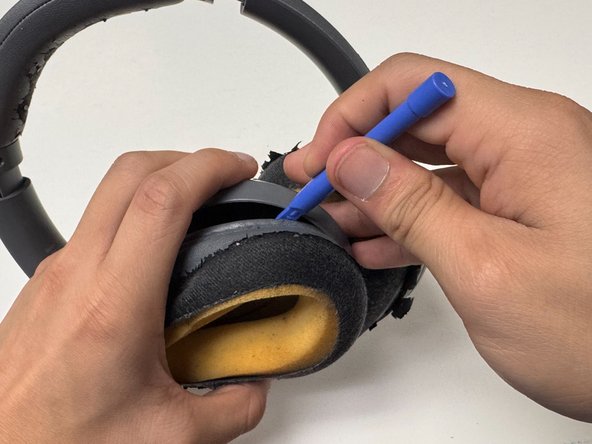
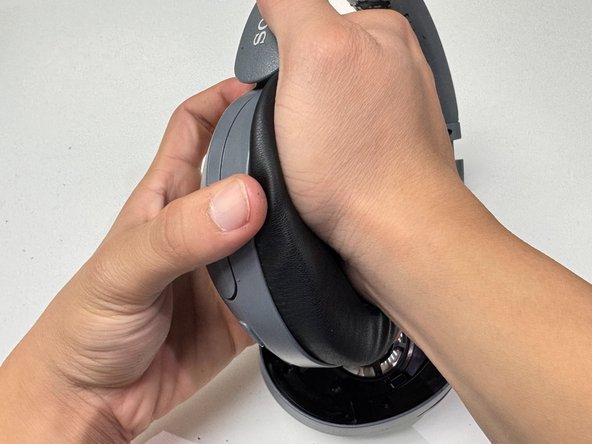
- Insert the prying tool between the left cushion and the plastic.
- This guide will be starting with the left side of the headphones, but the order doesn’t really matter.
- Pry the cushion apart from the plastic. You will hear a small click as the cushions become unclipped.
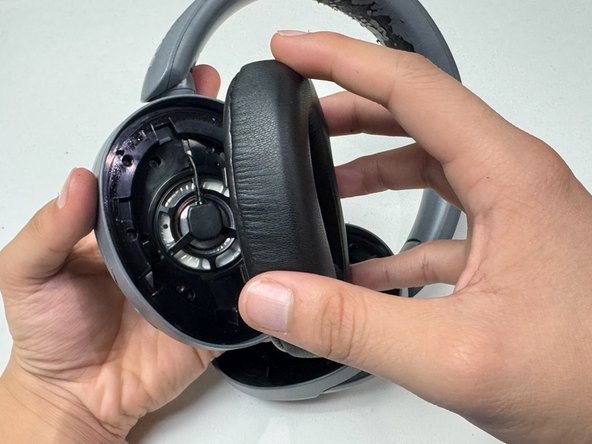
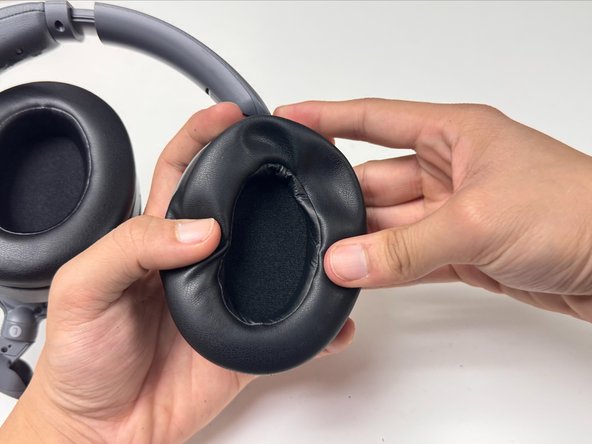
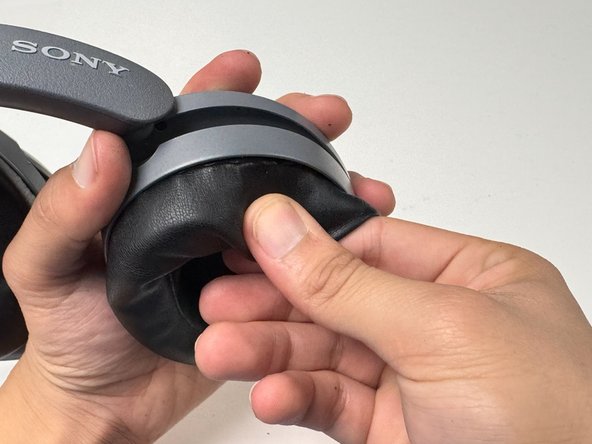
- Work your way around the cushion until the cushion is completely detached.
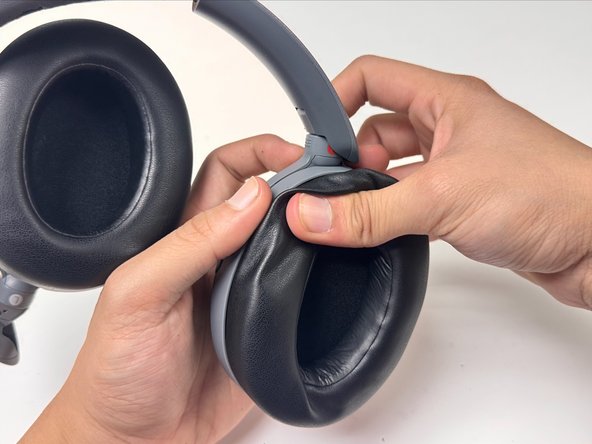
- There will be some bumps around the lining that may prevent you from sliding the prying tool around the cushion. Do not force your way through them; instead re-insert the tool past the point and work from there.
- Repeat the previous step with the right side cushion.
- Insert the prying tool and use it to unclip the cushion.
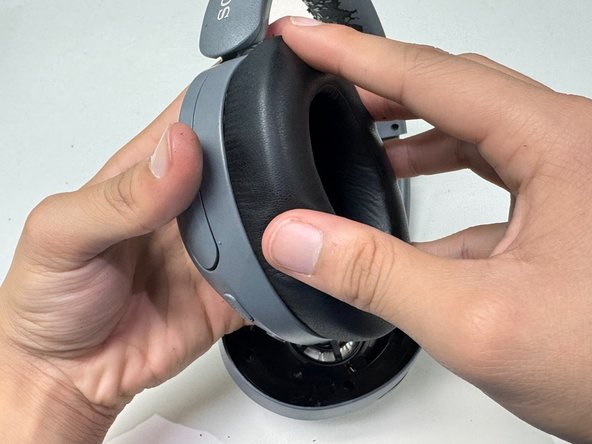
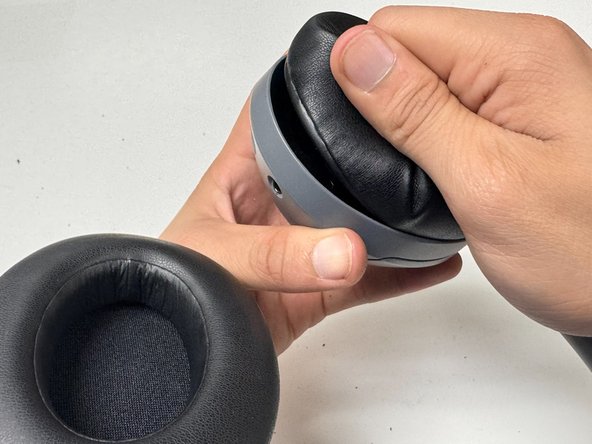
- Line the tabs on the replacement cushion up with the slots in the left side of the headphones.
- Both the replacement cushions are the same, so don’t worry about trying to figure out which one is which.
- Place the cushion, making sure to keep the tabs lined up.
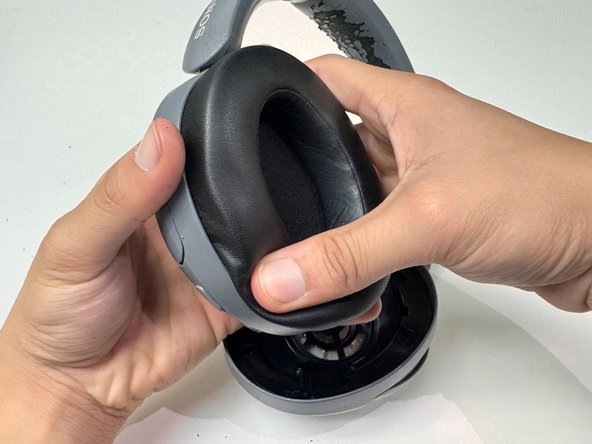
- Push down on the cushions to connect them into place.
- Make sure to apply pressure around the whole cushion.
- You should hear clicks when it connects.
- Repeat steps 3 and 4 for the right cushion, again making sure to apply pressure around the entire cushion.
- Lightly tug on the cushions to make sure that they’re secure.
- Don’t pull too hard; if any of the tabs didn’t connect it will be obvious (see the second picture).
- Make sure to check both the left and right side, and to check the entire cushion.
- If anywhere isn’t secure, push down on it again like in Step 5.
- Once both replacement cushions are secure, the fix is complete.