Planck OLKB-48 Key Switch Top Housing Replacement
ID: 178456
Description: In this guide you will learn how to replace the...
Steps:
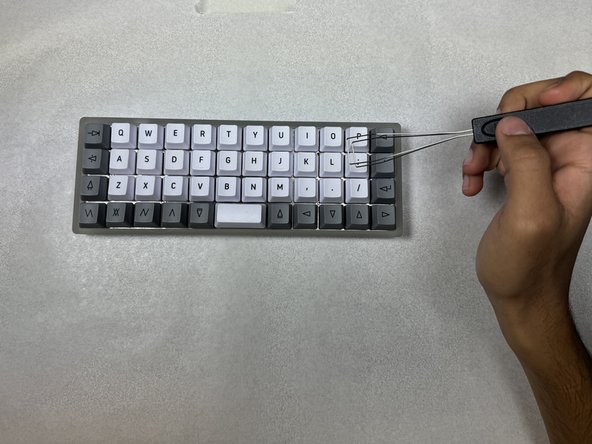
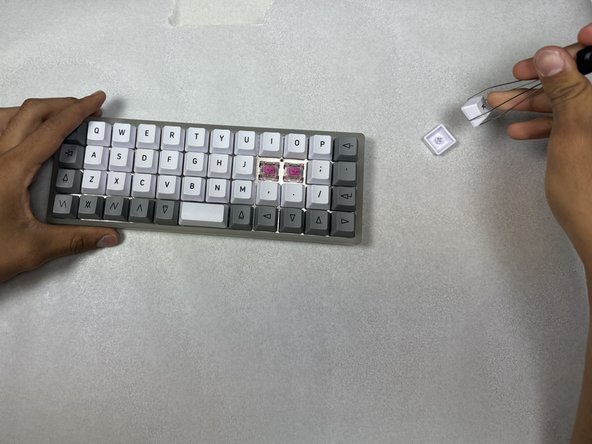
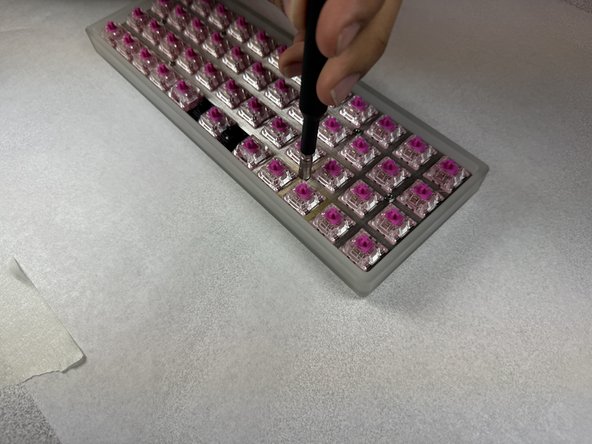
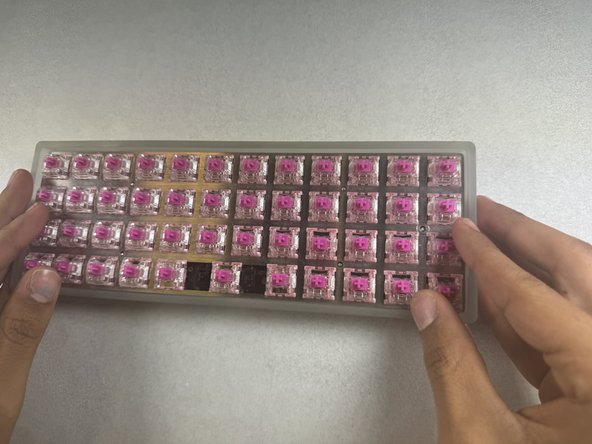
- Use a keycap puller to remove all the keycaps from the keyboard.
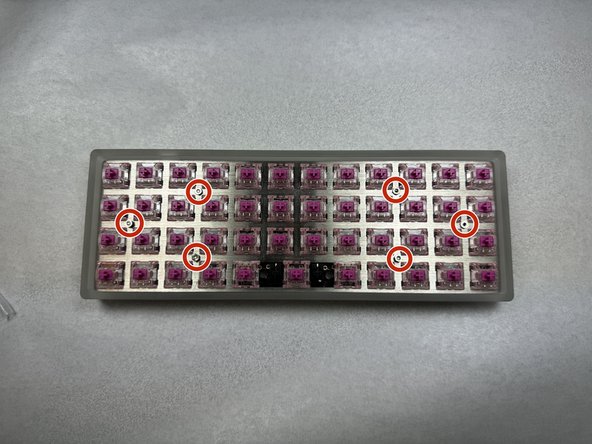
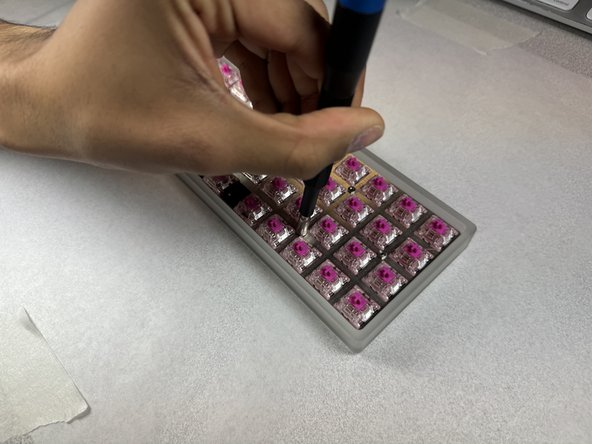
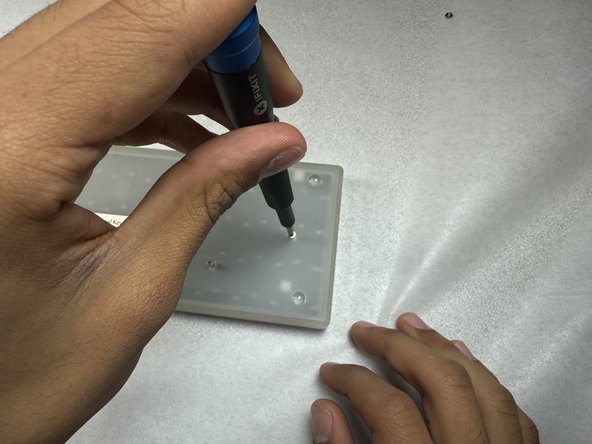
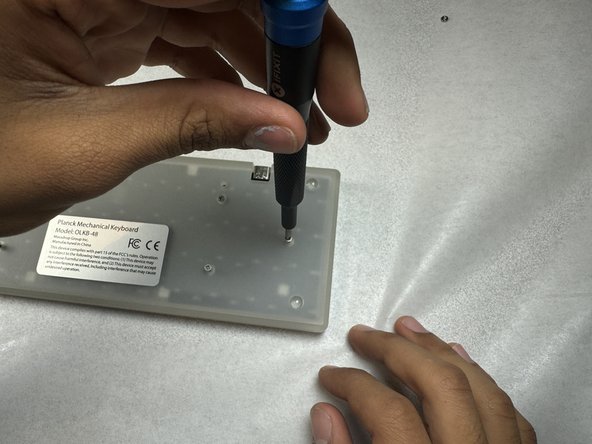
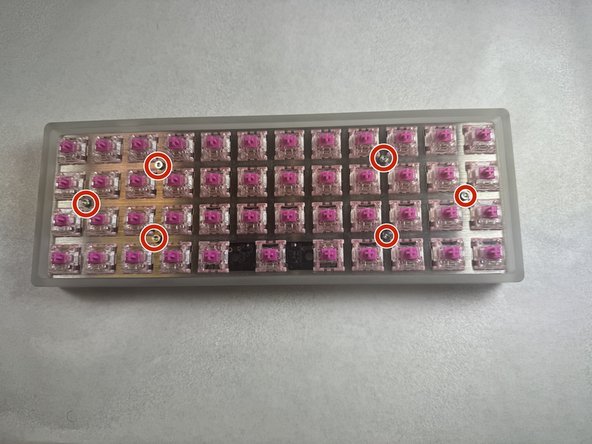
- Remove the six nuts using a 3.5 mm nut driver.
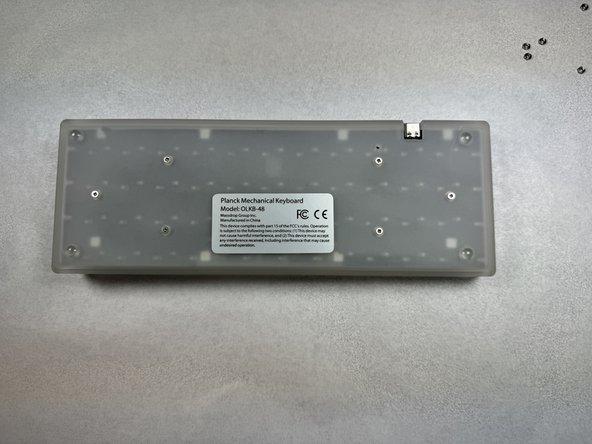
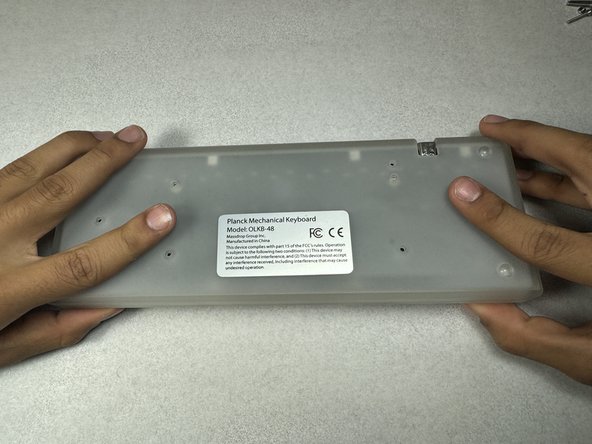
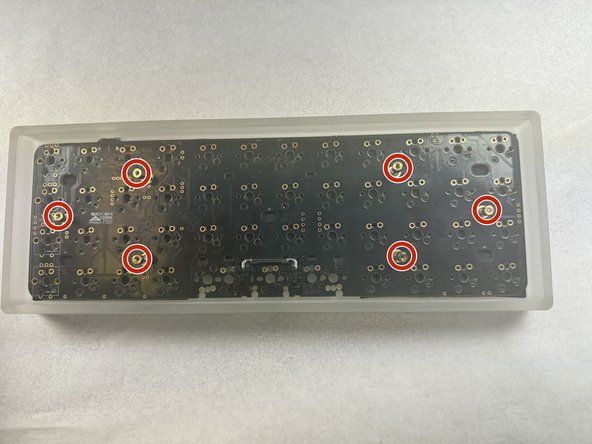
- Flip the keyboard over.
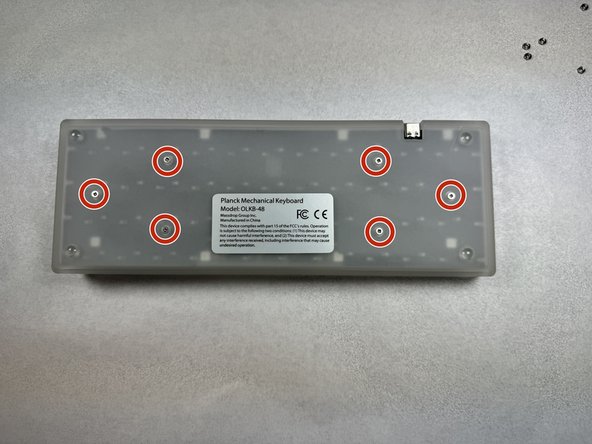
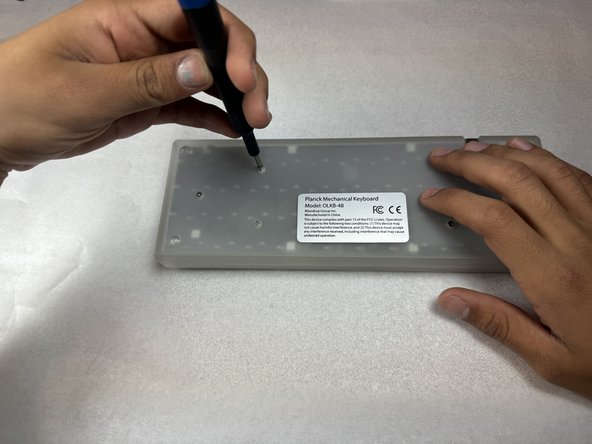
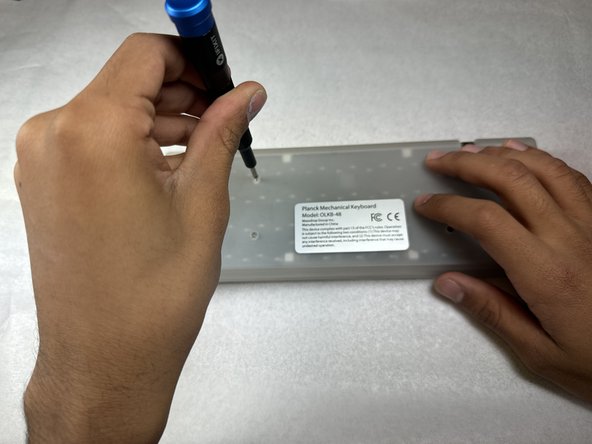
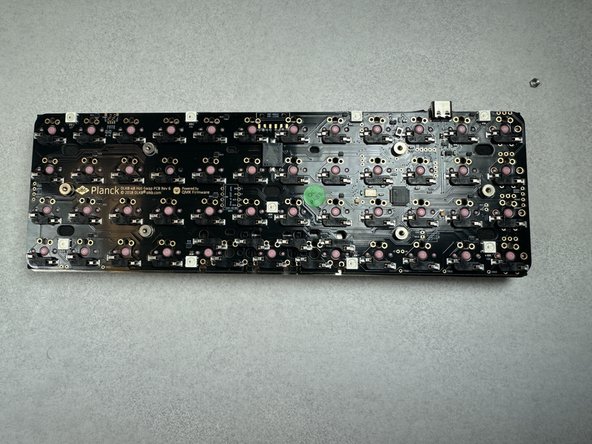
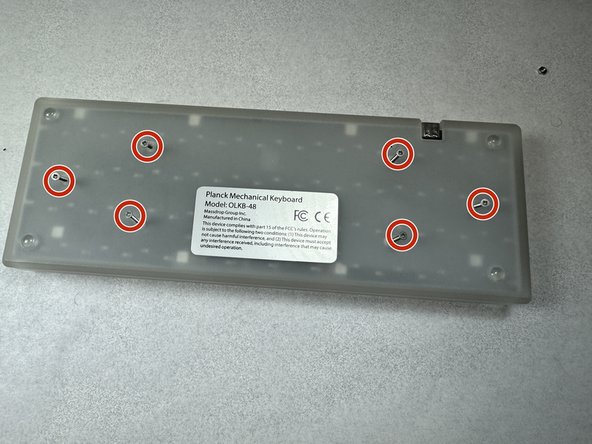
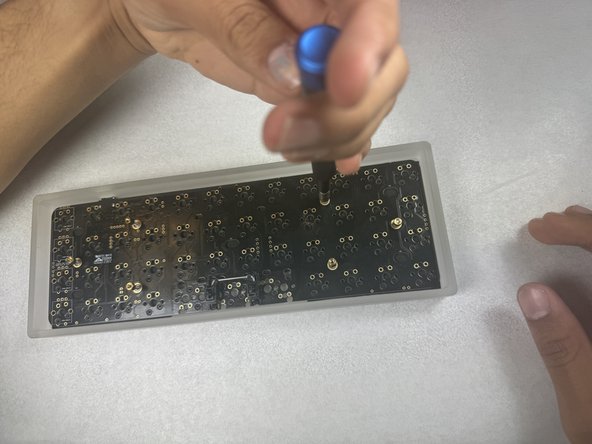
- Remove the six 6.2 mm Phillips #0 screws that secure the lower case.
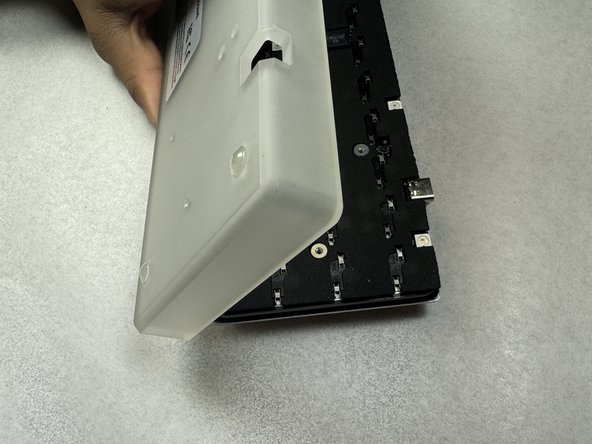
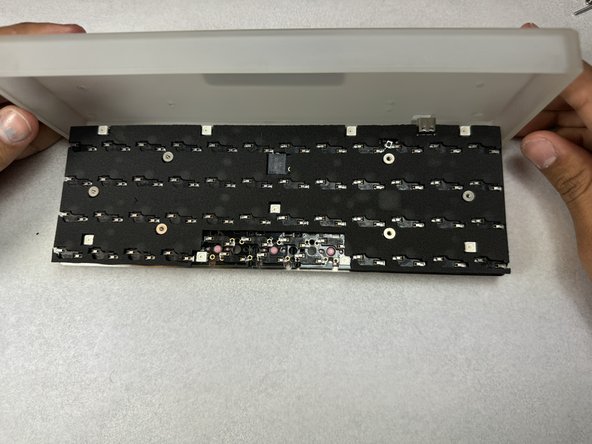
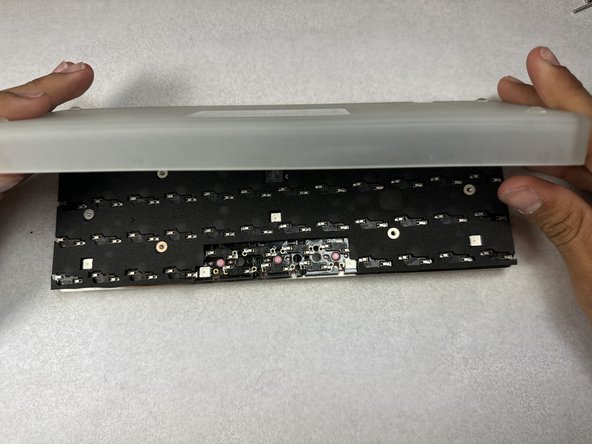
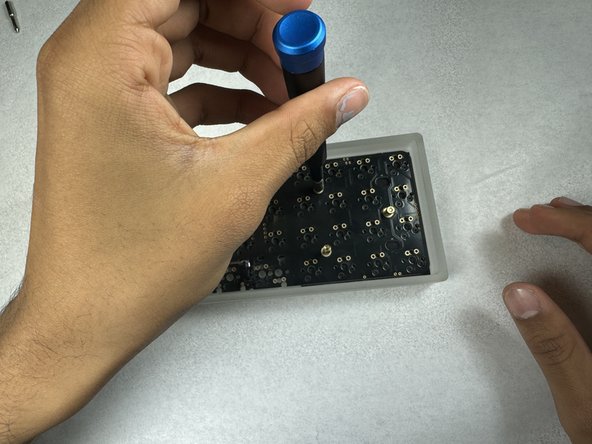
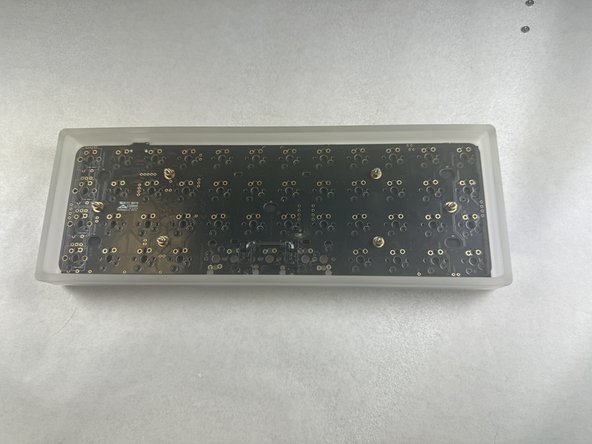
- Remove the lower case.
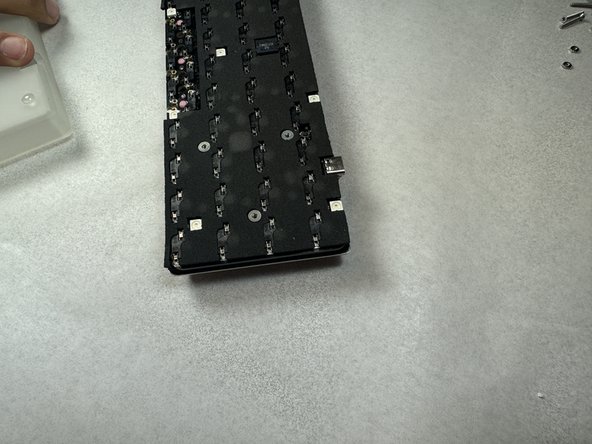
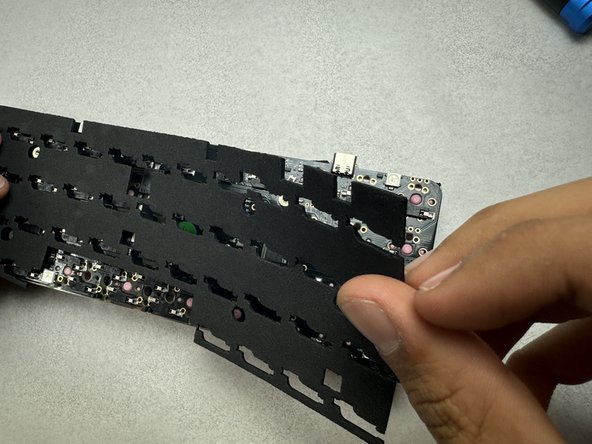
- Remove the thin layer of foam padding.
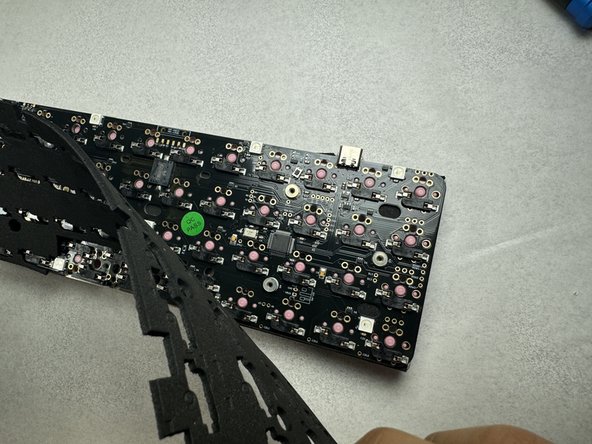
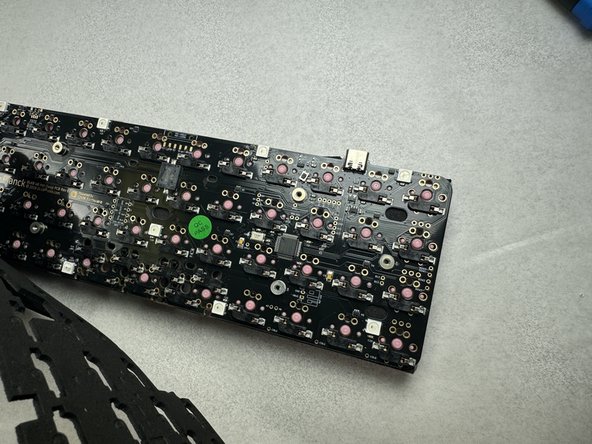
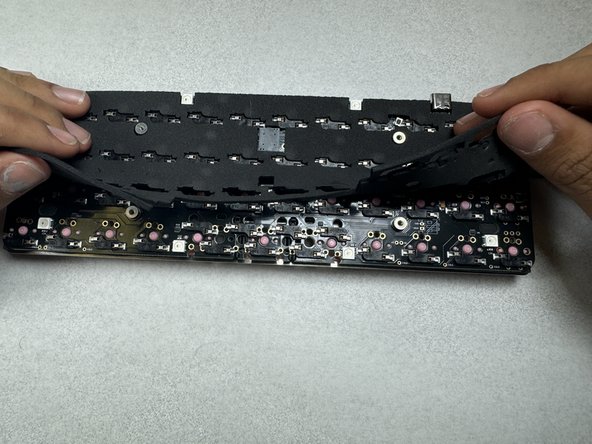
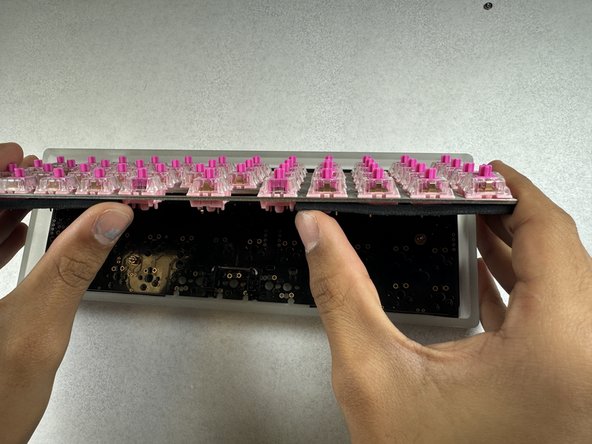
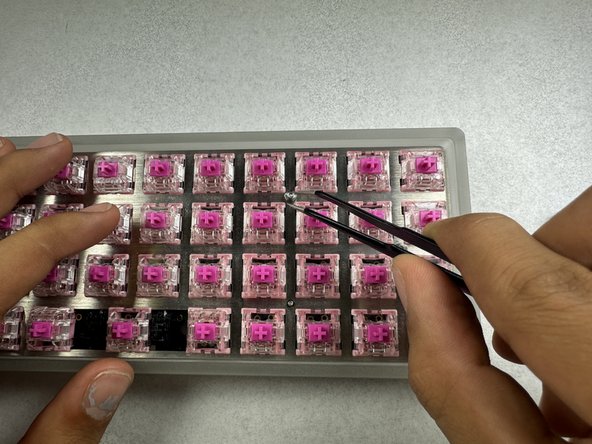
- Separate the top layer of the board to access the broken key switch.
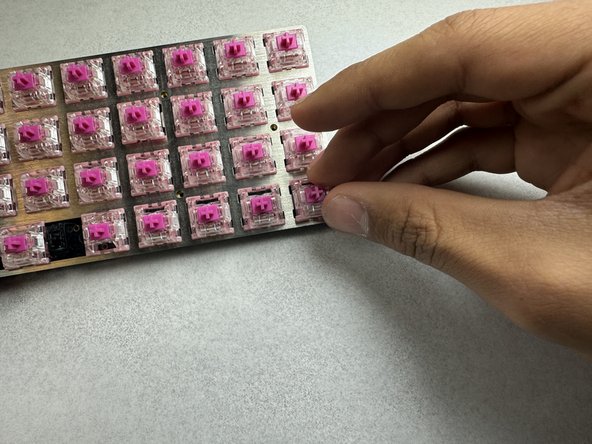
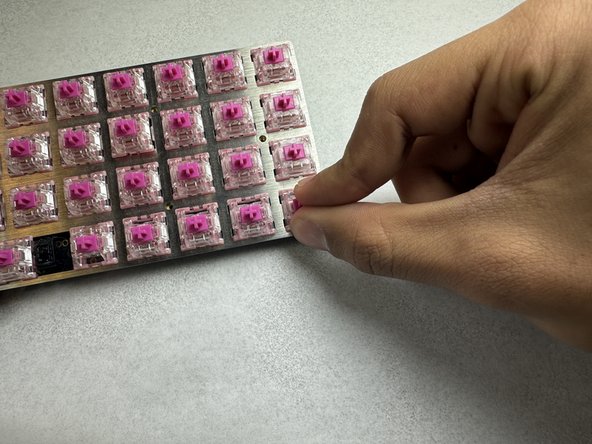
- Remove the damaged key switch by pulling it out of the frame.
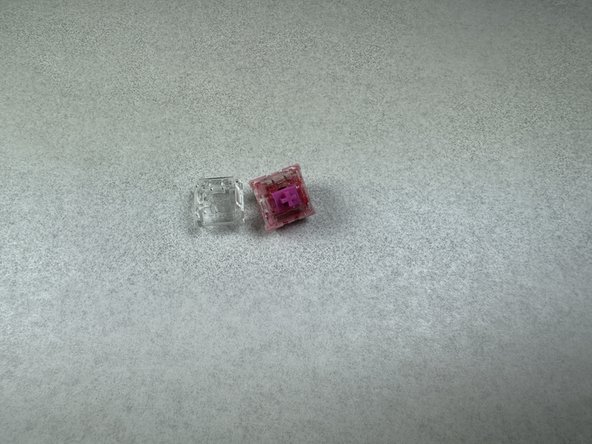
- Place the broken switch down.
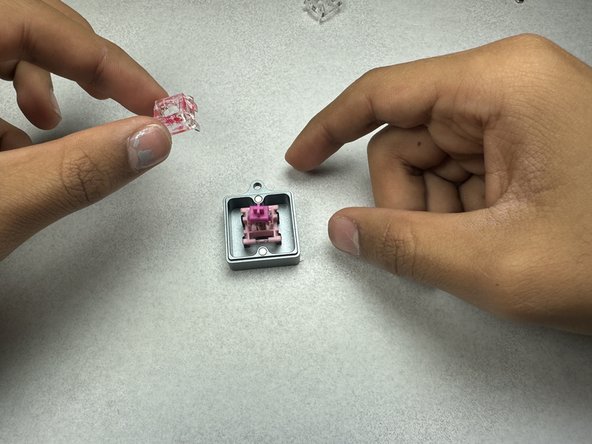
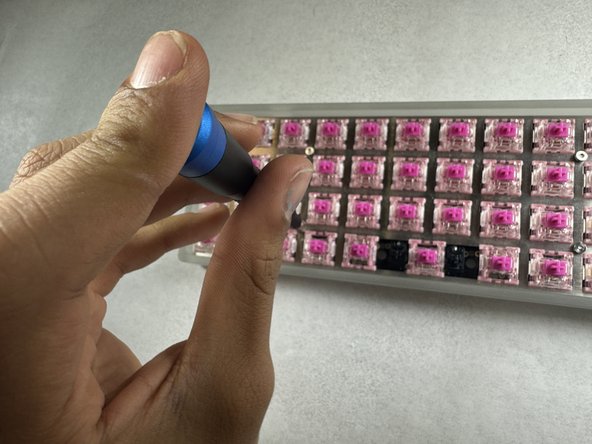
- Get a replacement top housing and place it next to the broken switch.
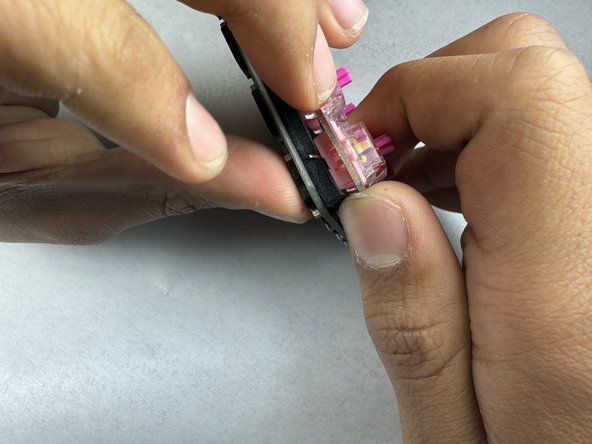
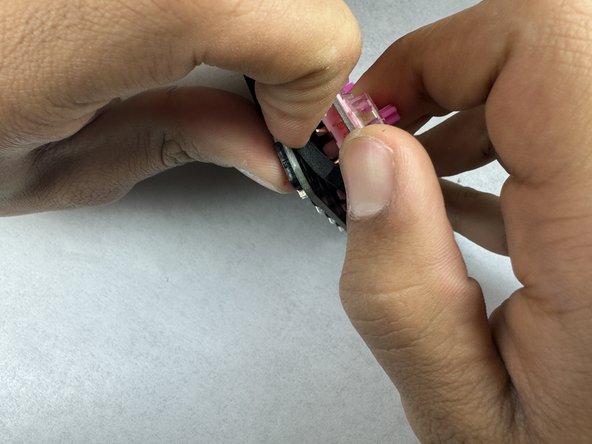
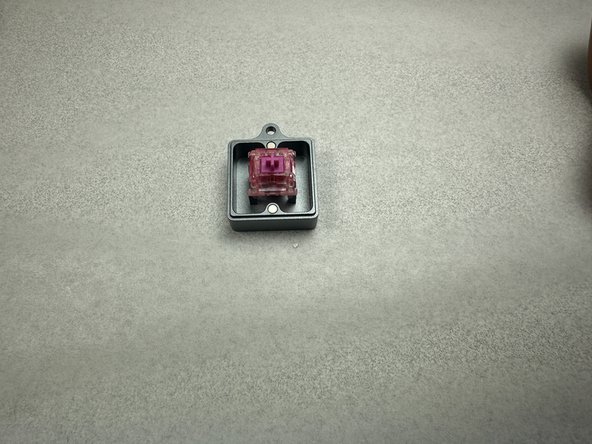
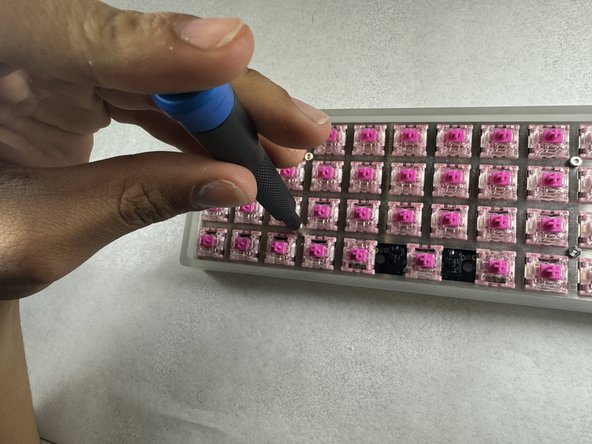
- Place the broken switch into the switch opener.
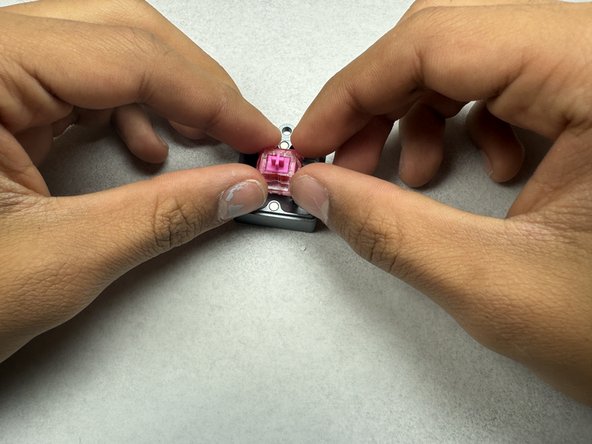
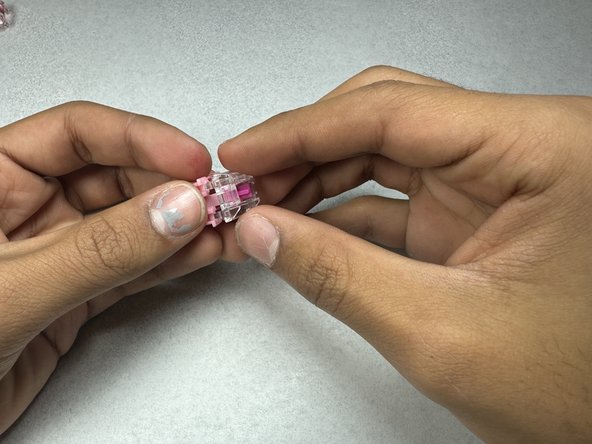
- Apply pressure to the top housing.
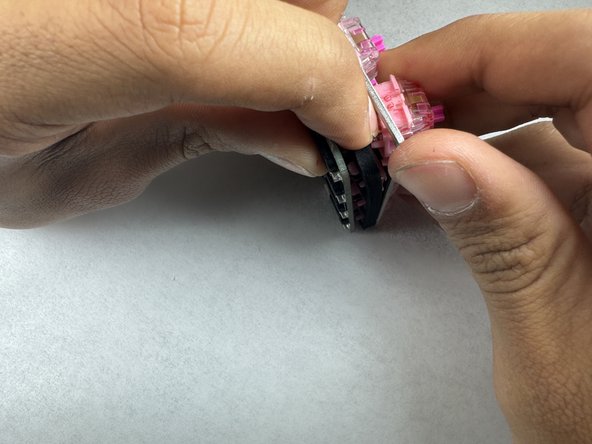
- Slowly lift the top housing. It should easily pop off the key switch.
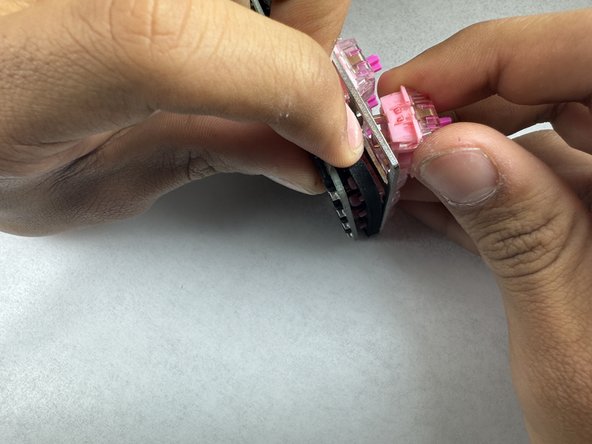
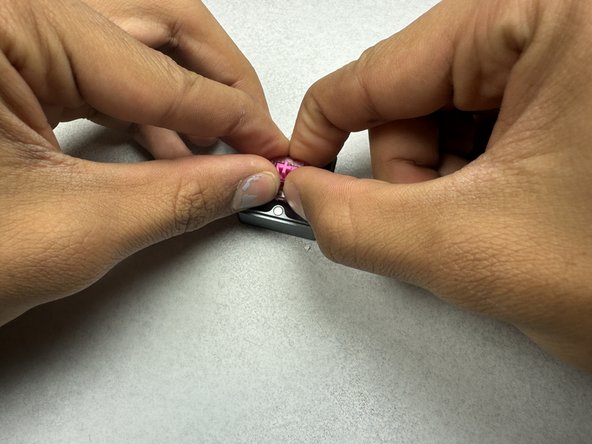
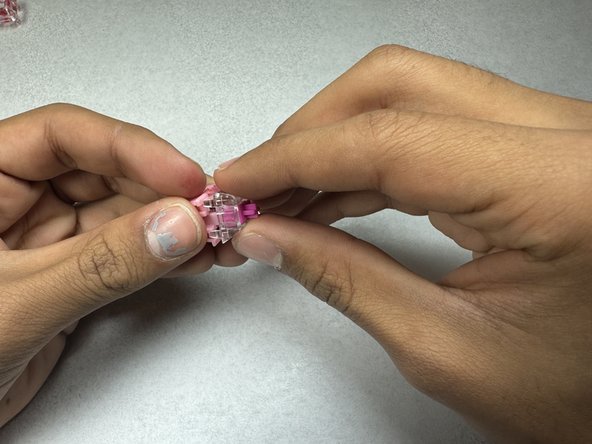
- Take the replacement top housing and place it on top of the key switch.
- Push down firmly until it has connected to the bottom housing.
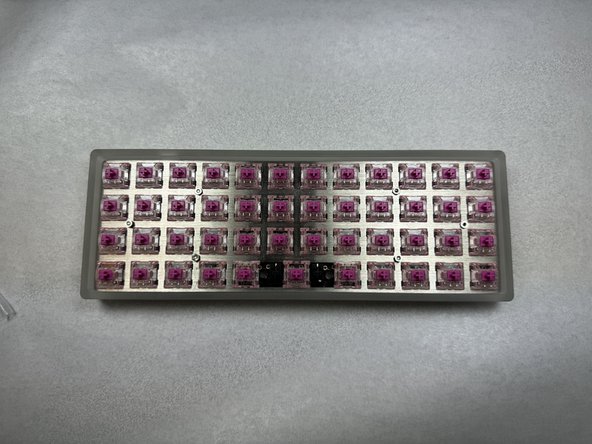
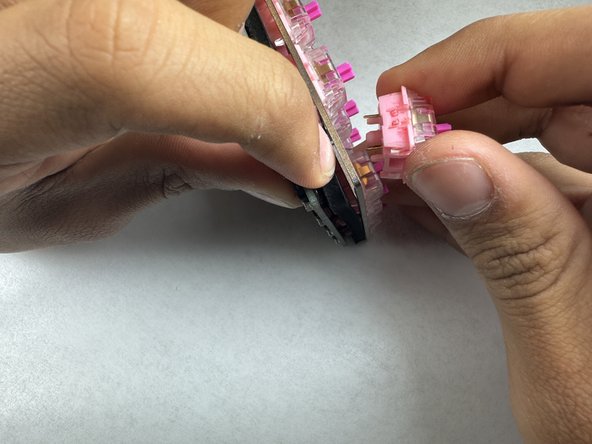
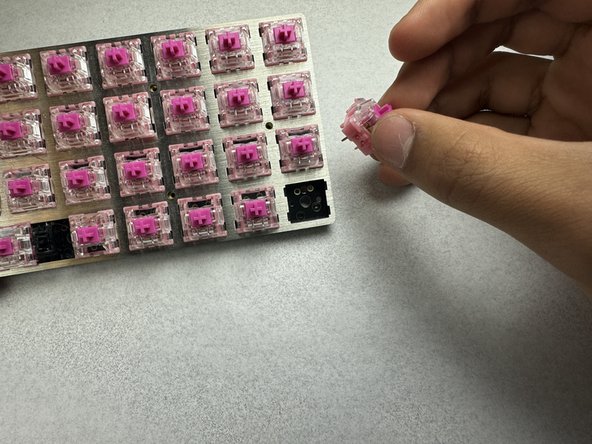
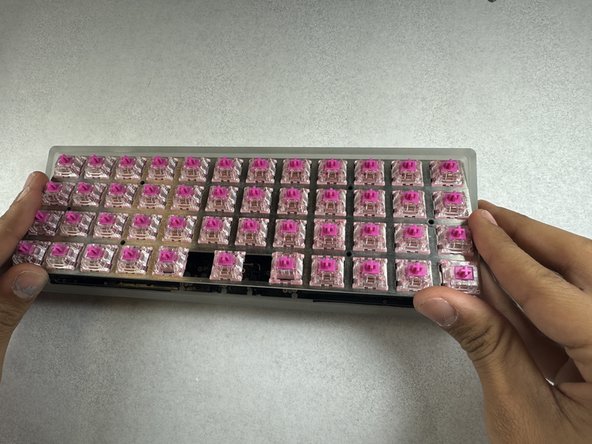
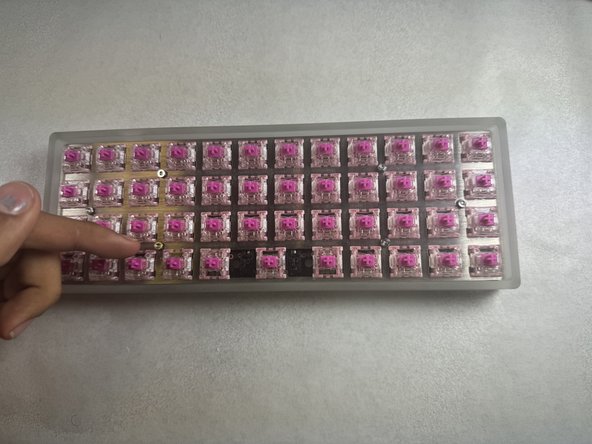
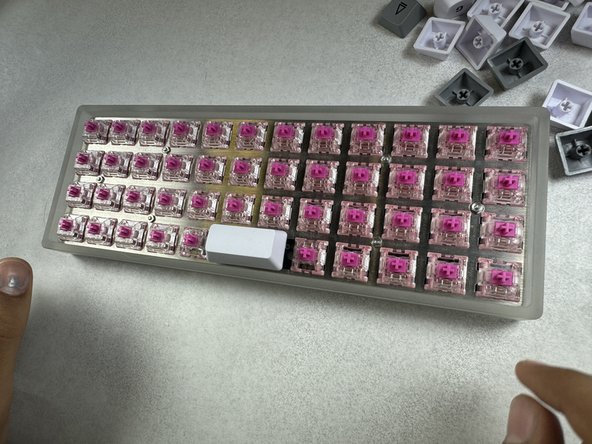
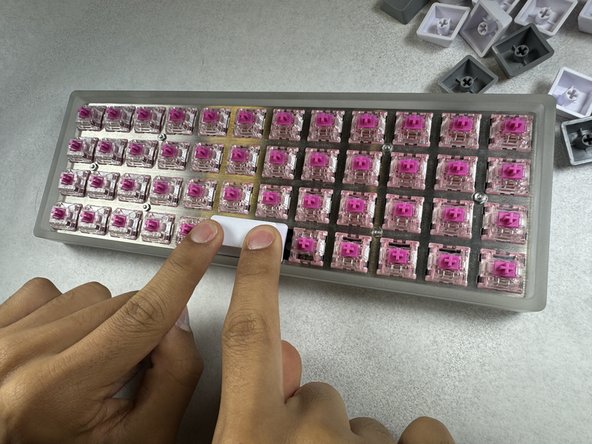
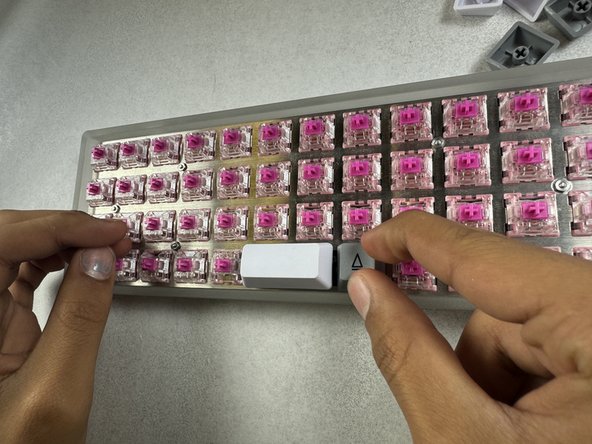
- Place the fixed switch back into the keyboard frame.
- Apply pressure to ensure it is attached securely.
- Flip the keyboard over.
- Reattach the thin foam layer.
- Place the bottom frame back onto the keyboard frame.
- Reinstall the six 6.2 mm Phillips #0 screws into the lower case.
- Flip the keyboard over.
- The nuts will have fallen off after Step 13, so place them on top of the screws.
- Use a screwdriver with a 3.5 mm nut driver to secure the six nuts.
- Place the keyboard frame back on the back plate.
- Replace the 6 nuts removed in Step 3.
- Use a screwdriver with a 3.5 mm nut driver to tighten the nuts.
- Place the key caps back onto the switches.
- Apply pressure to ensure they attach properly.
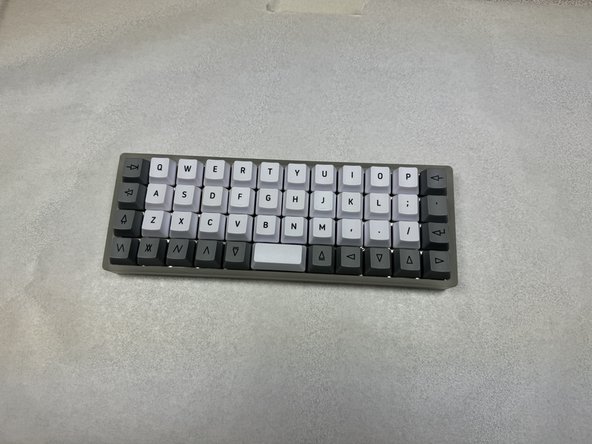
- Finish replacing the remainder of the key caps.