How to Repair Loose Wallpaper Seams
ID: 178545
Description: Wallpaper can add warmth and style to any room,...
Steps:
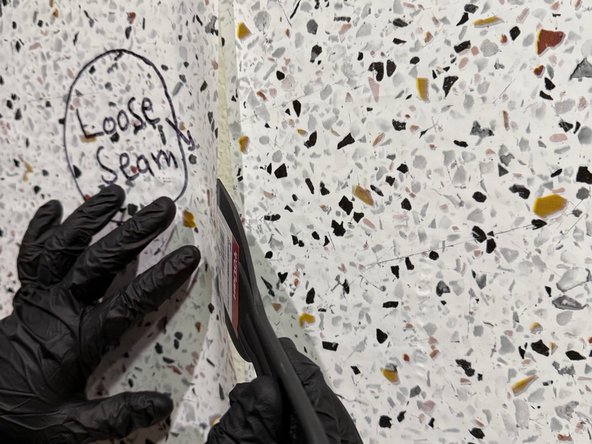
- Use a putty knife to gently lift the loose seam of the wallpaper.
- Aim to lift just enough to apply the adhesive underneath.
- Take care not to damage the surrounding wallpaper or the wall itself.
- Before making any repairs, ensure the area around the loose seam is clean.
- Wipe away any dust, dirt, or debris with a dry cloth.
- This step will help the adhesive bond more effectively and ensure a smoother repair.
- Double-check that the area is completely dry before applying adhesive.
- Carefully apply a thin layer of wallpaper adhesive beneath the lifted seam.
- A thin adhesive layer prevents excess from seeping when pressed on the seam.
- Cover the entire area you will reattach, ensuring an even distribution for a strong bond.
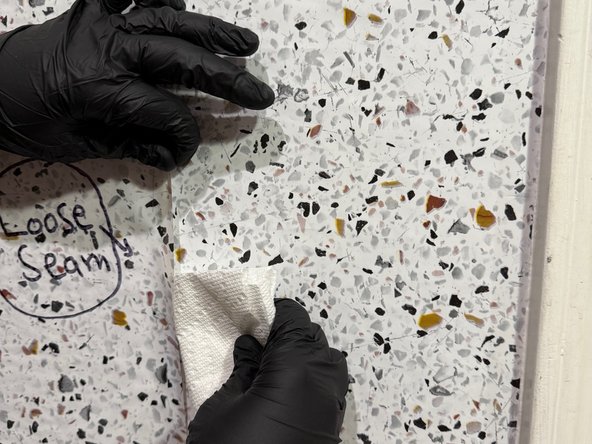
- Start at the center of the seam, pressing it down firmly, and then work your way outward to ensure a smooth and secure bond.
- This technique helps eliminate air bubbles and ensures that the seam adheres thoroughly.
- Use your hand or putty knife to smooth it out and secure it.
- Use a clean, damp cloth or sponge to wipe away any excess adhesive that has squeezed out from under the seam and clean the area.
- Cleaning up the excess adhesive ensures a neat appearance and prevents unsightly residue.
- Follow the adhesive manufacturer’s instructions regarding drying time.
- Do not touch or disturb the area until the adhesive fully sets.
- Improper drying time may result in a weak bond, compromising the strength and durability of the adhesive.