Lenovo IdeaPad 3-1481W000NGUS Motherboard Replacement
ID: 178918
Description: A motherboard replacement is necessary when the...
Steps:
- Orient the laptop so that the bottom is facing up.
- Remove the six 7 mm screws using a Phillips #00 screwdriver.
- Remove the four 4 mm screws using a Phillips #00 screwdriver.
- Throughout this repair, keep track of each screw and make sure it goes back exactly where it came from.
- Pry up the sides of the back case using the iFixit opening tool. Then, lift to remove.
- You may hear snapping when removing the panel. This is normal!
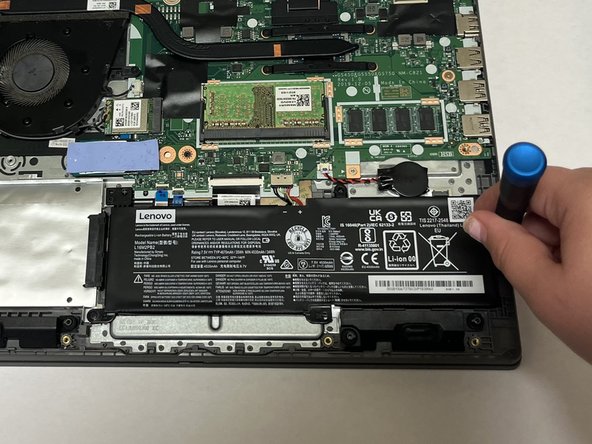
- Remove the three 4 mm screws connected to the battery pack using a Phillips #000 screwdriver.
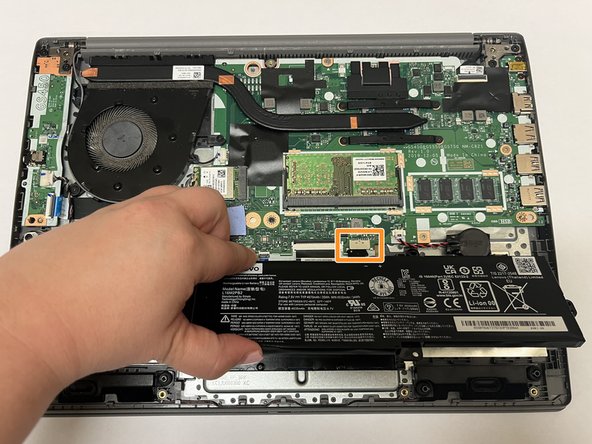
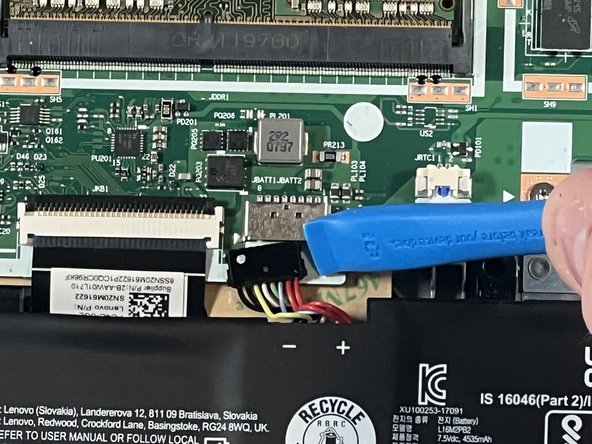
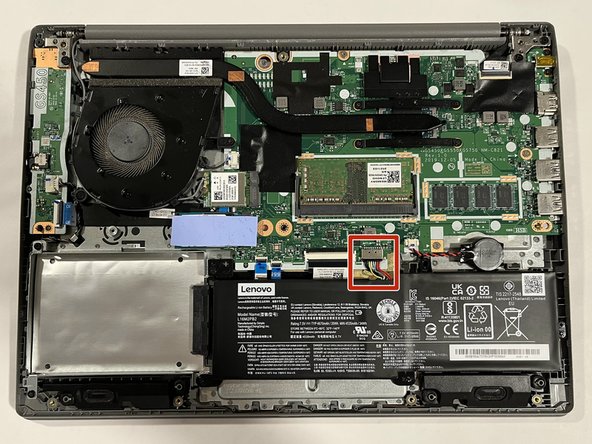
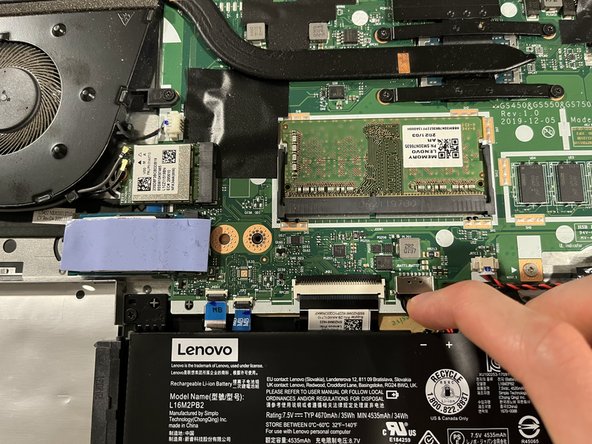
- Disconnect the battery cable from the motherboard.
- Gently lift up the battery pack by hand to remove it.
- Be sure to avoid pulling the plug cable.
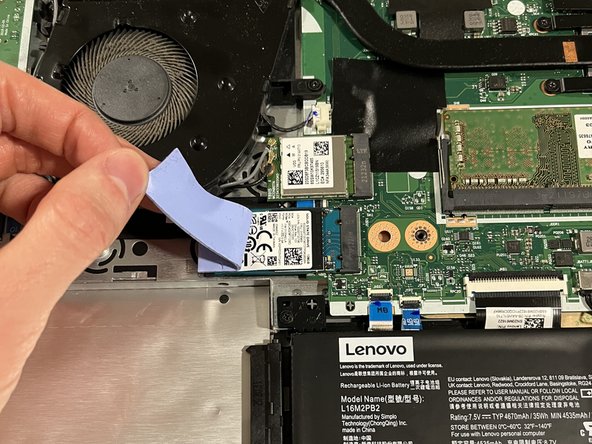
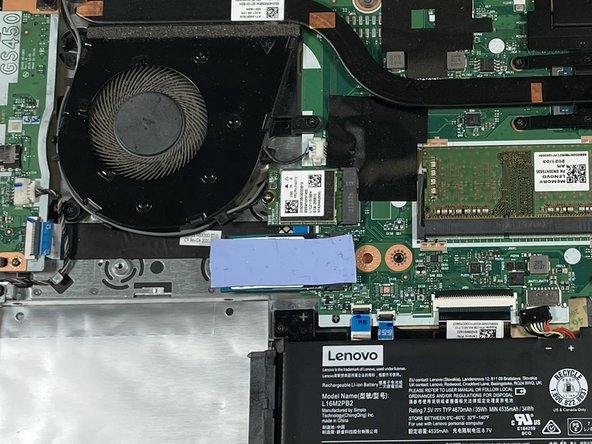
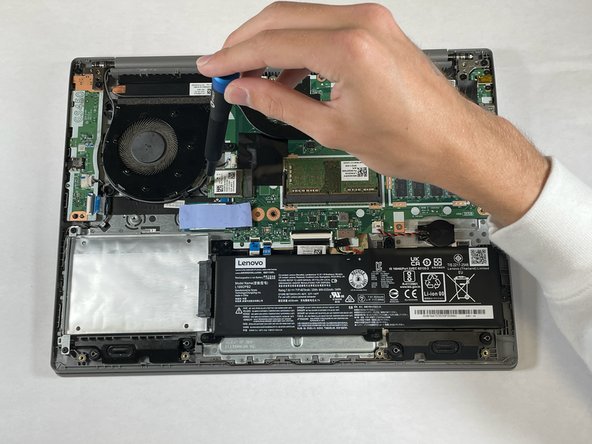
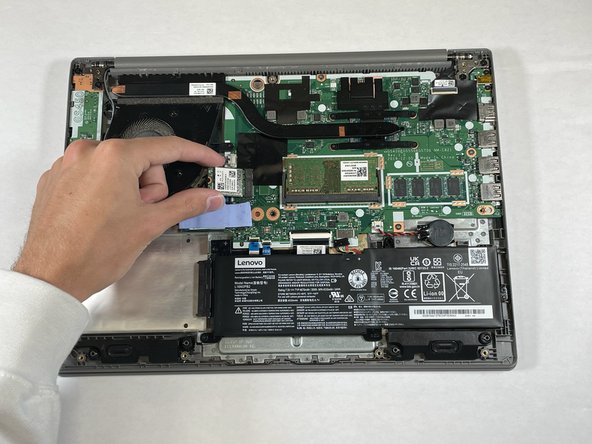
- Gently peel away the blue thermal pad, revealing the SSD underneath.
- Do not set the sticky bottom side of the thermal pad on any surface.
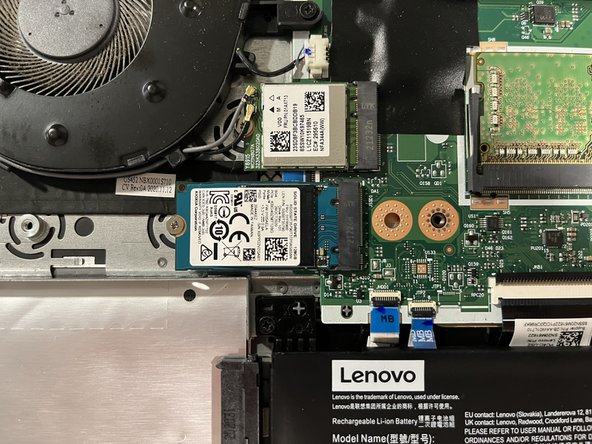
- Remove the 4 mm screw keeping the SSD in place using a Phillips #00 screwdriver.
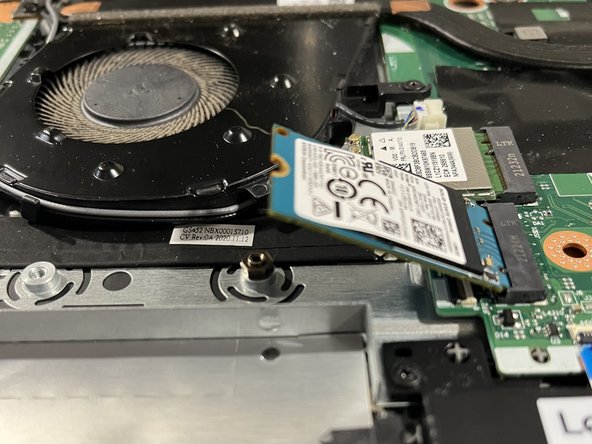
- Pull the SSD out straight, without applying any vertical pressure.
- When removing, do not pull the SSD upwards. This may damage the motherboard slot and hard drive.
- Use your fingernail or an opening tool to gently pull out and disconnect the battery pack cable.
- Do not pull on the cables.
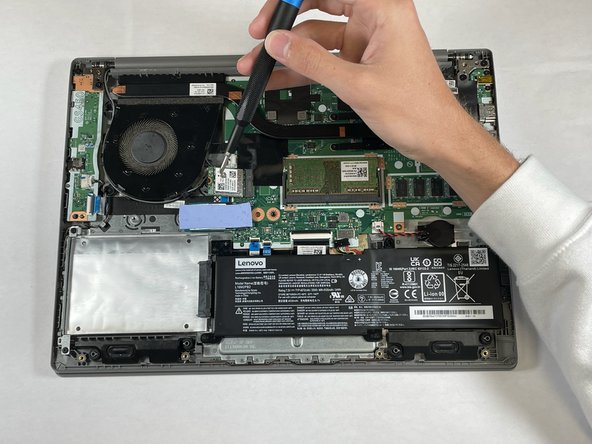
- Use the spudger to remove each cable from the Wi-Fi card, one cable at a time.
- The cables do not need much force to be removed.
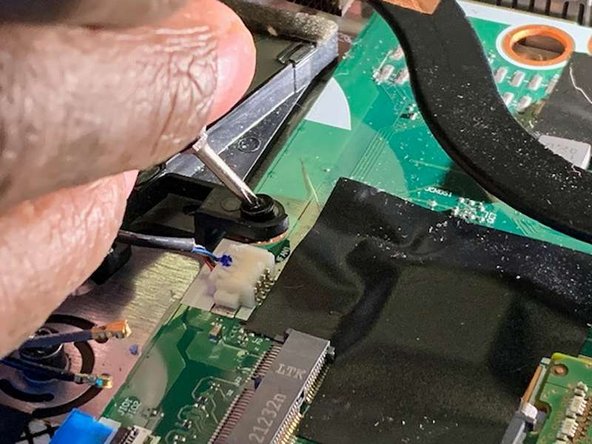
- Remove the single 2 mm screw using a Phillips #00 screwdriver.
- Try not to press to hard down on the computer to avoid damage.
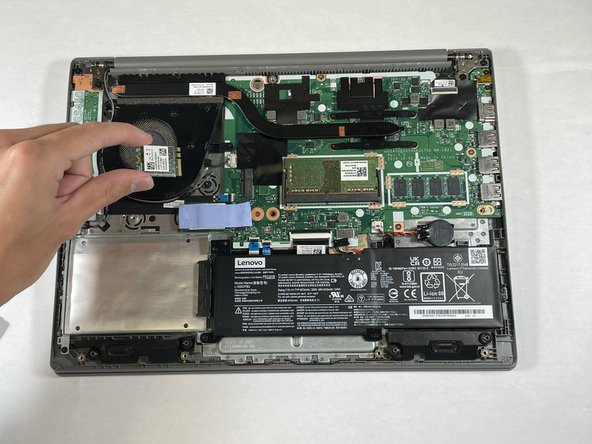
- Pull the card away from the housing capsule on the right side of the Wi-Fi card to remove it from the laptop.
- Make sure no cables are still connected or wrapped around the Wi-Fi card when removing.
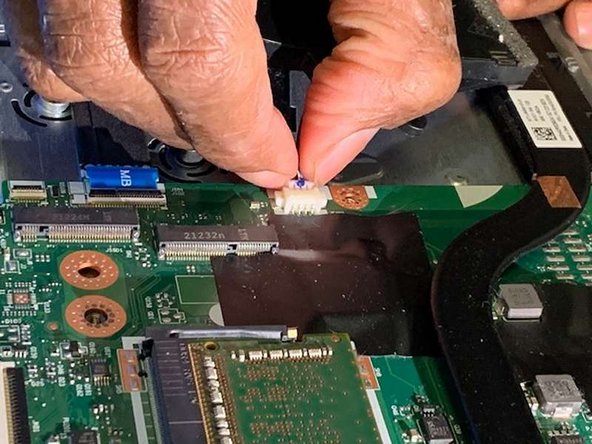
- Use your fingernails to gently "walk" the fan connector out of its motherboard socket.
- Be gentle while unplugging the connector. Using too much force may damage the computer.
- Remove the three 5.5 mm screws that secure the fan with the Phillips #0 screwdriver.
- Unwrap the wires from around the outside of the fan.
- Remove the fan.
- Use your fingernail or an opening tool to gently pull out and disconnect the battery pack cable.
- Do not pull on the cables.
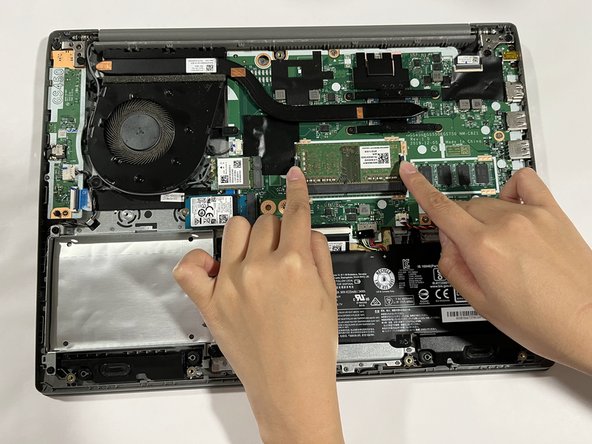
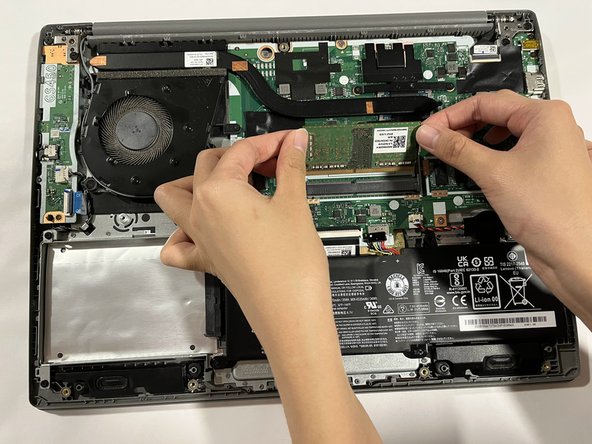
- Disengage the latch of the RAM by pushing outwards on the left and right side of the memory module slot.
- Remove the RAM by sliding it out of its slot.
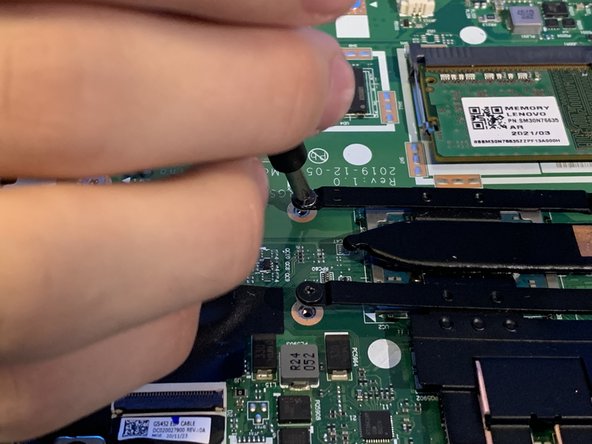
- Remove the four 3 mm Phillips screws that secure the heat sink.
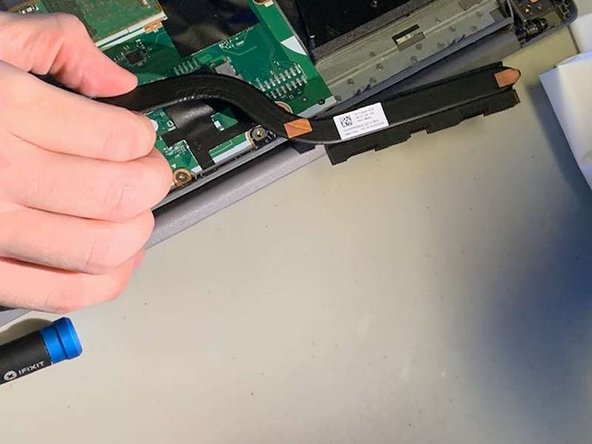
- Gently lift the heat sink up and out.
- Reapply thermal paste before installing a new heatsink.
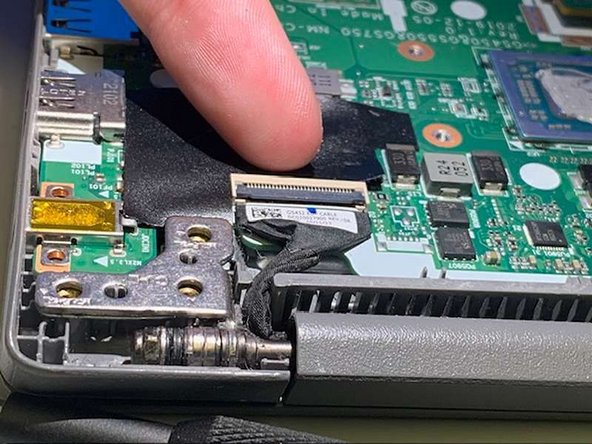
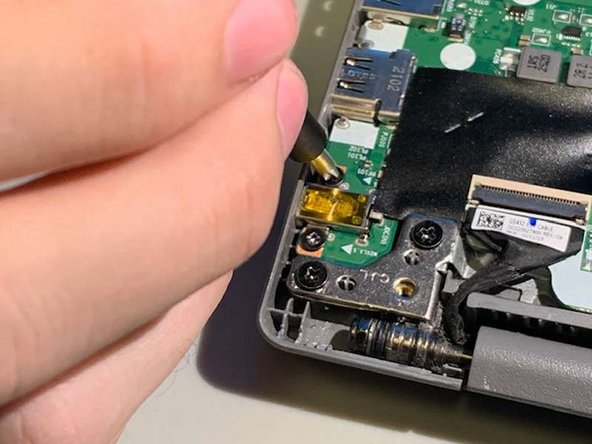
- Lift the black ZIF locking flap and disconnect the display connector.
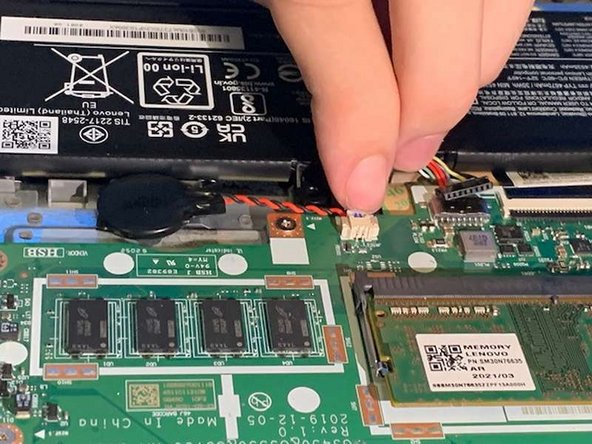
- Use your fingernails to gently "walk" the white CMOS battery connector out of its motherboard socket.
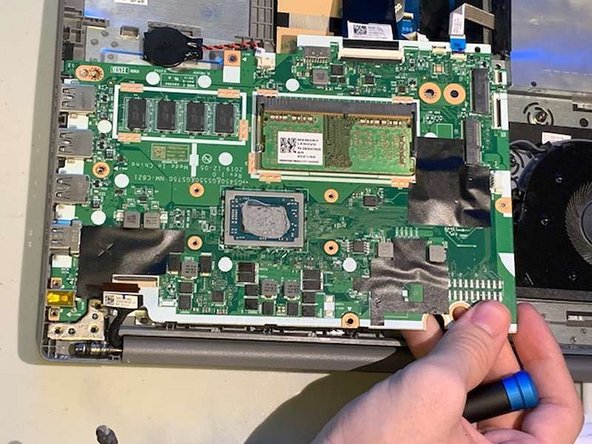
- Remove the seven 4 mm Phillips #00 screws securing the motherboard to the chassis.
- Lift one corner gently. Check for any remaining connected cables, and carefully remove the motherboard out of the case.