JBL Flip 6 Charging Port Replacement
ID: 179152
Description: If your JBL Flip 6 speaker is not charging...
Steps:
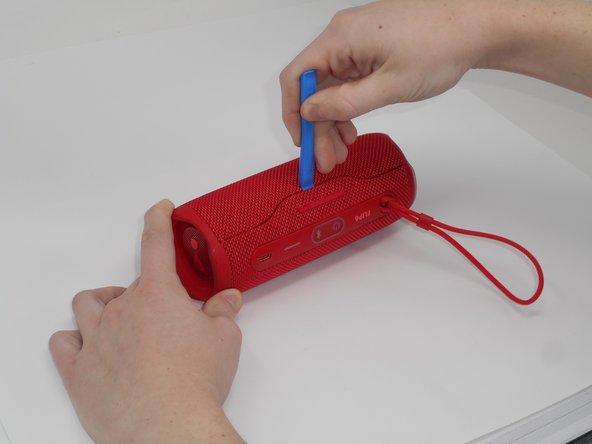
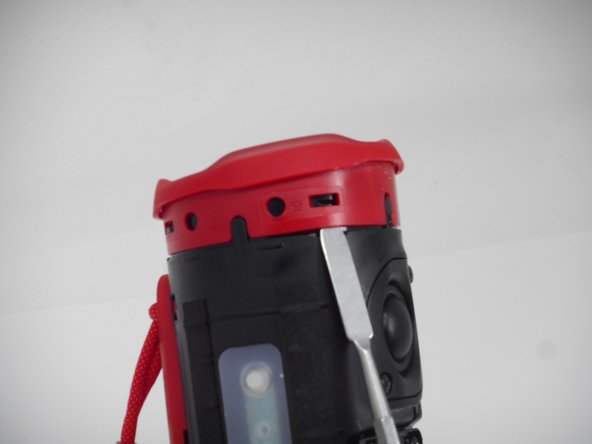
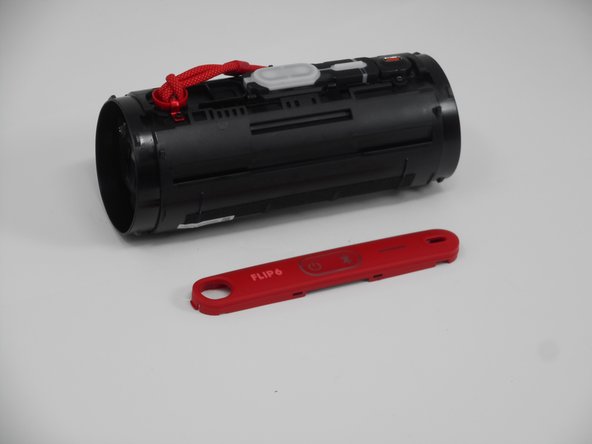
- Using the iFixit opening tool, pry up on the button side of the slot on the case until the clips release.
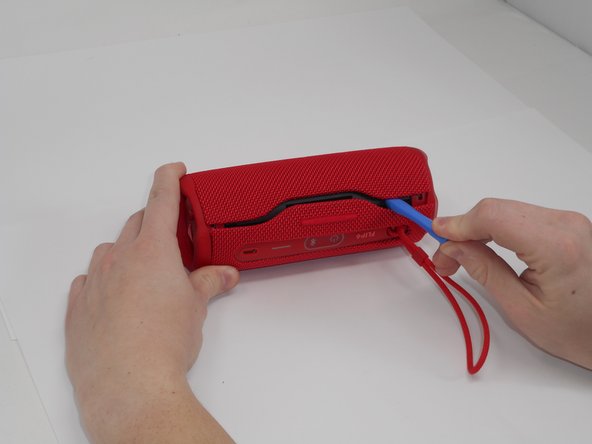
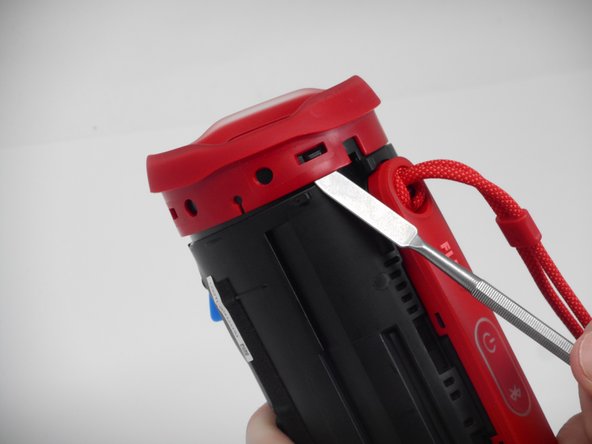
- Now that the gap is larger, using the same tool, pry up on the other side until the clips release.
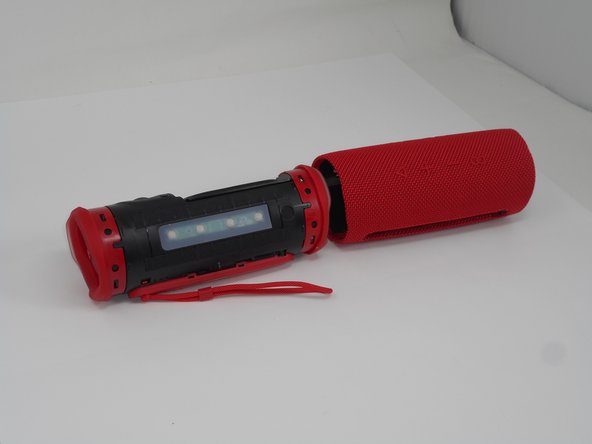
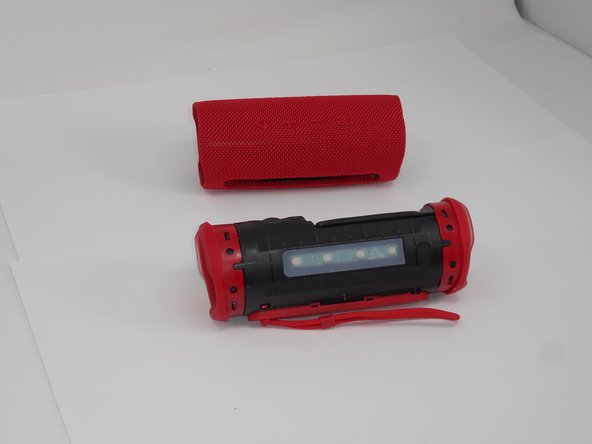
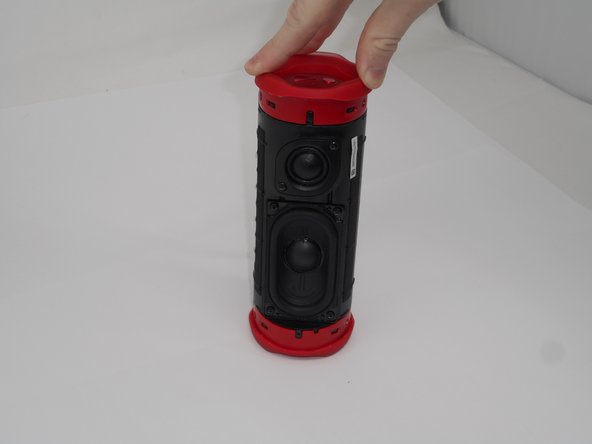
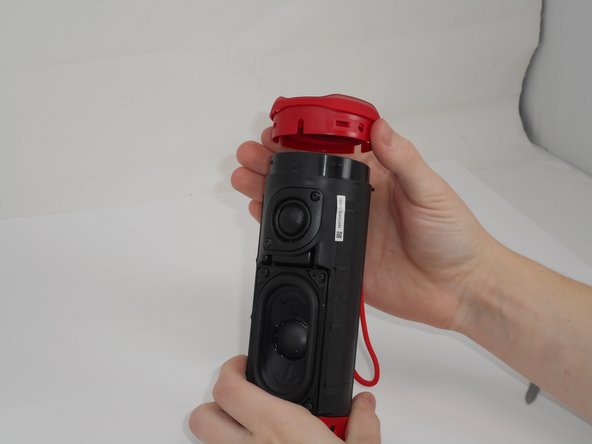
- With all clips released, slide the case off longways.
- You may need to spread it a bit with your hands so that the clips do not become caught on the end pieces.
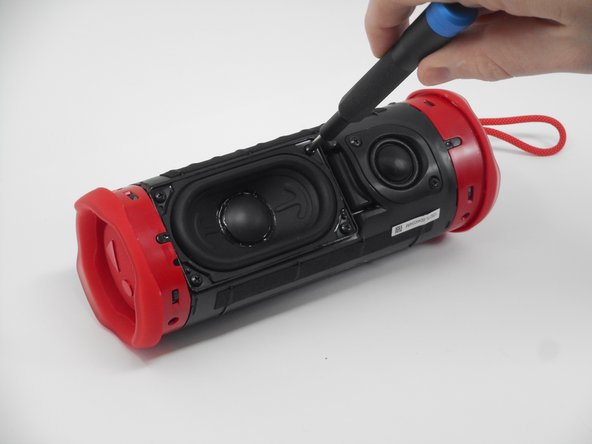
- Use a prying tool to lift up on one of the clips that holds the radiator in place.
- After the clip has been released, insert a shim to keep the parts separated and from the clipping back together.
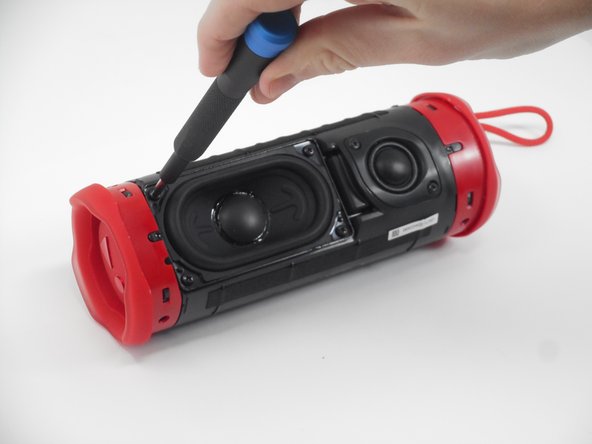
- Pry on the clip on the other side to fully release the passive radiator.
- After both clips have been detached, the passive radiator is easier to remove by hand.
- Repeat the same steps for the passive radiator on the other side.
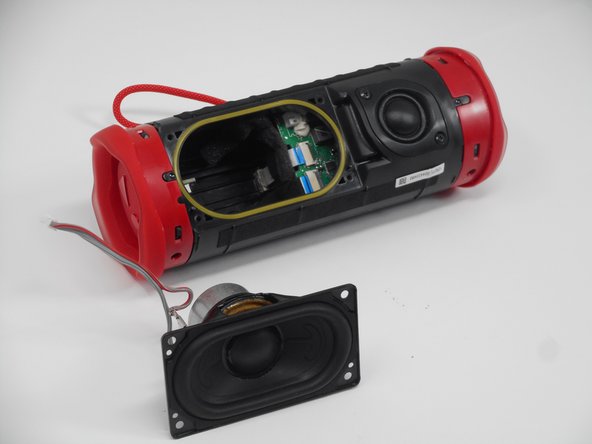
- Remove the four 9.5 mm Philips #1 screws securing the woofer to the device.
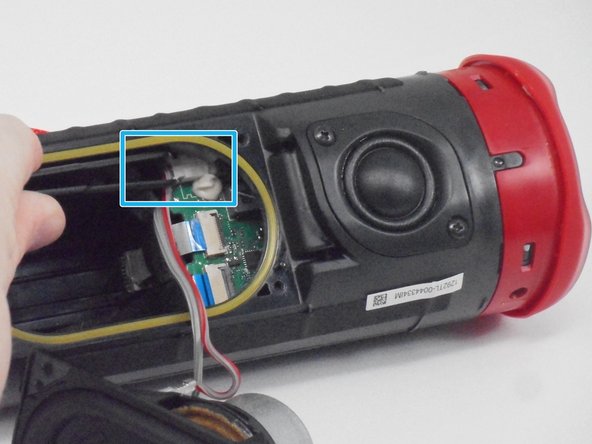
- Carefully disconnect the white connector linking the woofer and the motherboard.
- If there is a lot of resistance when removing the plug, there could be a clip holding it in place. Check for any sort of fasteners before using much strength as you could damage the motherboard.
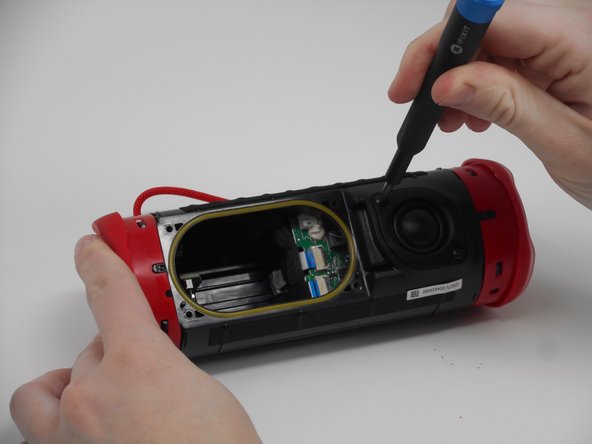
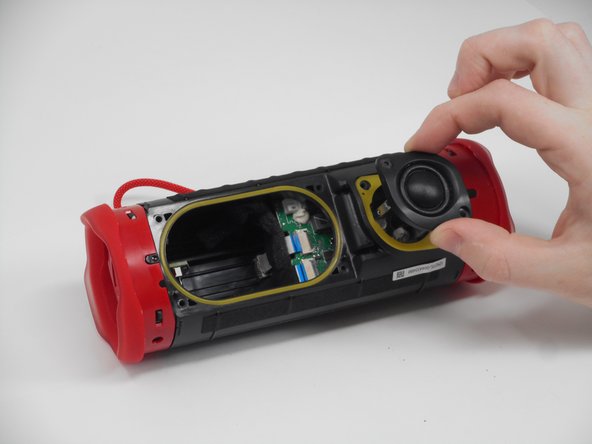
- Remove the two 9.5-mm Philips #1 screws securing the tweeter to the device.
- Insert an opening pick into the gap along the edge of the tweeter.
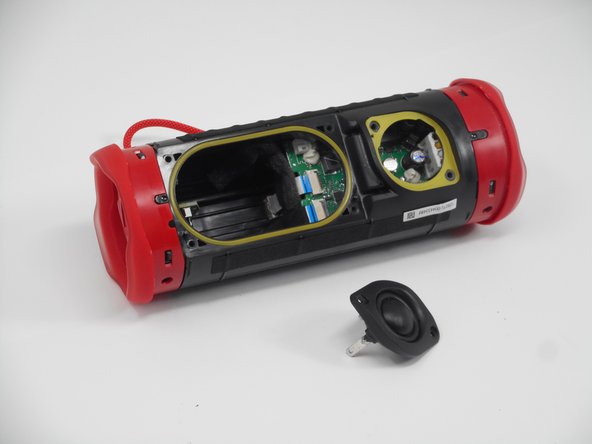
- Push the tip inwards and pry upwards to release the tweeter from the motherboard.
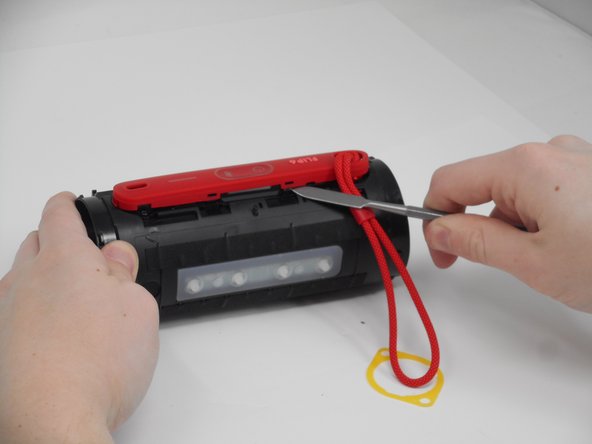
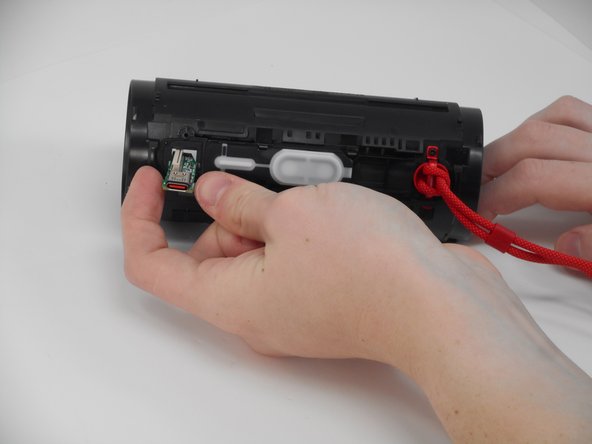
- Use a spudger to release the clips attaching the cover for the buttons and charging port.
- After the two clips are removed, the cover can be removed easier by hand.
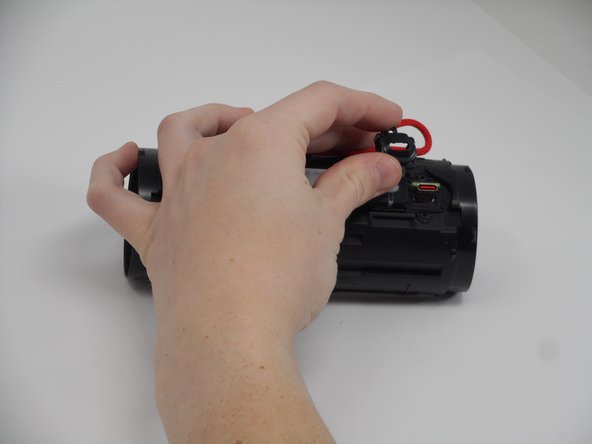
- After the clips have been released, take the cover off, feeding the strap out of the hole.
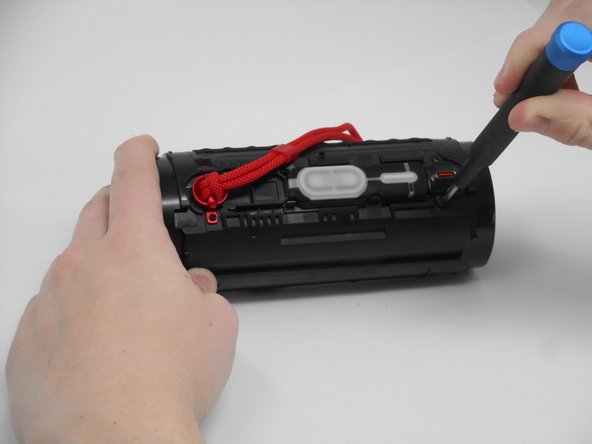
- Remove the two 5.7 mm Philips #00 screws holding the charging port cover in place.
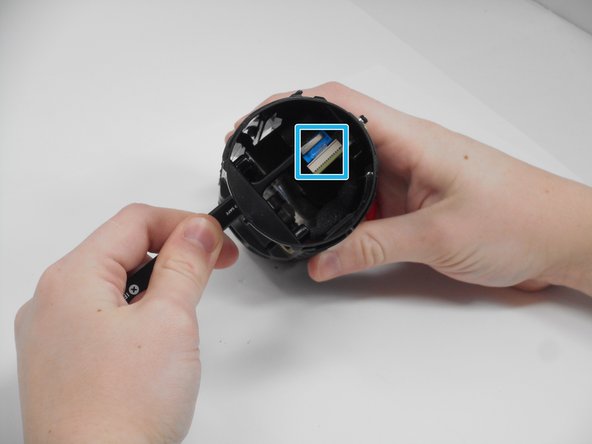
- Using tweezers, pull the blue ribbon from the connector from the charging port board.
- After the ribbon is removed, pull the USB-C port out from the outside.