Lenovo IdeaPad Gaming 3 15ARH-334 SSD Replacement
ID: 179212
Description: These days, aside from high-end models, most...
Steps:
- First of all unplug the laptop from power and turn it off.
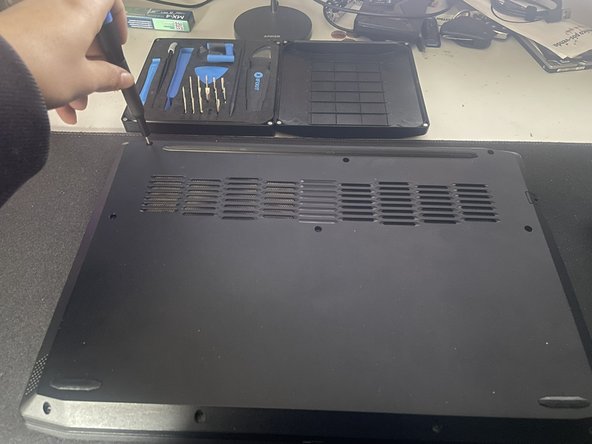
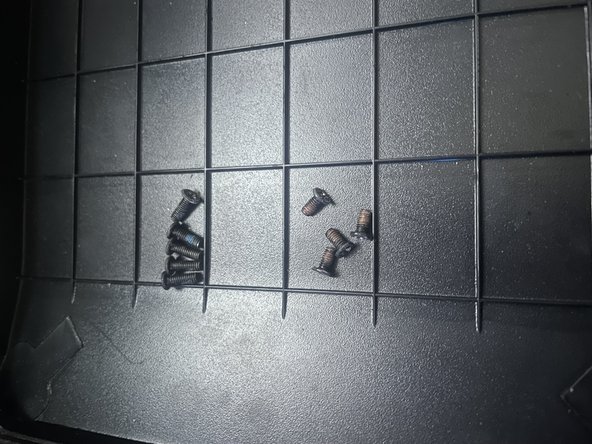
- Then using an Phillips screwdriver remove the 10 screws from the back of the computer
- Separate the screws as the 4 on the bottom are a different size than the rest
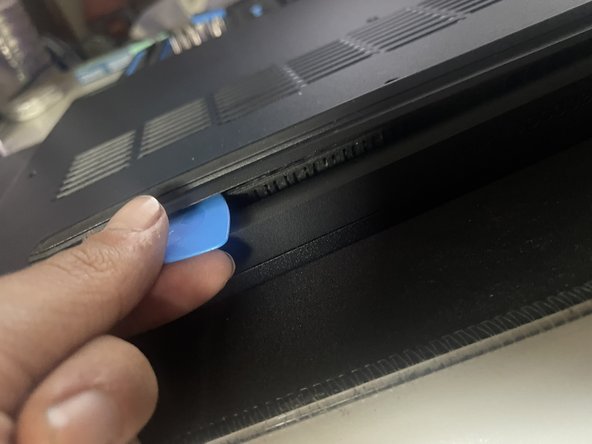
- Using an openning pick or just any credit card or something like it try to open get an openning. In this case going at an almost 45º angle on the corners or the back side proved the easiest for me.
- The first time you open the laptop may be harder and you may need to try it a few times. But don't give up and be gentle!
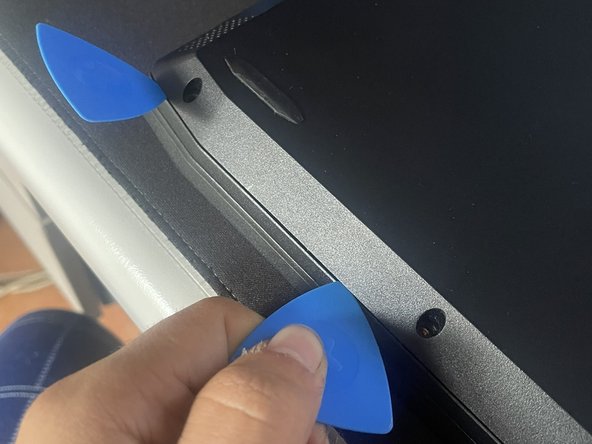
- After you have an openning using another openning pick or the same slide along the borders until the back pannel is loose and then remove it
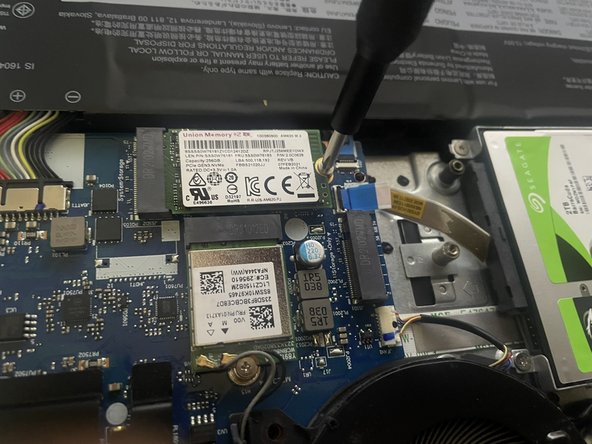
- When you open the laptop you'll be able to see the pre-installed 2242 SSD on the left side. This is the one we will removing and where we are gonna put the upgrade.
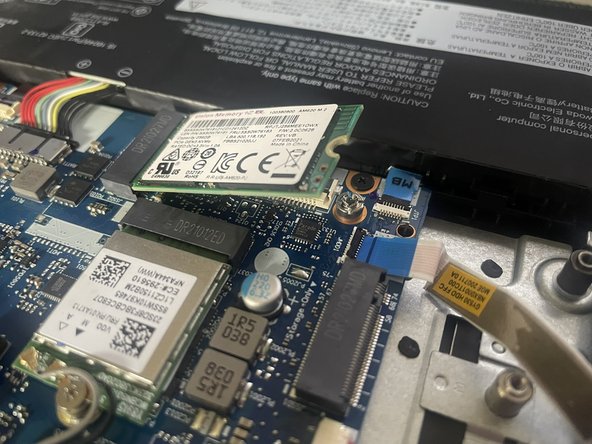
- To remove the SSD you need to remove the screw and the disk will pop up. At this point you can remove it and be ready to put another one in
- To insert the new SSD line up the notch on the SSD with the one on the connector and place it at the same angle as when the old one popped up, push it down until its flat and scew it in.
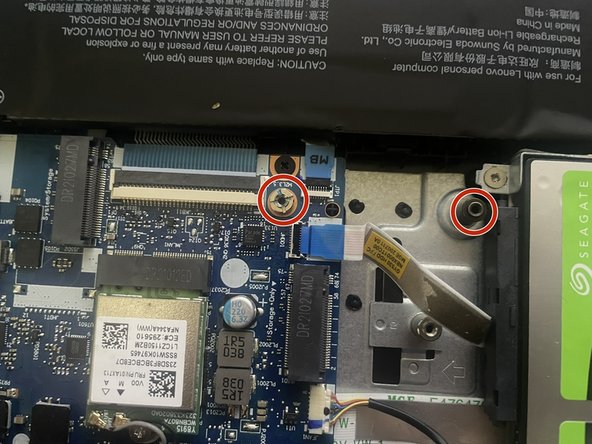
- You can choose from a 2242 or 2280 SSD. If you go with a 2242 put the screw in the same place as it was but if you go with 2280 you have to use the hole on the right.