Cord Lock Replacement
ID: 181274
Description: A cord lock is a small mechanism, often made of...
Steps:
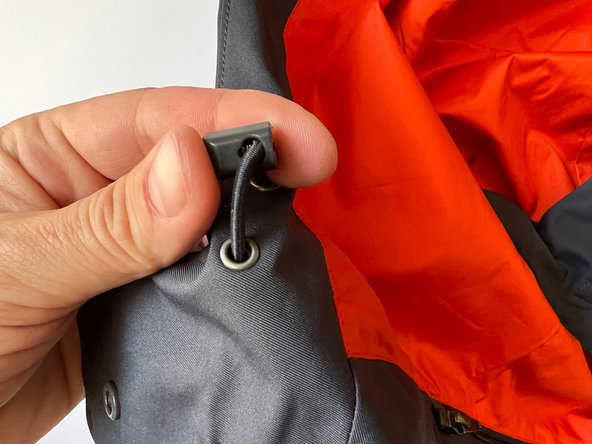
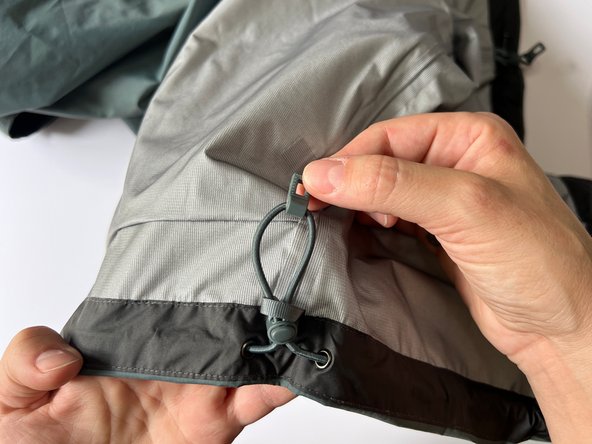
- Locate the damaged cord lock and take note of:
- Type - The style of of cord lock and how many holes it has
- Drawcord - How the drawcord threads through the cord lock and how the drawcord ends (end cap, knot, stitching)
- Other Pieces - If the cord lock and drawcord are used in conjunction with any other pieces such as a rubber pull tab or plastic disc
- If the cord lock is missing and it isn't clear how it was originally placed, see Step 7 for tips.
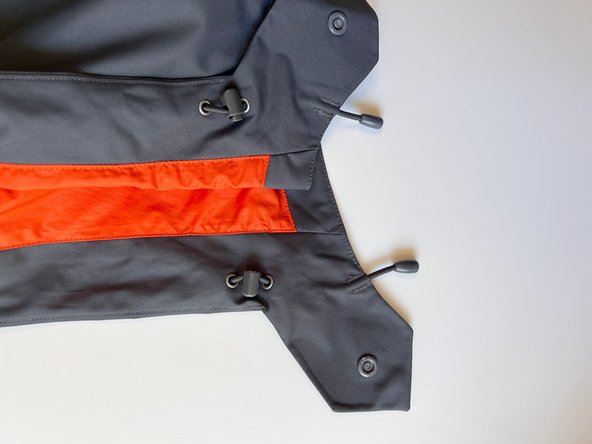
- Check the other cord locks along that same drawcord. It's best practice to replace all damaged cord locks at the same time.
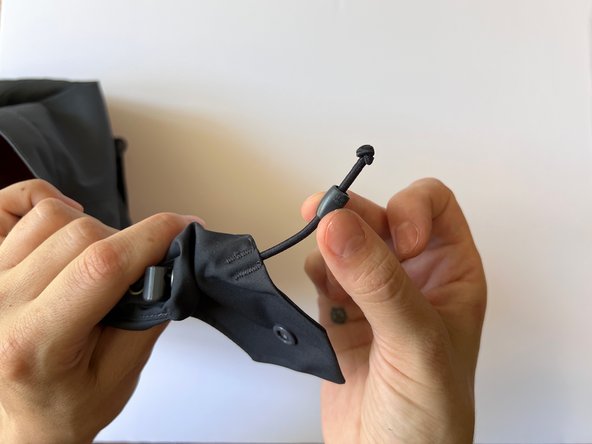
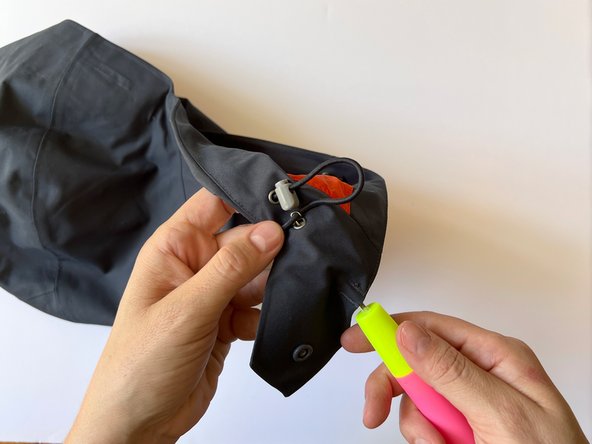
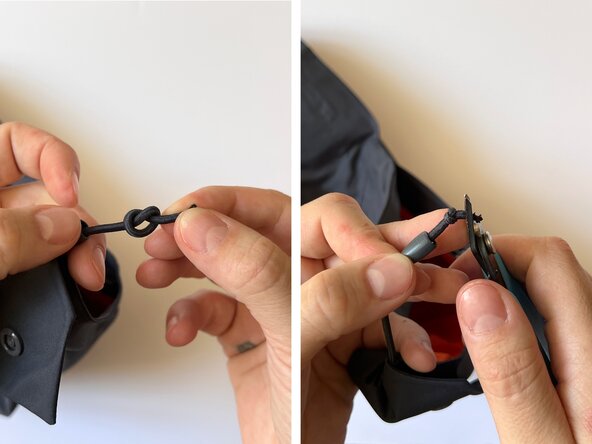
- On the end of the drawcord closest to the damaged cord lock, use flush cutters to pry out the tip of the end cap.
- Wear safety glasses.
- Save this piece.
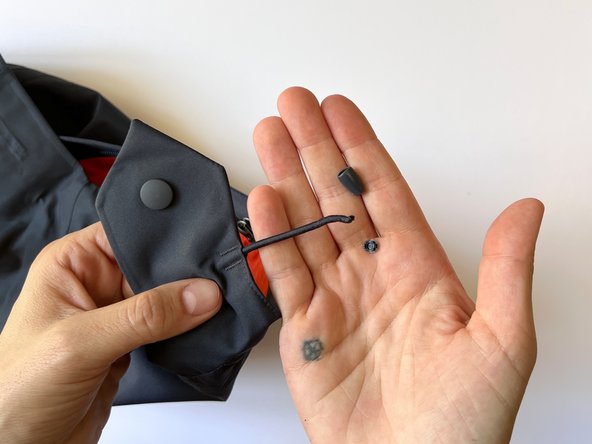
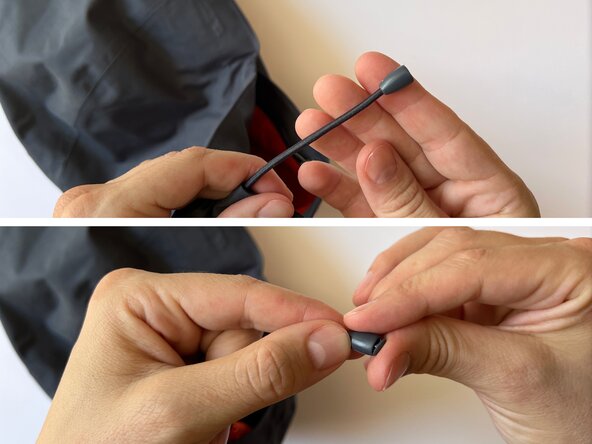
- Pull the drawcord end out of the end cap and untie the knot.
- Remove the base of the end cap and any plastic discs (if present).
- Save these pieces.
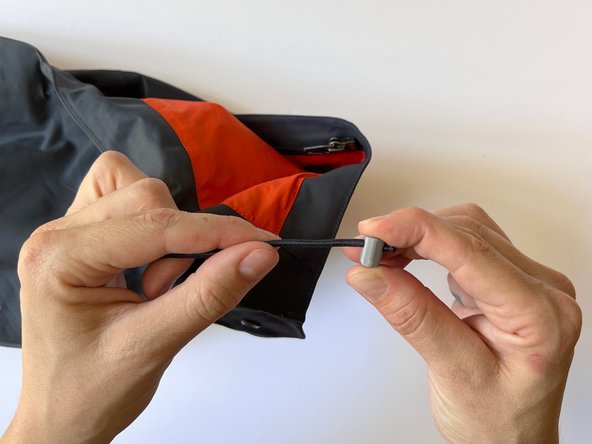
- Unthread the drawcord until it passes entirely through the damaged cord lock.
- Remember this pathway so it can be restored in Step 4.
- Responsibly discard the damaged cord lock.
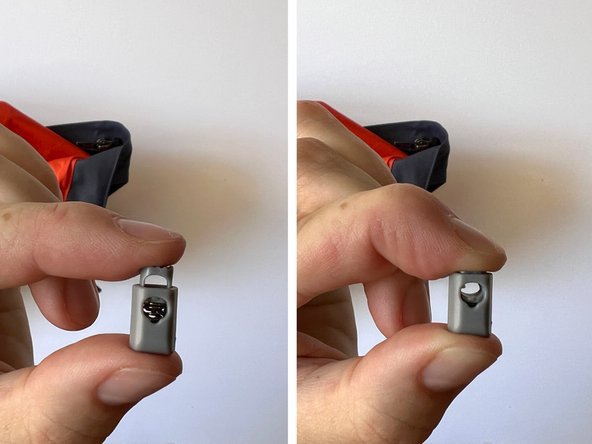
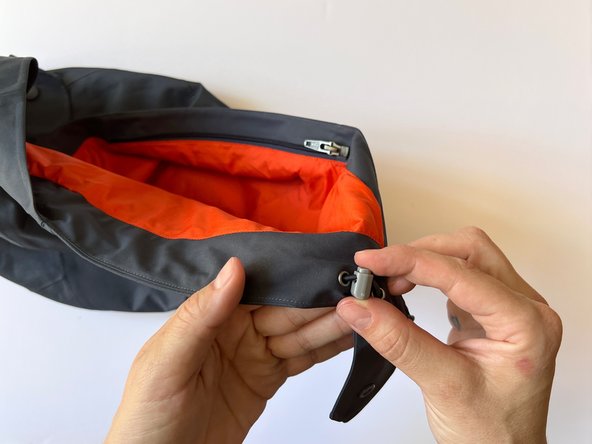
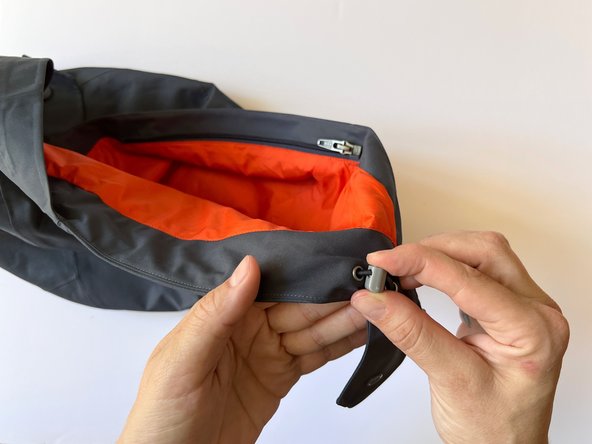
- Thread the drawcord through a new cord lock by pushing the cord lock mechanism (reference image #2) and inserting the drawcord through the opening.
- Double check that the positioning of the new cord lock on the drawcord matches the original.
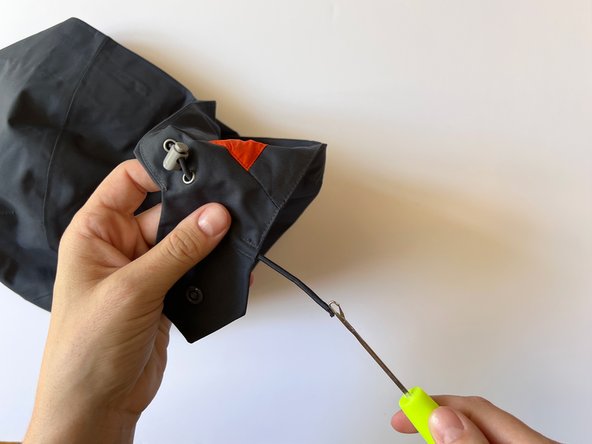
- Rethread the drawcord so it's restored to its original position.
- Patagonia Repair Tech Tip: There are a variety of threaders that can aid with this step. These photos show a latch hook, which has a small hook for navigating small but short spaces. Alternatively, use a plastic drawstring threader, a bodkin, or a small safety pin.
- Thread the end cap base back on to the drawcord.
- Tie a knot at the end of the drawcord, then pull it tight and snip or singe any excess.
- Pull the drawcord so the knot rests inside the end cap base.
- Check that the knot does not pull through the end cap.
- Replace the end cap tip by snapping it into place.
- Pull on the exposed drawcord to make sure it's secure.
- Tighten and loosen the drawcord using the new cord lock to ensure it's functioning correctly.
- VARIATONS: There are many varieties of cord locks on the vast array of Patagonia items. The techniques and steps outlined in this tutorial can be rearranged or modified to fit the circumstances.
- MISSING CORD LOCK: If the cord lock is missing entirely, use the remaining cord locks and grosgrain loops as context clues. Alternatively, try to find photos of the item on Patagonia.com, WornWear.com, or Google image search.