iPhone 16 Pro Screen Refurbishment
ID: 181648
Description: Refurbishing the iPhone 16 Pro screen is not...
Steps:
- Remove the charger from your phone and check that it has enough charge.
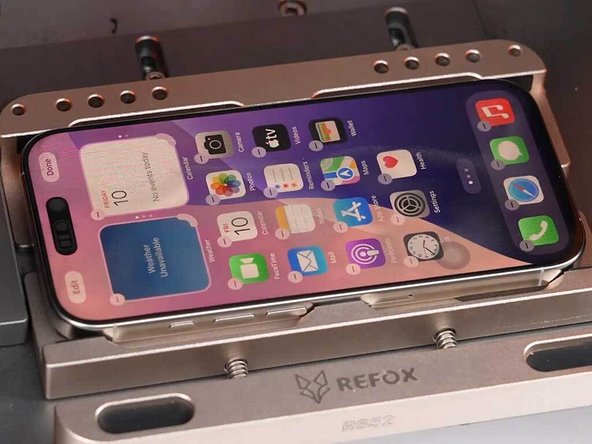
- Verify the iPhone 16 Pro's touch and display functions.
- If everything checks out, proceed to disassemble the screen.
- Make sure the phone is turned off before disassembling it.
- Use a Pentalobe Screwdriver to unscrew the bottom screws.
- We use the REFOX RF40 iSeparator to separate the screen quickly.
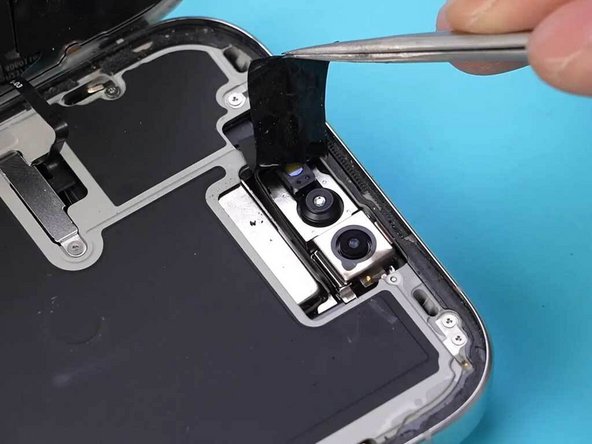
- Cover the front camera with a sticker to protect it from the laser machine.
- This step simply applies a sticker to protect the camera, and step 4 will enable proper disassembly.
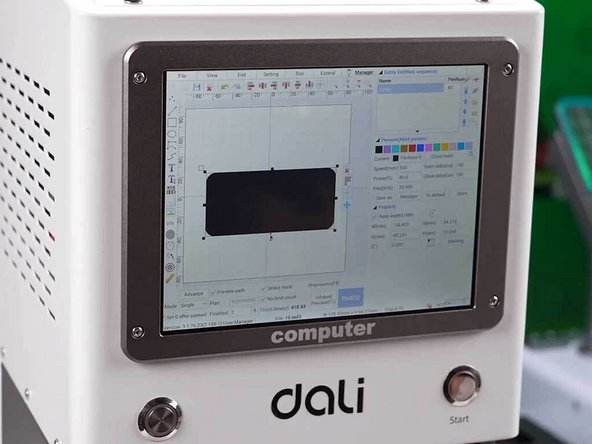
- Use a UV laser machine, such as the DALI K300, for treating the screen.
- Select the appropriate diagram or pattern on the UV laser machine to ensure the entire screen is treated evenly.
- After the treatment, inspect the screen to confirm it is functioning correctly.
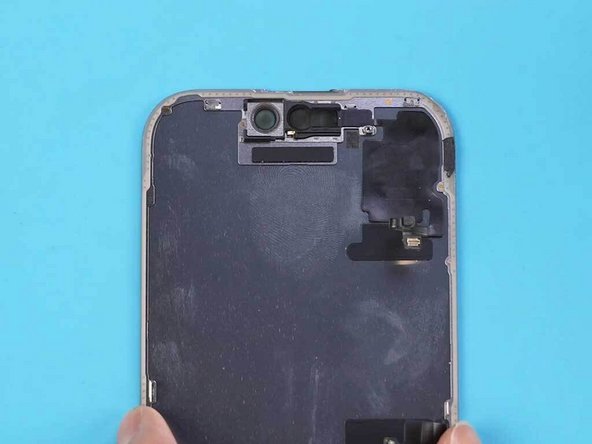
- Flip the screen and detach it from the iPhone 16 Pro.
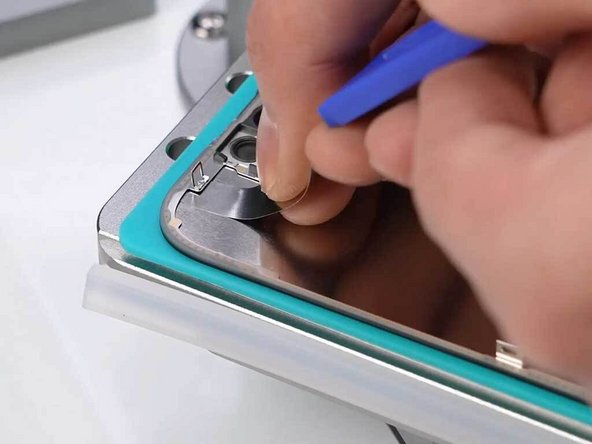
- Remove the cover from the camera.
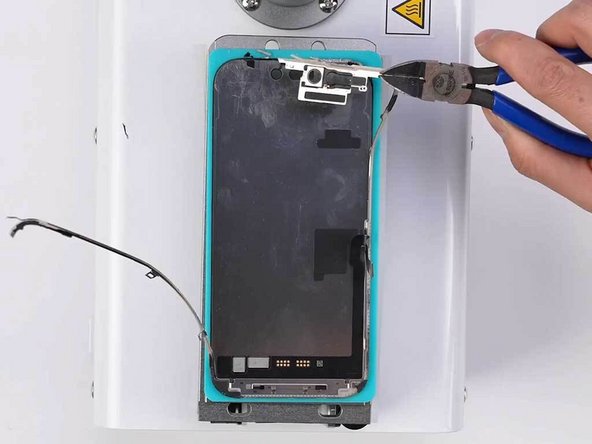
- Remove the front sensor assembly.
- The iPhone 15 and 16 series utilize injection molding to bond the frame bezel, making traditional removal methods risky due to potential flex damage. Laser treatment makes frame removal safer and easier.
- Ensure that the screen is aligned with the glass separating machine and push downward suction.
- Make sure the below and upper temperatures are set correctly.
- Using a soft pry knife, guide your way around the frame bezel with some alcohol.
- The frame was removed to prevent screen bubbles.
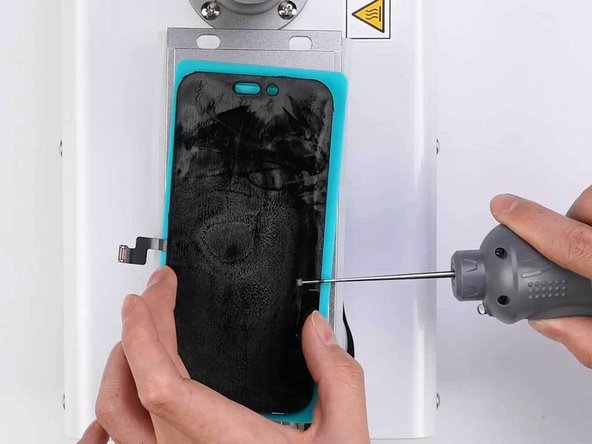
- Once the frame is removed, clean the adhesive residue thoroughly.
- Use a protective film instead of cutting a wire, as it is easier and safer.
- Use alcohol throughout the process.
- Remove glue/OCA residue using an electric glue remover or other methods.
- Install the new front glass using a dust-free hood to ensure a clean, particle-free environment.
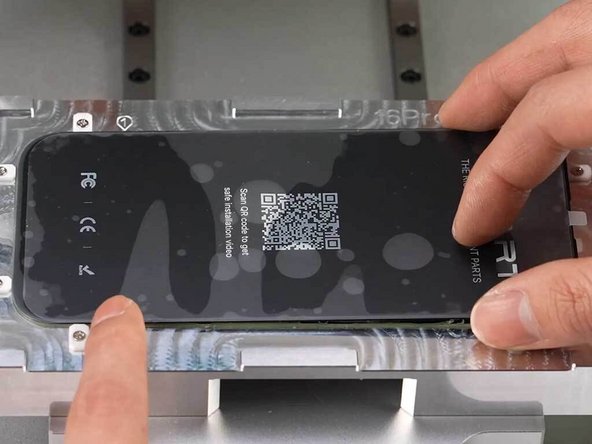
- Use alignment mold for precise alignment and to reduce the risk of air bubbles caused by operational errors.
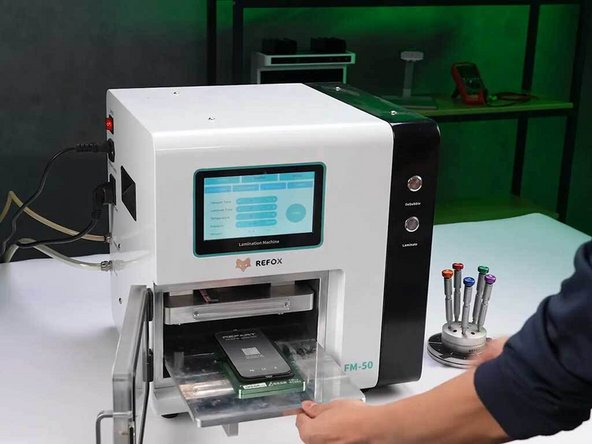
- Place the screen into a laminating machine to laminate it.
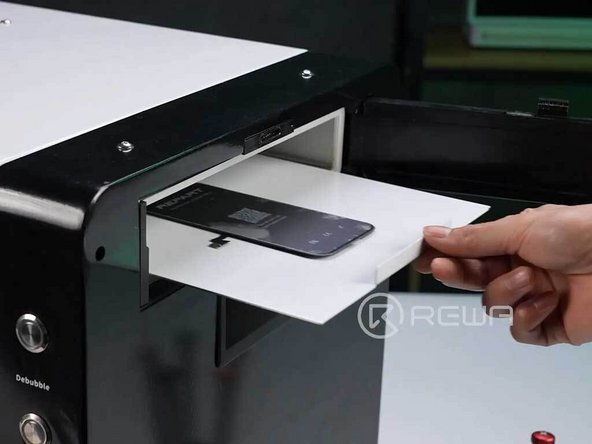
- Transfer the screen to a debubbling chamber to remove any air bubbles that may have formed during the process.
- Use an automatic glue dispenser to apply adhesive precisely and evenly. This ensures consistent bonding and reduces manual errors. Alternatively, you can apply glue manually.
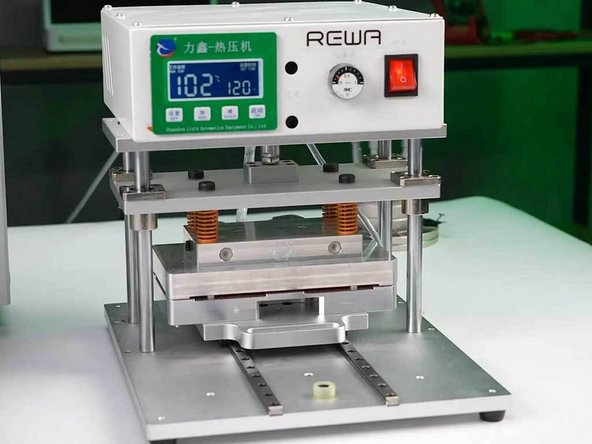
- Use a heat press machine to press and secure the frame.
- Once the frame installation has been completed and the frame has been pressed, check to ensure that it has been properly secured.
- Connect the screen with the phone and remove the sticker.
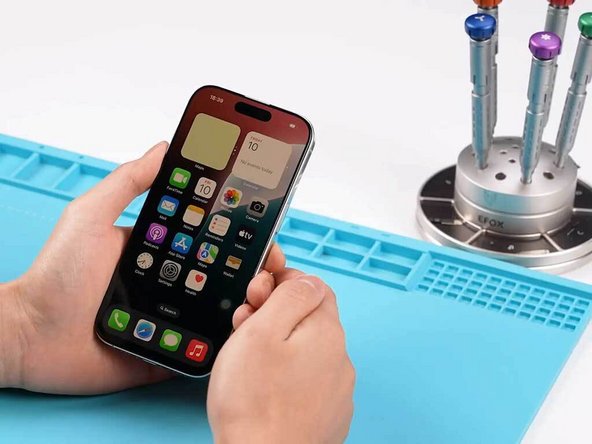
- Check the screen to ensure it is working properly.
- Now assemble the iPhone 16 Pro, as you have successfully refurbished it.