Oreck XL Upright Vacuum Belt Replacement
ID: 181692
Description: Over time, vacuum belts can stretch or break,...
Steps:
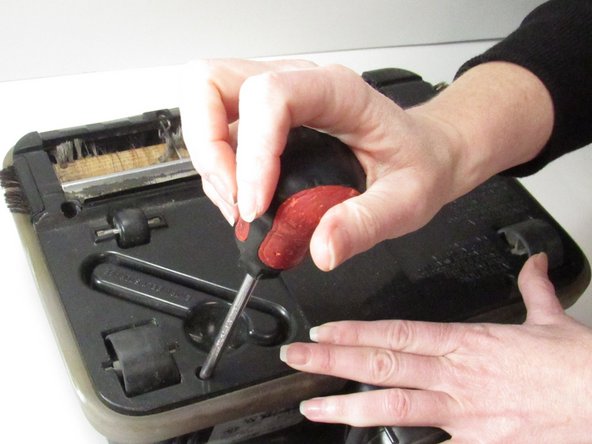
- Using a Phillips-head screwdriver, remove the five screws from the bottom cover.
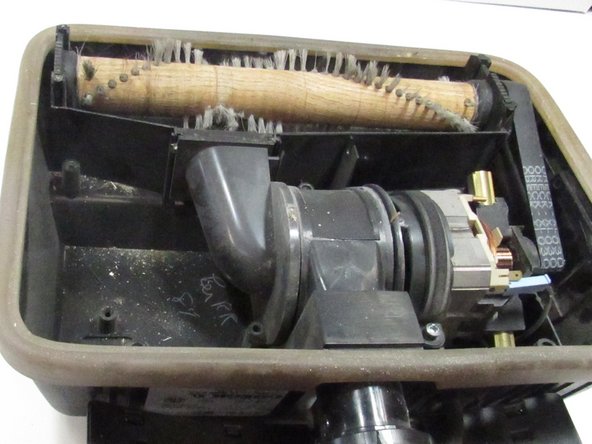
- Lift the bottom cover off of the vacuum.
- Caution: The area around the roller is a pinch point. Be aware of your fingers at all times so you don't get caught or pinched.
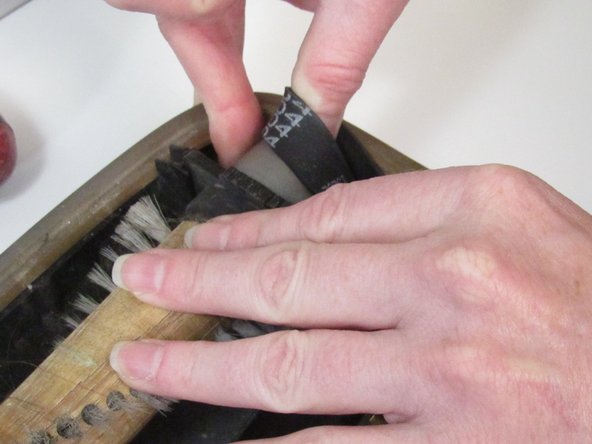
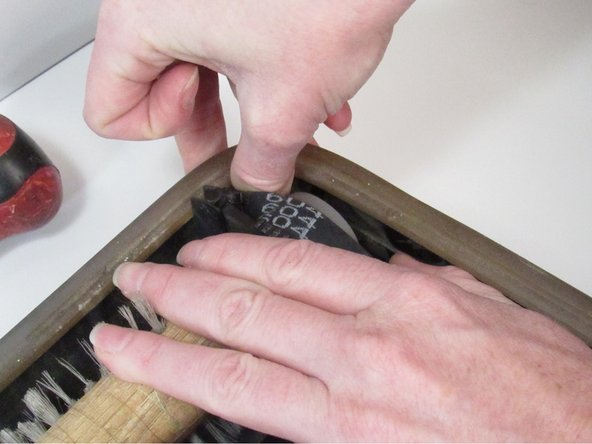
- Remove the belt from the roller.
- The roller is connected to the brush at the front of the vacuum.
- Slowly pull the belt off. If you have difficulty, spin the roller as you remove the belt.
- Pull the other side of the belt off of the motor shaft.
- There is a small opening between the motor shaft and the side of the vacuum. The belt comes out here.
- Discard the old belt.
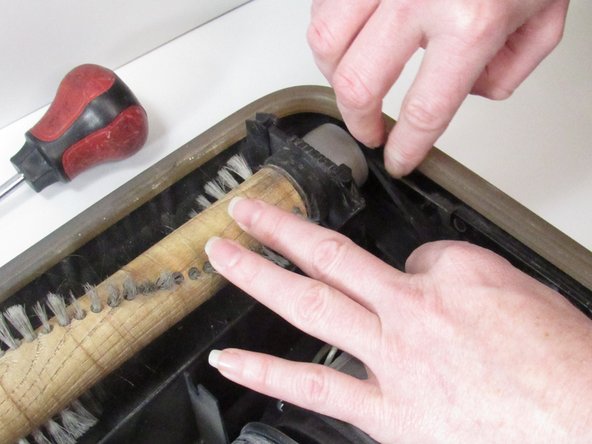
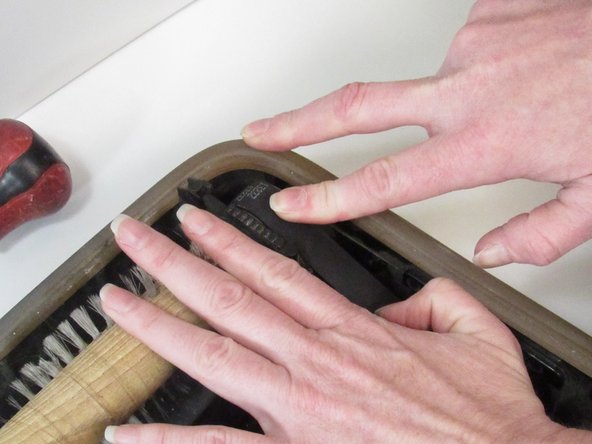
- Insert the replacement belt around the motor shaft.
- Carefully stretch the other end of the belt around the roller.
- Spin the roller a few times to ensure the belt is secured.
- Replace the top cover and the five screws.