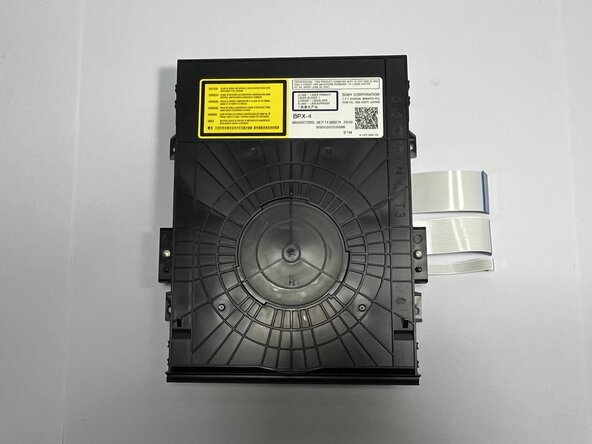
Sony BDP-S360 Optical Disk Drive Replacement
ID: 182225
Description: Follow this guide to replace a faulty optical...
Steps:
- Ensure the device is powered off and unplugged from any electrical source.
- Place the device on a clean solid surface, avoiding wool or cloth surfaces to reduce the likelihood of generating static that may damage hardware.
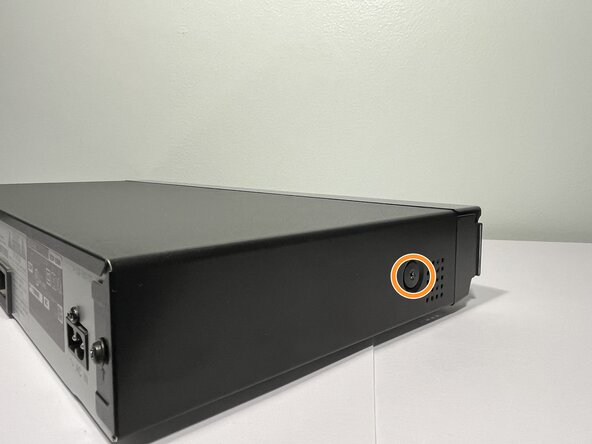
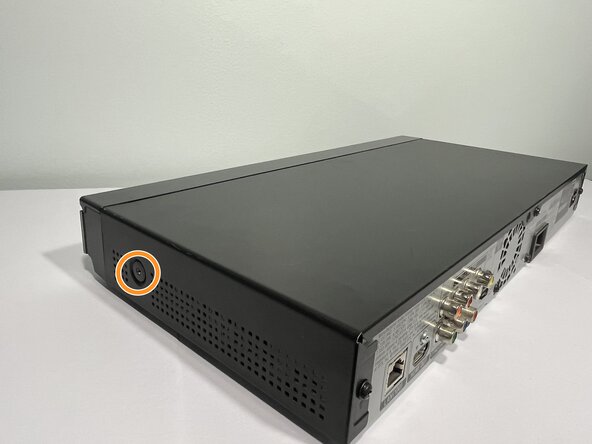
- Use a Phillips #1 screwdriver to remove the screws from the back and sides of the device that hold the Blu-ray player’s outer casing in place.
- Three 8.3 mm-long screws on the back of the device
- Two 12 mm-long screws—one from each side of the device
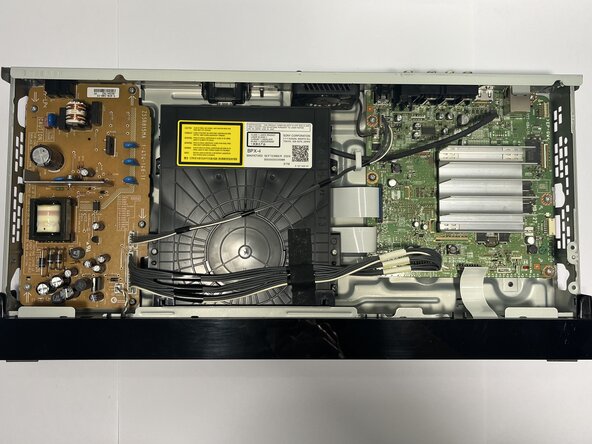
- Slide the cover toward the back of the device to remove it.
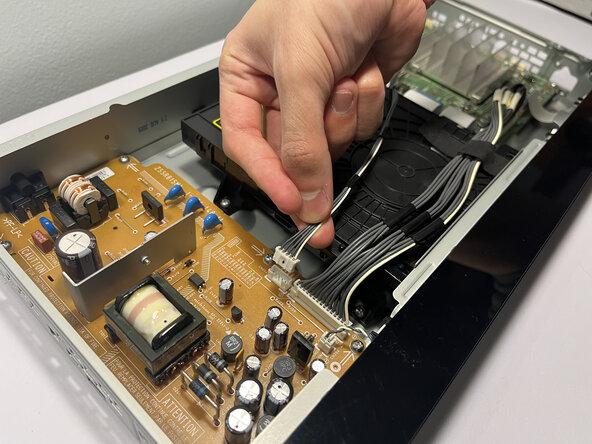
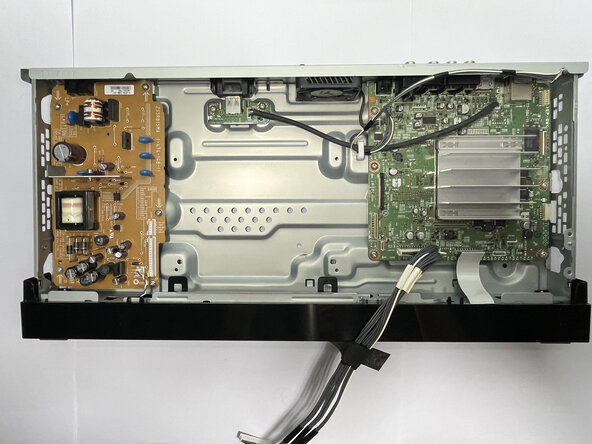
- Use your fingers to squeeze the tab against the connector and pull straight up to disconnect the power cables from the board.
- Don't pull on the cables as this may damage them or the connector.
- To reconnect, push the connector over the socket until the clip engages. You'll hear and feel a distinct "click."
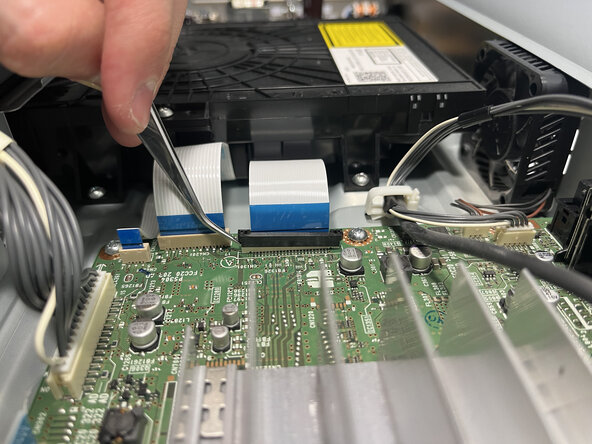
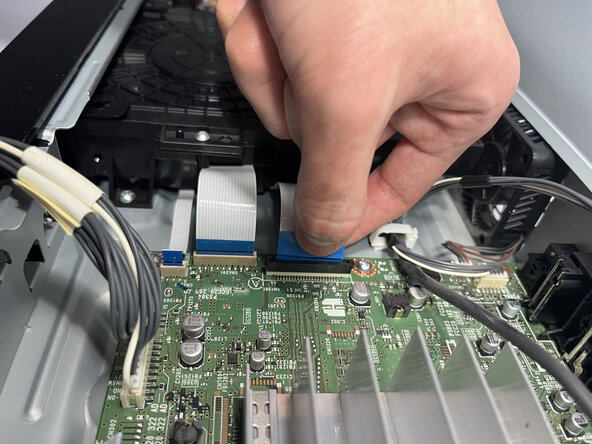
- Use tweezers to pinch the blue tabs and gently pull out the two ribbon cables connected to the right of the optical disk drive.
- To reconnect the cable, hold it as close to the end as possible and insert it back into the connector. Apply force to the plastic reinforcement rather than the cable itself.
- Try not to kink or crease the cable.
- Use a spudger or tweezers and gently push up on alternating sides of the black locking tab connector connected to the widest ribbon cable before attempting to pull out the cable.
- Don't push the tab too hard or too far, otherwise it may come completely off the connector.
- The ribbon cables are delicate and can be damaged if gripped directly.
- During reassembly, insert the cable into its socket and use the flat end of a spudger to push the tab down into its locked position.
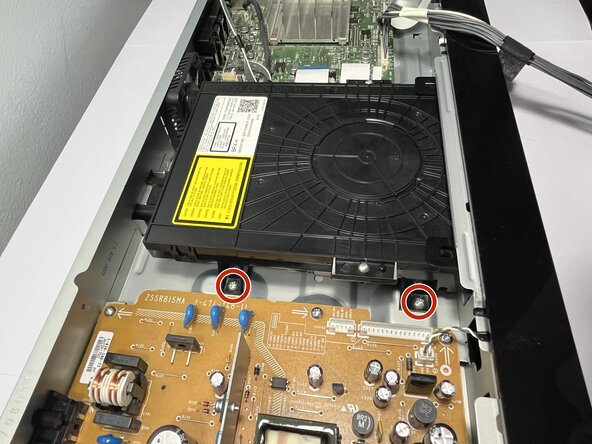
- Use a Phillips #1 screwdriver to remove the four 7 mm screws near the corners of the component that secure the optical disc drive to the device frame.
- Lift the optical disc drive at a 30-degree angle, then pull it out of the housing to remove it.