Razer Kishi V2 Pro M1 M2 Bumper Replacement
ID: 182147
Description: This is a guide on replacing the M1 and M2...
Steps:
- Put the device down with the bottom facing up.
- Remove the eight 12 mm screws from the back of the controller using a T5 screwdriver.
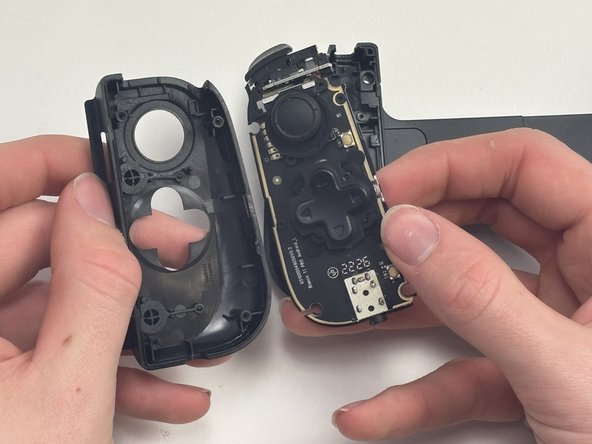
- Gently apply light pressure to the front top half of the controller and slowly lift it up.
- When you hear a click, the two halves should be successfully disconnected.
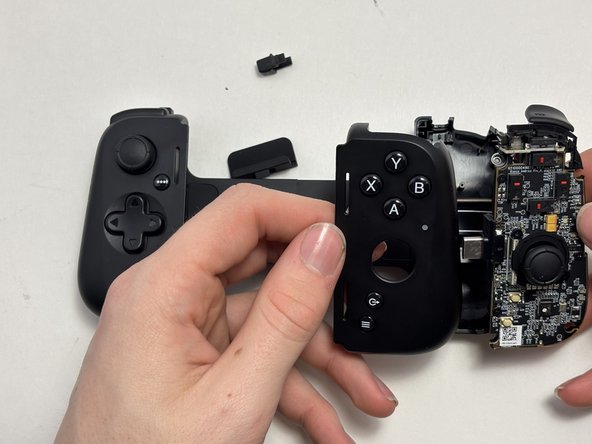
- When you separate the two parts from each other, two of the back bumpers might fall out. If the bumpers do fall out don't worry because they just snap back in.
- Be careful when doing this, if you apply too much pressure you could rip the ribbon cable.
- Repeat for the opposite side of the controller.
- During the disassembly of the front panel, the small M1 and M2 buttons might have fallen out of place. If they did, skip the next step.
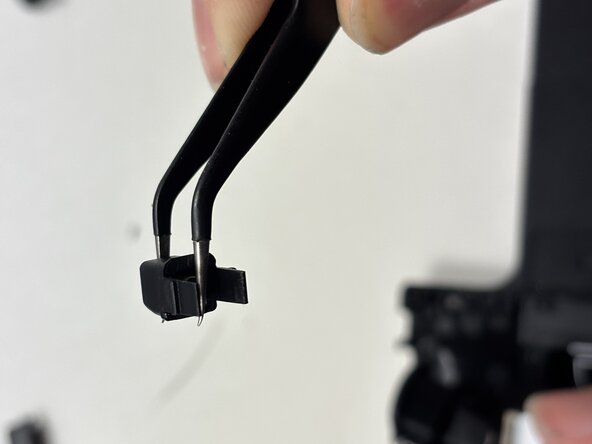
- Pull on the small M1 or M2 button to remove it from the controller.
- When inserting the M1 or M2 button back in its slot, make sure the spring is not fully extended when sliding back in.