GameSir K1 Kaleid D-Pad Replacement
ID: 182397
Description: This guide will provide detailed step-by-step...
Steps:
- Remove seven 1 mm screws from the backside of the controller using a TR6 Torx screwdriver.
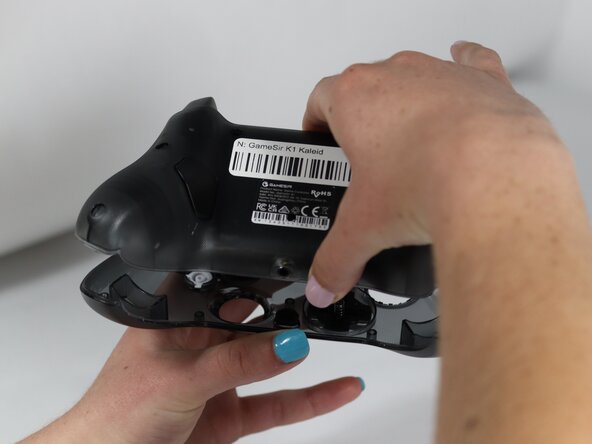
- There may be a screw covered under the manufacturer's sticker.
- Hold the controller between your hands, with the front panel facing down.
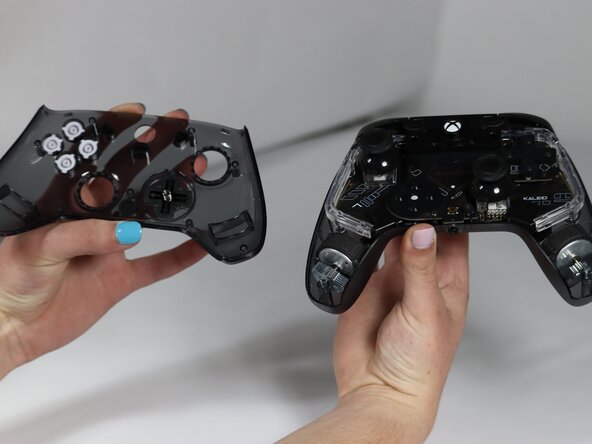
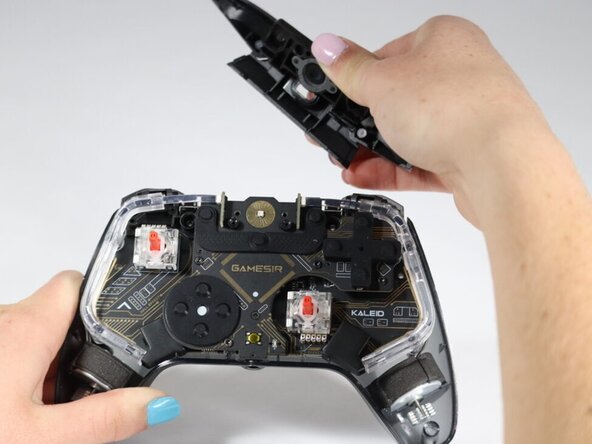
- Lift the back panel.
- It should come up easily. If met with resistance, check for a missed screw on the back panel.
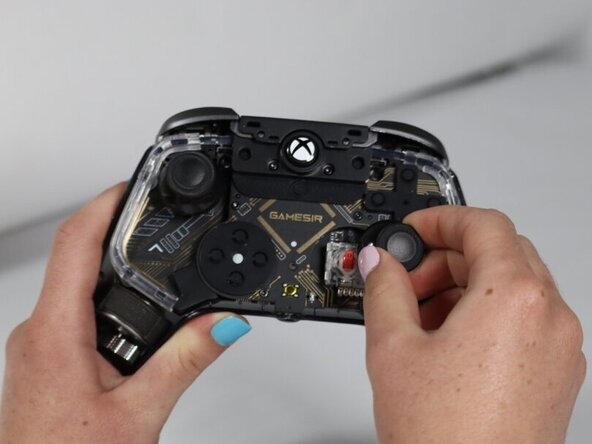
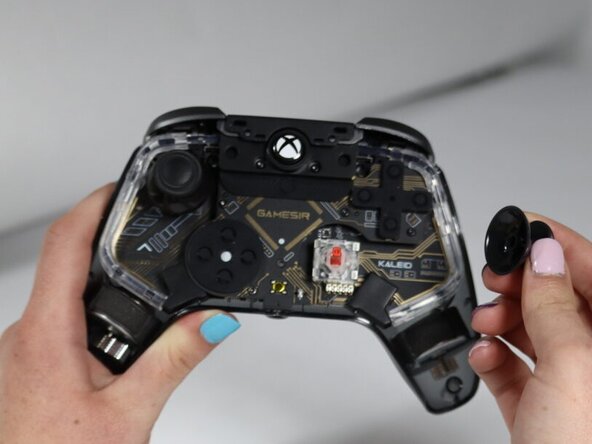
- Hold the controller, grasp the rubber joystick cover, and pull upwards.
- There will be resistance; pull firmly.
- Repeat for the second joystick cover.
- Remove two 1 mm screws on either side of the power button using a TR6 Torx screwdriver.
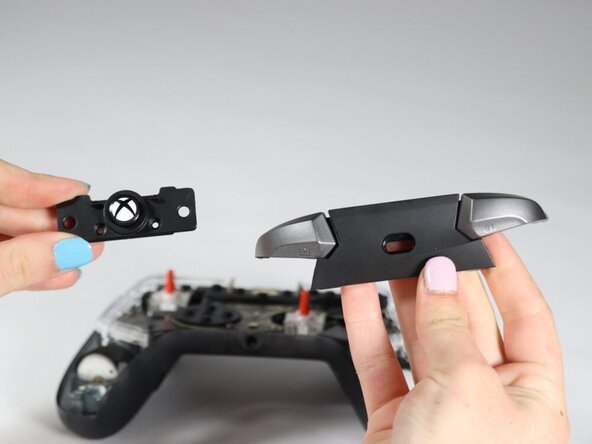
- Remove the power button and bumpers.
- Remove the four 1 mm screws on the daughterboard using a TR6 Torx screwdriver.
- The screws are located above and below the D-pad and then to the left and to the southeast of the X, Y, A, B pad.
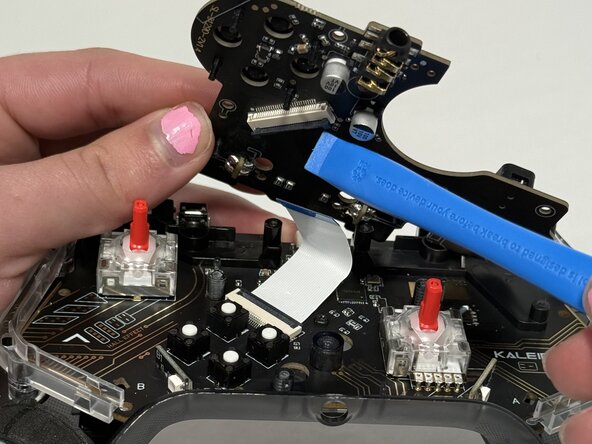
- Gently pull the daughterboard up from the front center and open it like a hinge to the left exposing the ribbon.
- Use the iFixit opening tool or tweezers to lift the black clamp holding the ribbon in. Align the iFixit opening tool with the ribbon, gently push under the clamp, and then pop it upwards.
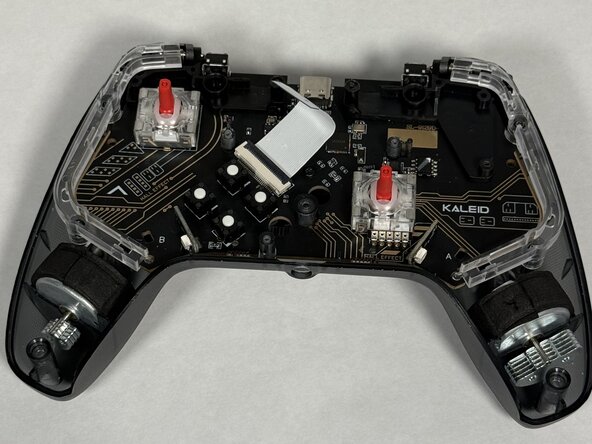
- The ribbon can be removed from either the daughterboard or the motherboard below.
- Replace this daughterboard to fix the D-pad function.