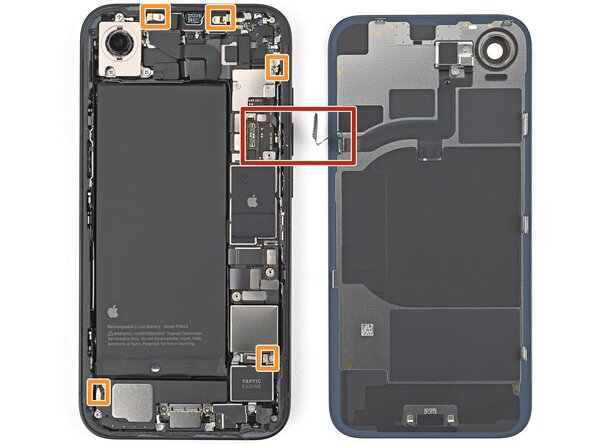
iPhone 16e Back Glass Removal
ID: 184964
Description:
Steps:
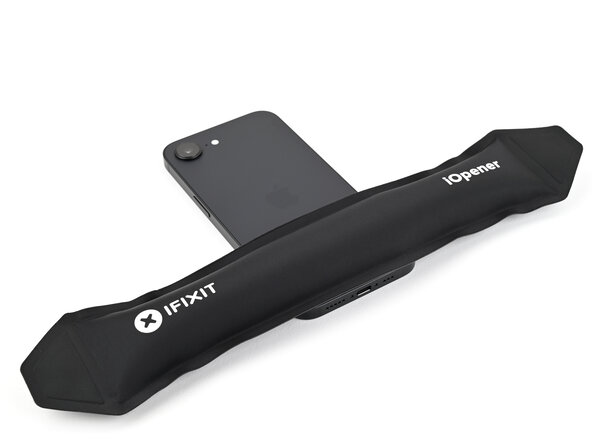
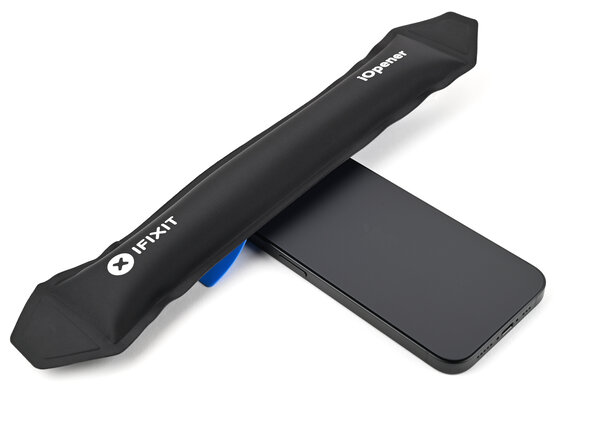
- Apply a heated iOpener to the bottom edge of the back glass for 90 seconds.
- Alternatively, you can use a hair dryer or heat gun to heat the bottom edge of the back glass until it's hot to the touch.
- Be careful not to heat the phone hotter than this—the battery is susceptible to heat damage.
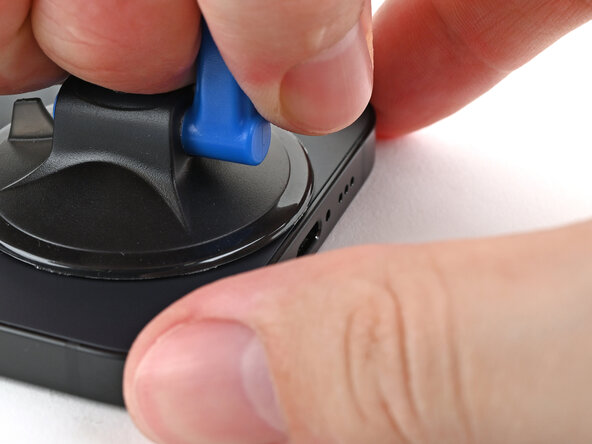
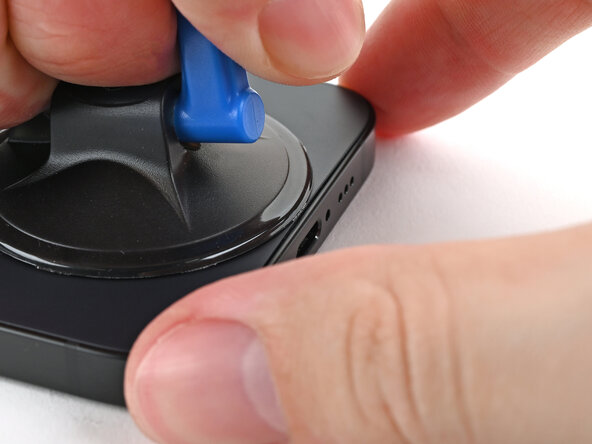
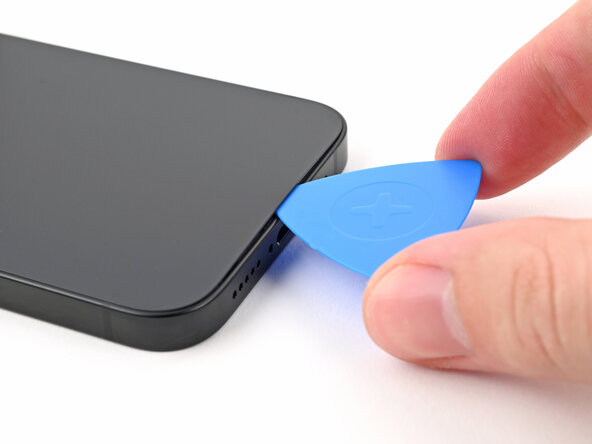
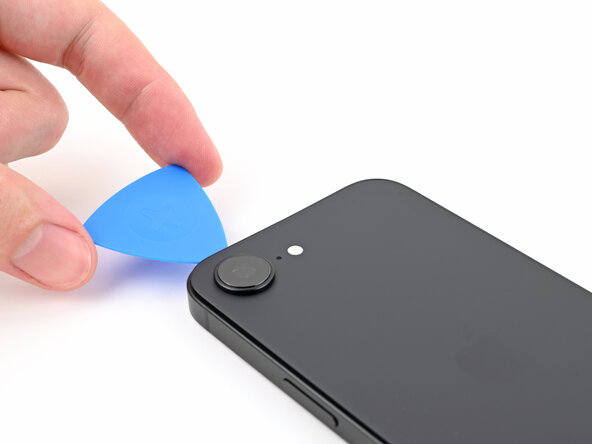
- Apply a suction handle to the bottom edge of the back glass.
- Pull up on the handle with a strong, steady force to create a gap between the back glass and the frame.
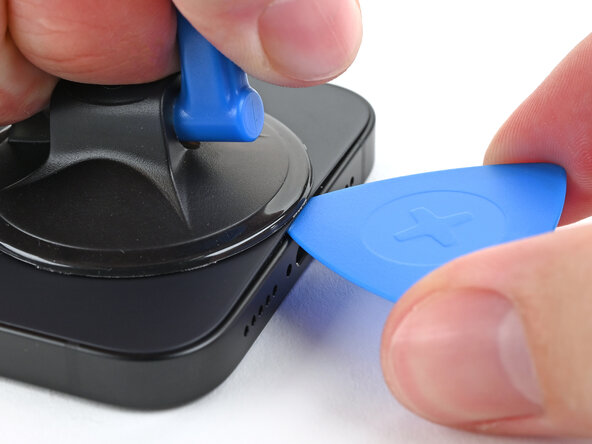
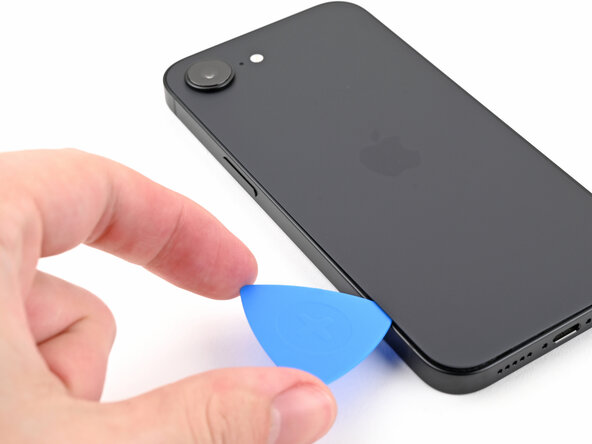
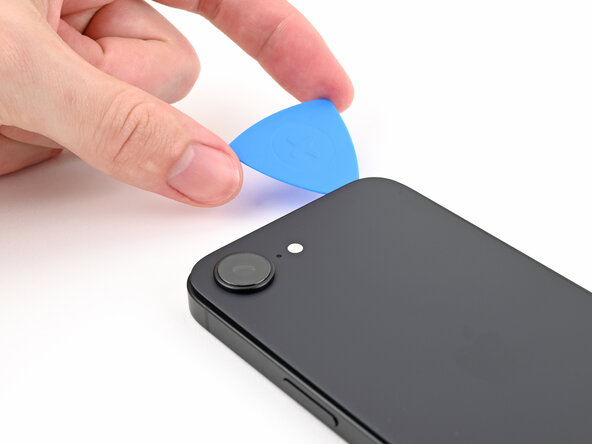
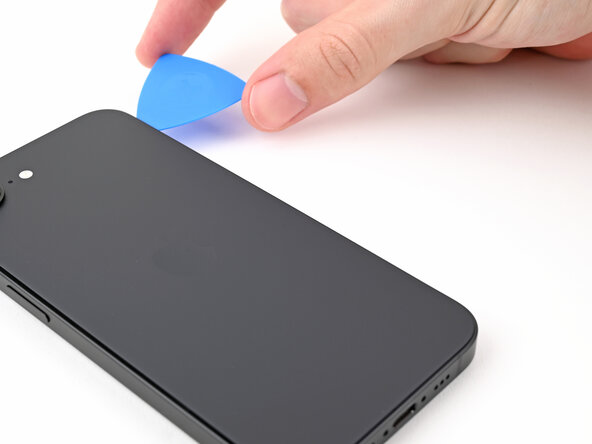
- Insert the tip of an opening pick into the gap.
- As you slice the adhesive securing the back glass in the following steps, don't insert your pick deeper than 3 mm to avoid damaging the following areas:
- A delicate cable connecting the back glass to the phone, next to the volume up button.
- Multiple spring contacts around the perimeter of the phone.
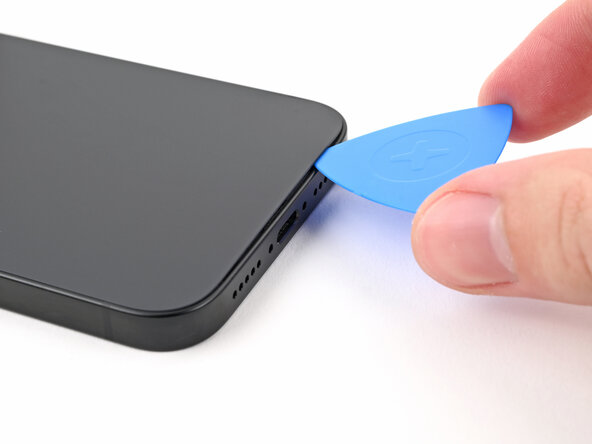
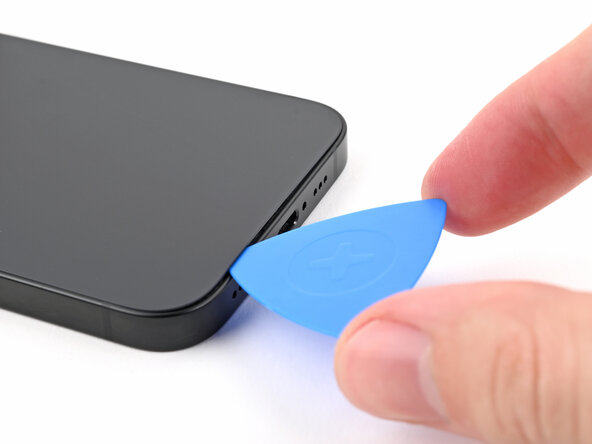
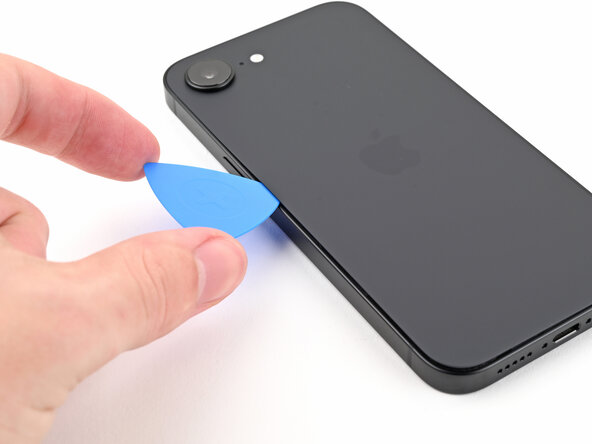
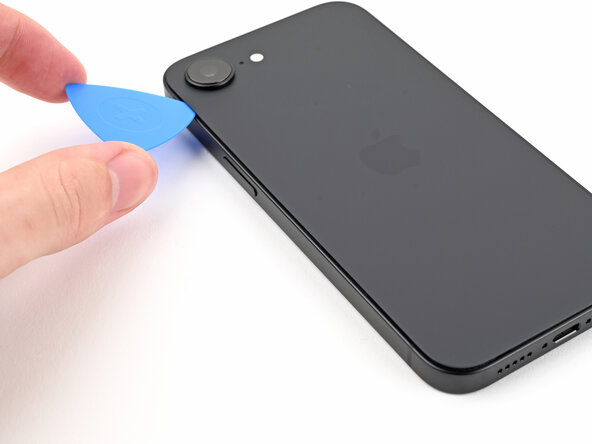
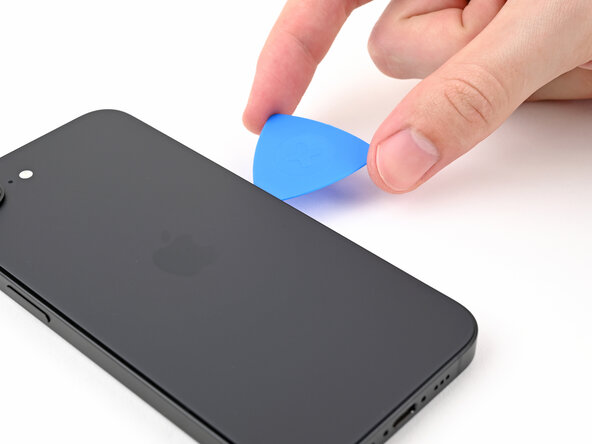
- Slide the opening pick along the bottom of the back glass to separate the adhesive.
- Leave the opening pick near the bottom left corner.
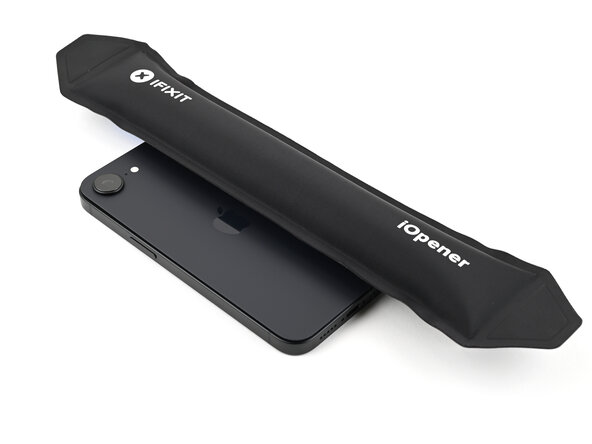
- Apply a heated iOpener to the left edge of the back glass for 90 seconds.
- When using a hair dryer or heat gun, heat the back glass until it's hot to the touch.
- Rotate the opening pick around the bottom left corner and slide it along the left edge to separate the adhesive and release the metal clips.
- You'll hear and feel the metal clips release as you pass them.
- Leave the opening pick near the top left corner.
- Apply a heated iOpener to the top edge of the back glass for 90 seconds.
- When using a hair dryer or heat gun, heat the back glass until it's hot to the touch.
- Rotate the opening pick around the top left corner and slide it along the top edge to separate the adhesive and release the metal clips.
- You'll hear and feel the metal clips release as you pass them.
- Leave the opening pick in the top right corner.
- Apply a heated iOpener to the right edge of the back glass for 90 seconds.
- When using a hair dryer or heat gun, heat the back glass until it's hot to the touch.
- Don't insert your pick deeper than 3 mm to avoid damaging the hidden cable.
- Rotate the opening pick around the top right corner and slide it along the right edge to separate the remaining adhesive and the metal clip.
- You'll hear and feel the metal clip release as you pass it.
- Your back glass adhesive should now be completely separated. If it isn't, slide your opening pick around the back glass to separate any remaining adhesive.
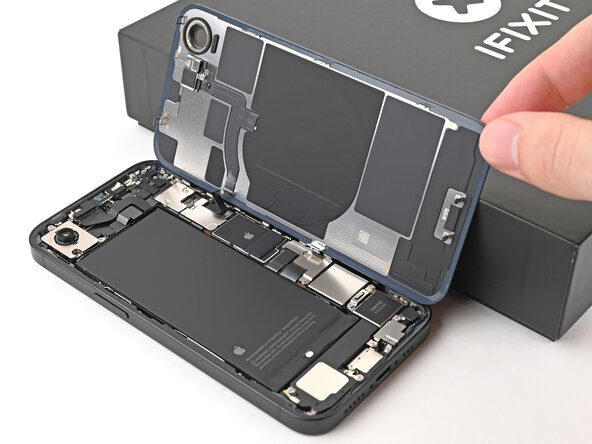
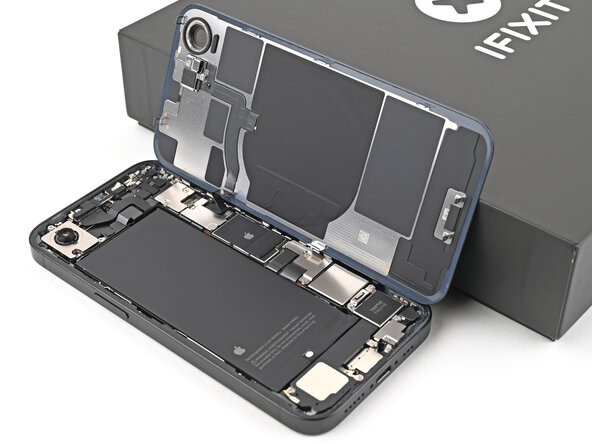
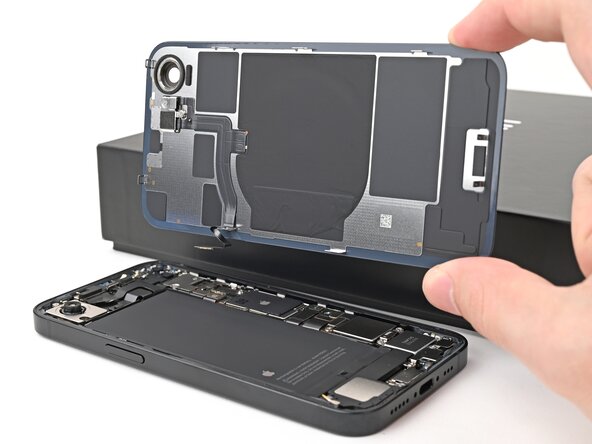
- Swing open the back glass to the right of the phone and support it upright on a clean, sturdy object.
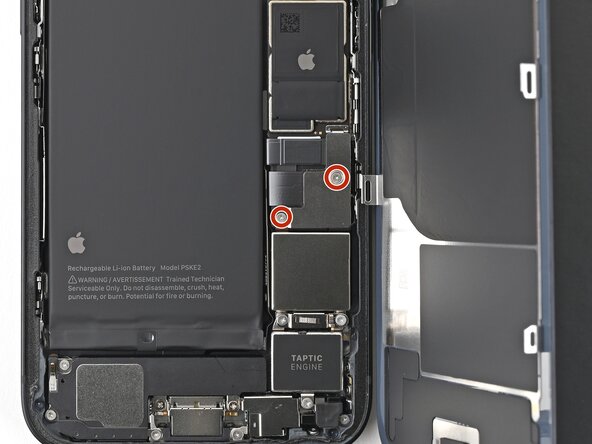
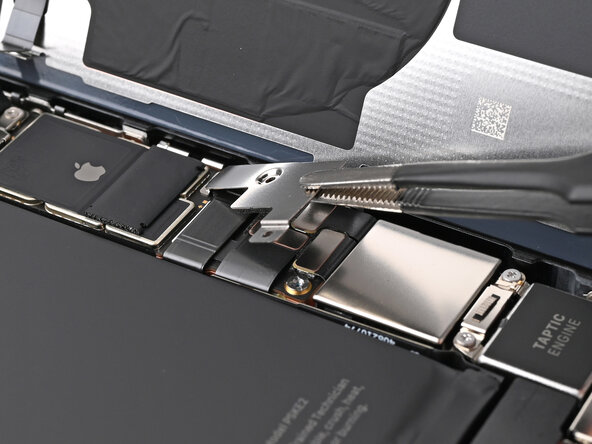
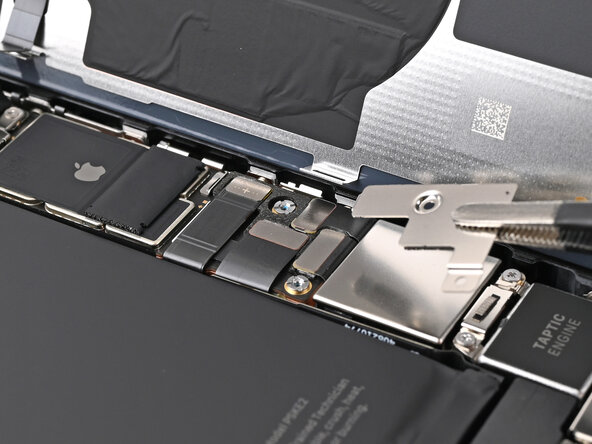
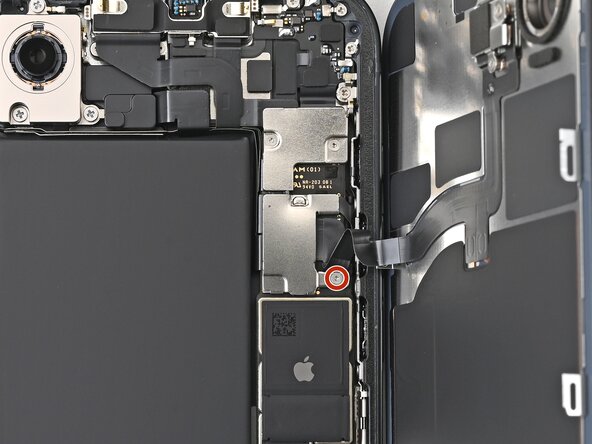
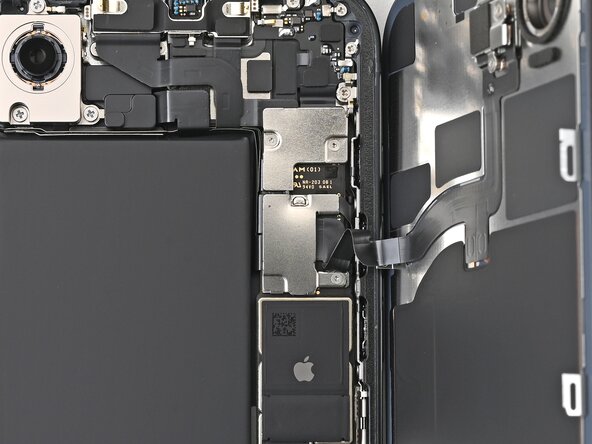
- Use a tri-point Y000 screwdriver to remove the two 1.3 mm‑long screws securing the lower connector cover.
- Use tweezers or your fingers to lift the lower connector cover and slide it toward the top of the phone to release it from its metal clip.
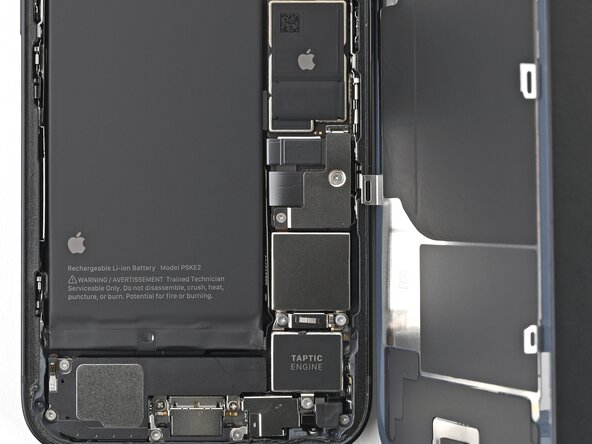
- Remove the lower connector cover.
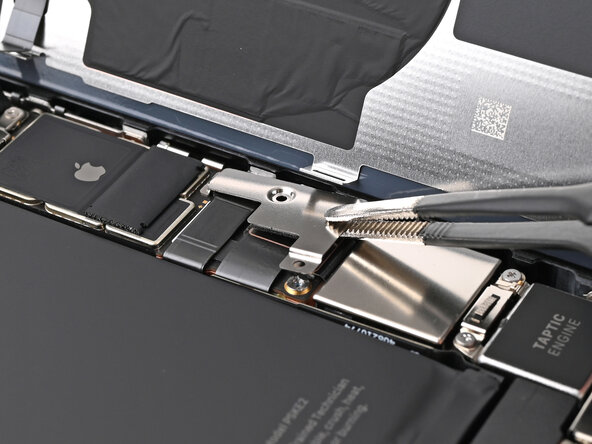
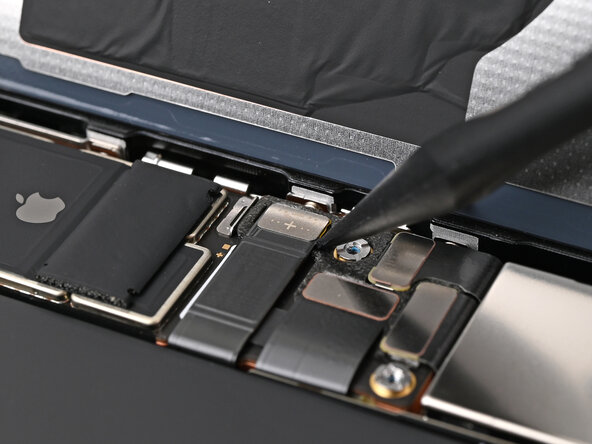
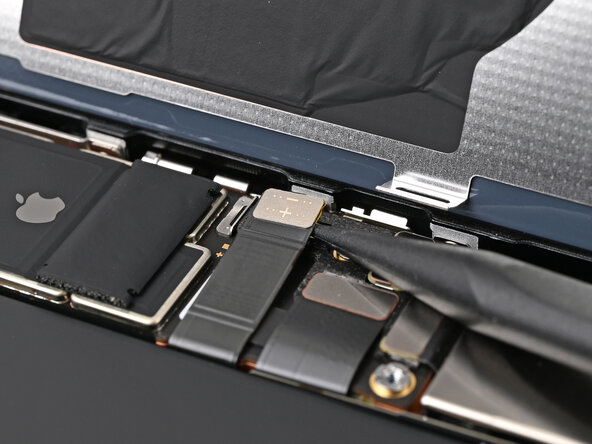
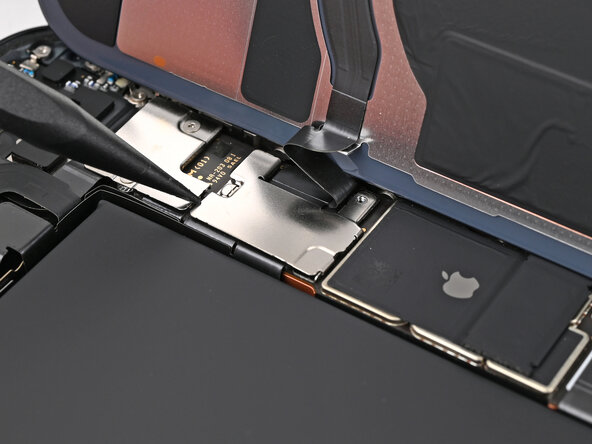
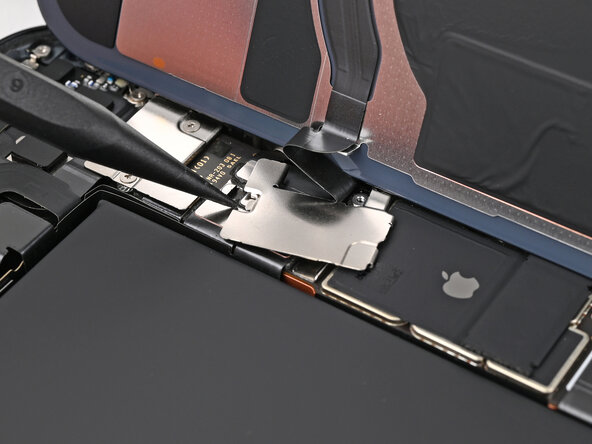
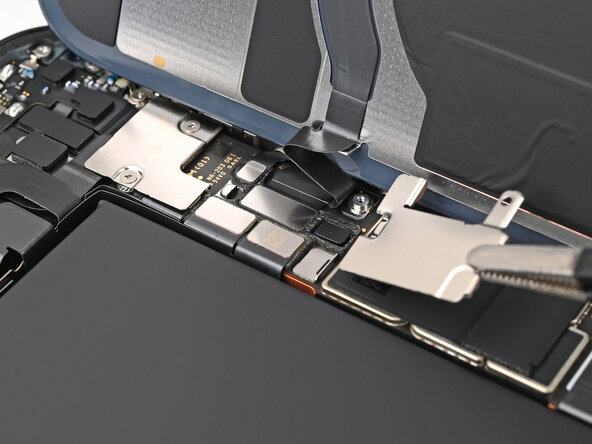
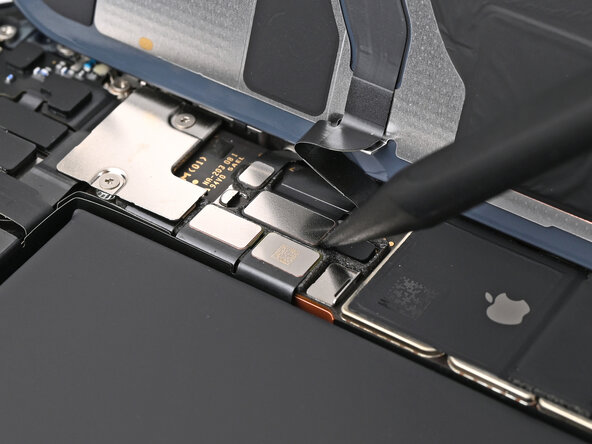
- Use the point of a spudger to pry up and disconnect the battery press connector.
- Use a tri-point Y000 screwdriver to remove the 1.0 mm‑long screw securing the middle connector cover.
- The middle connector cover is slotted into two metal clips on the top and bottom.
- Use the point of a spudger to push the middle connector cover towards the bottom of the phone to release its clips.
- Use tweezers or your fingers to remove the cover.
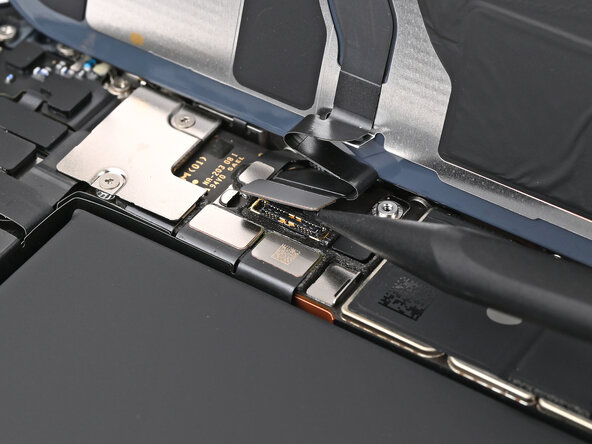
- Use the point of a spudger to pry up and disconnect the wireless charging coil press connector.
- Lift the back glass off the frame and remove it.