Sony SRS-XG300 Battery Replacement
ID: 185016
Description: If your Sony SRS-XG300 (model XG300) is...
Steps:
- Before beginning, make sure to unplug and power off your speaker.
- With the Sony label on the left, roll the speaker horizontally to the bottom of the speaker with the rubber stands.
- Remove four 12 mm screws with a Phillips #1 screwdriver.
- Remove the loose rubber feet.
- Insert the metal spudger tool at 90-degree angle into the right part of seam.
- Pry off the top part of the fabric cover using the metal spudger.
- Follow the seam to completely detach the top part of the fabric cover.
- Repeat to remove the bottom part of the fabric cover.
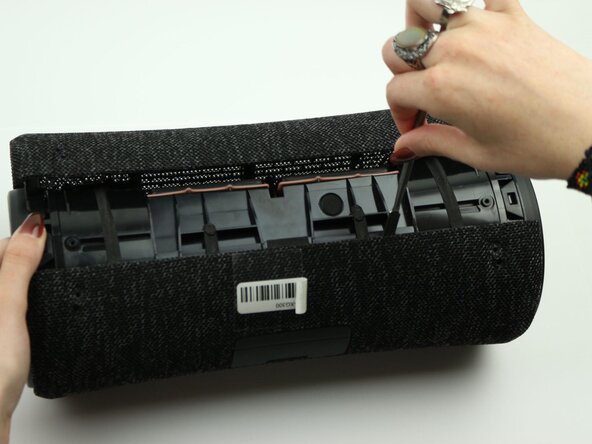
- Unclip all six trapezoid-shaped notches around the rim of the speaker using the metal spudger.
- Begin at the end of the speaker volume button board for an easier process.
- You may have to work clips off, pushing away from the speaker simultaneously.
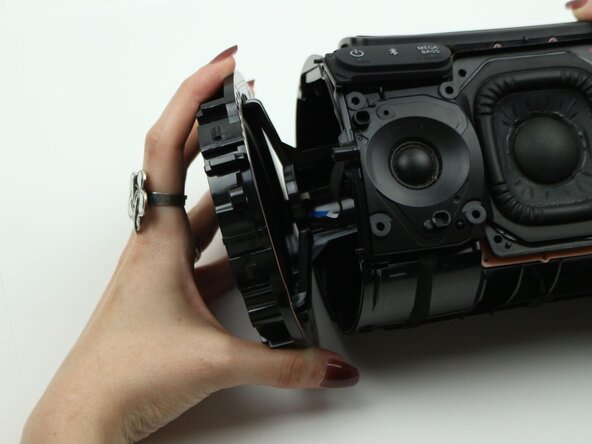
- Remove the speaker mounting ring.
- Repeat the same steps on the other end of the speaker with the power button board.
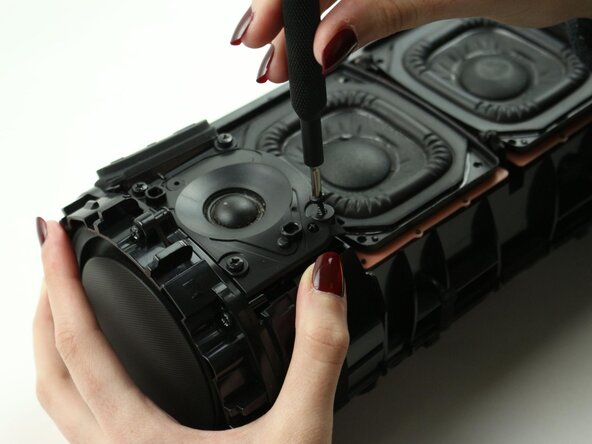
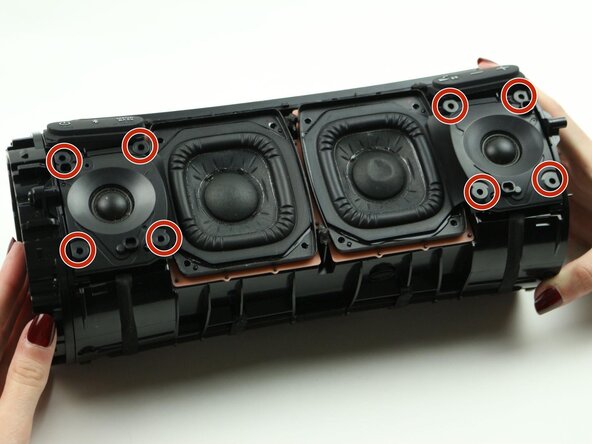
- Remove the four 12 mm screws on the corners of each tweeter using the Phillips #1 screwdriver.
- The tweeters are smaller compared to the two woofers in the center of the speaker.
- Lift the right tweeter up to expose the connected cables at the top and bottom of the right tweeter.
- Pinch down on the metal tab and pull outward to disconnect each cable.
- Pieces are malleable, so you may have to maneuver to disconnect.
- Lift the right tweeter up and out of the case.
- Remove the six 12 mm screws on the rim of the radiator using the Phillips #1 screwdriver.
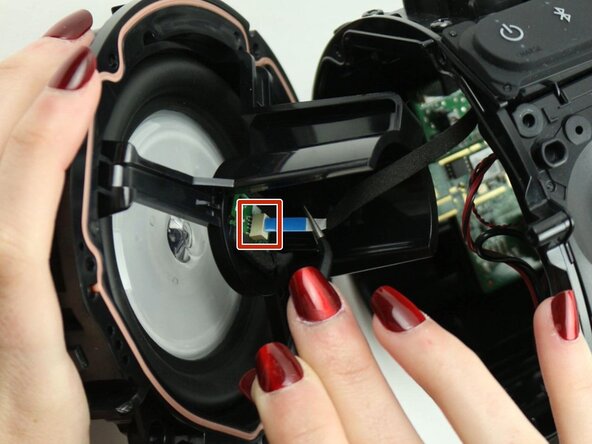
- Uncap the left bass radiator. Detach the blue ribbon cable from the bass radiator.
- Using the angled tweezers will make this process easier.
- Remove the left bass radiator.
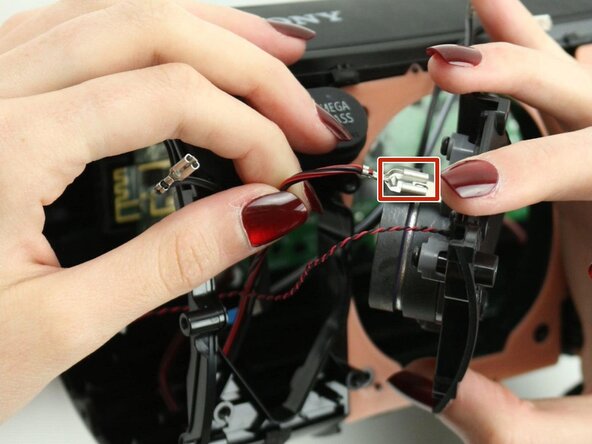
- Disconnect the microphone by pulling on the white end of the microphone cable.
- Lift the left tweeter up to expose the connected cables at the top and bottom of the left tweeter.
- Pinch down on the metal tab and pull outward to disconnect each cable.
- Lift the left tweeter up and out of the case.
- Remove eight 12 mm screws on the woofers using a Phillips #1 screwdriver.
- Lift the right woofer to expose the two connected cables at the bottom of the right woofer.
- Disconnect both cables by pinching down on the metal end and pulling outward.
- Cable ends are malleable, so they may require some maneuvering. Be careful not to damage the wire in the process.
- Lift the left woofer to expose the two connected cables at the bottom of the right woofer.
- Disconnect both cables by pinching down on the metal end and pulling outward.
- Cable ends are malleable, so they may require some maneuvering. Be careful not to damage the wire in the process.
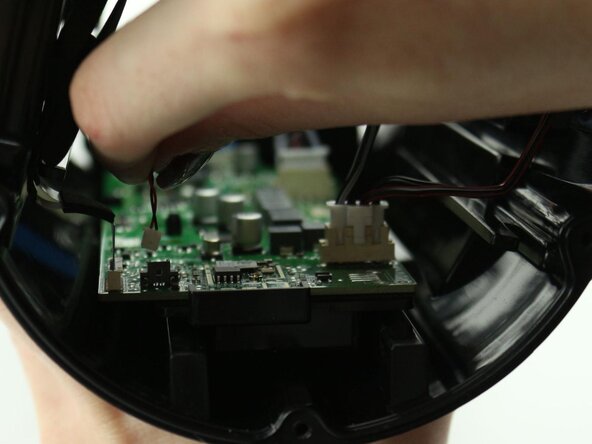
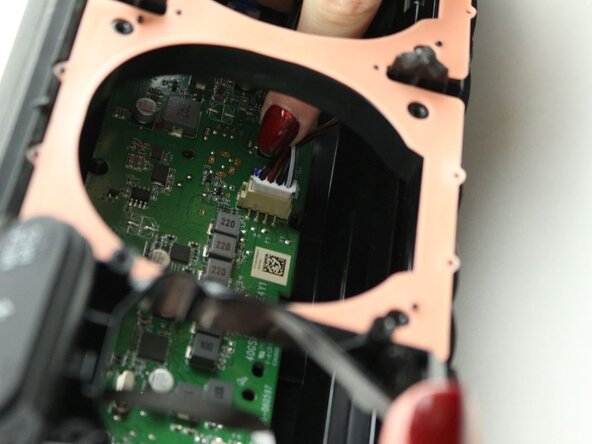
- Disconnect the second blue film cable on the left edge of the speaker’s motherboard.
- If experiencing difficulties with this step, consider using angled tweezers.
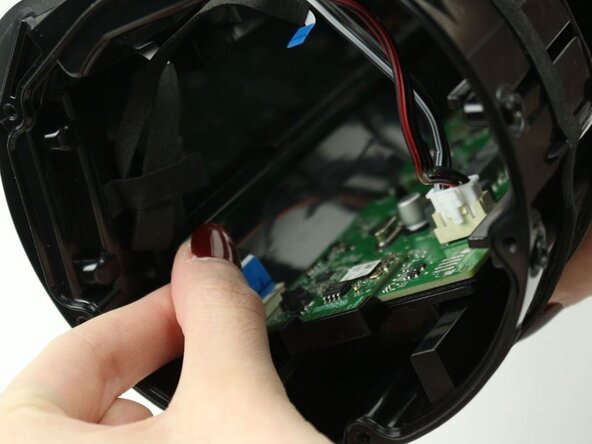
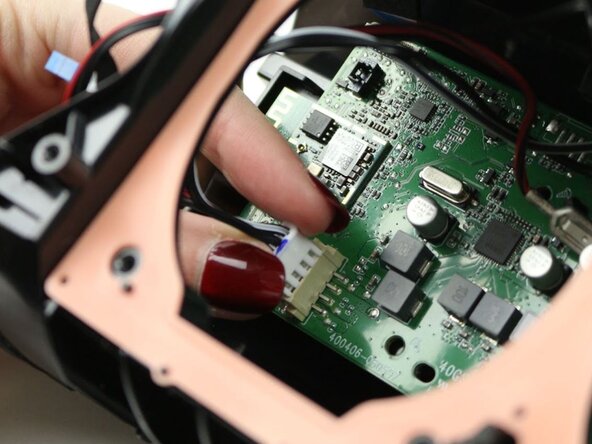
- Pull the white end of the left cable cluster to disconnect the set of cables from the motherboard.
- Be careful to not pull directly on the wires as they are not as durable as the plastic ends.
- Pull the white end of the right cable cluster to disconnect the set of cables from the motherboard.
- Be careful to not pull directly on the wires as they are not as durable as the plastic ends.
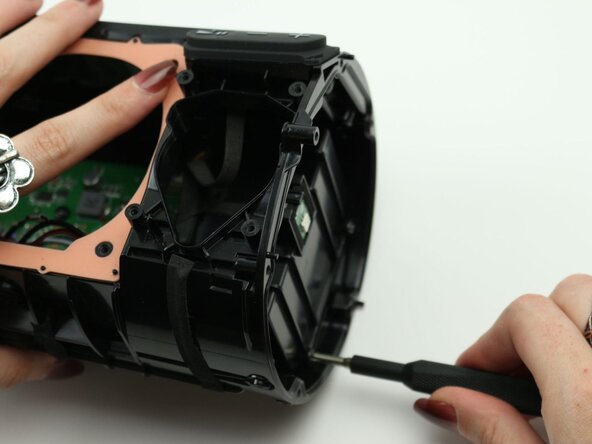
- Remove the six 12 mm screws that attach the motherboard to the base of the speaker using the Phillips #1 screwdriver.
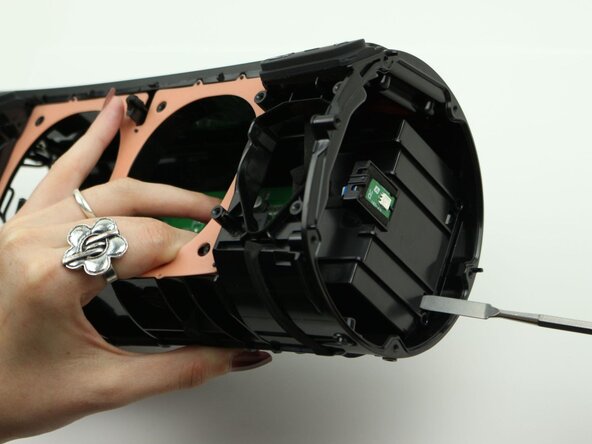
- Remove the two 12 mm screws at the bottom of the battery box using the Phillips #1 screwdriver.
- Use the metal spudger to push in the two bottom clips and release the entire motherboard and battery unit.
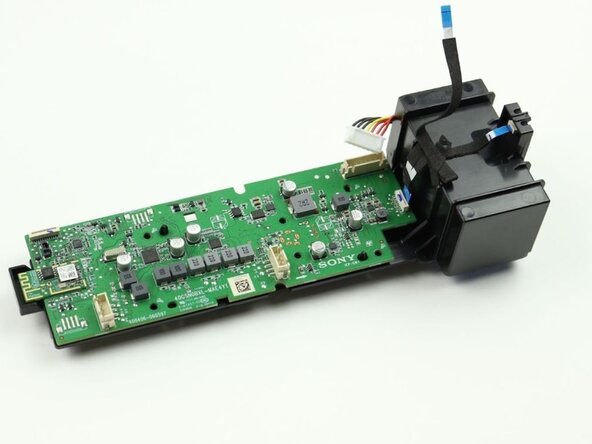
- Pull the motherboard out.
- The motherboard should be easy to remove, so do not apply too much force during this step.
- Disconnect the battery cable plug at the top right of corner the motherboard.
- Pull the white end of the plug to disconnect the battery.
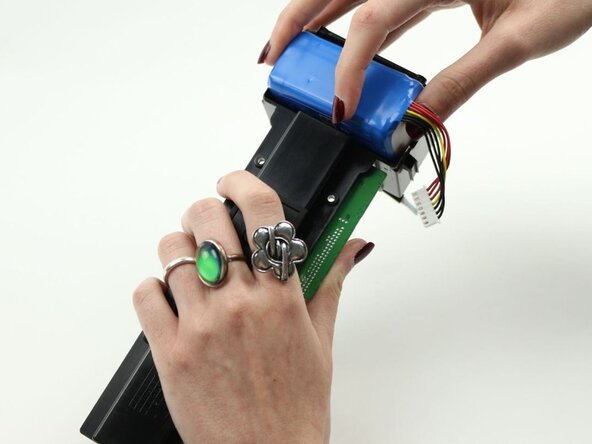
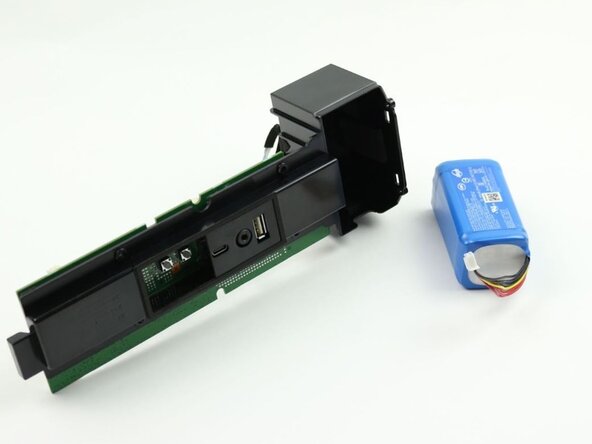
- Flip the motherboard and battery unit upside-down.
- Use your hands to pry the battery up and out of the case.
- Replace with a new battery.