Logitech G X56 HOTAS Throttle LED Board Replacement
ID: 185364
Description: If the LEDs on your Logitech G X56 HOTAS...
Steps:
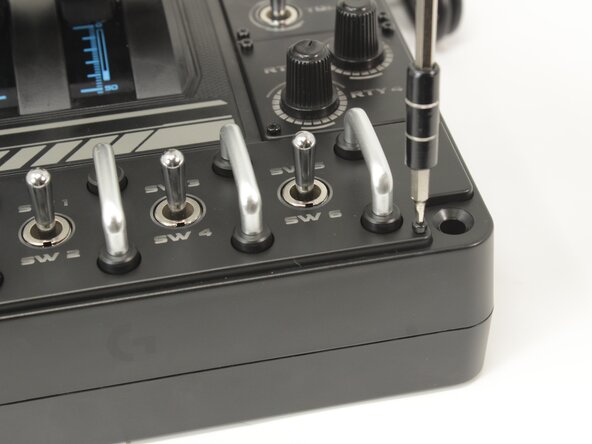
- Remove the eight 8.6 mm long 1.5 mm hex screws from the label plate.
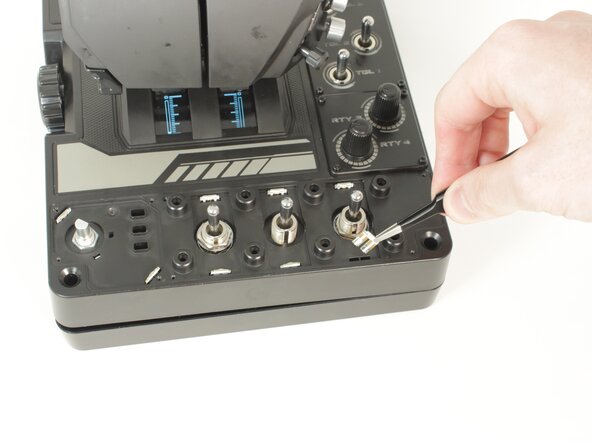
- Use an opening tool to pry off the mode switch knob.
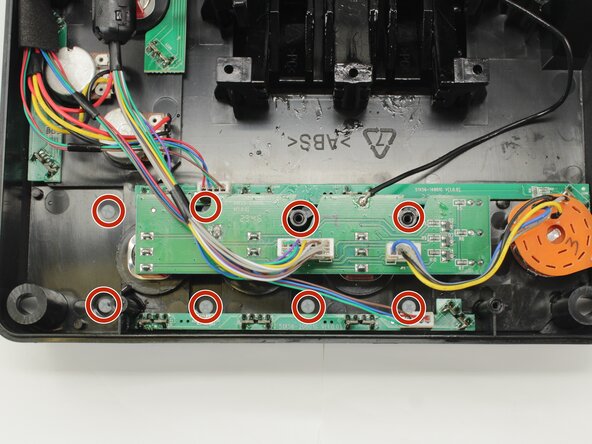
- Remove the eight 12.5 mm long Phillips #1 screws from the underside of the label plate.
- These screws are plastic! Be very careful when applying force.
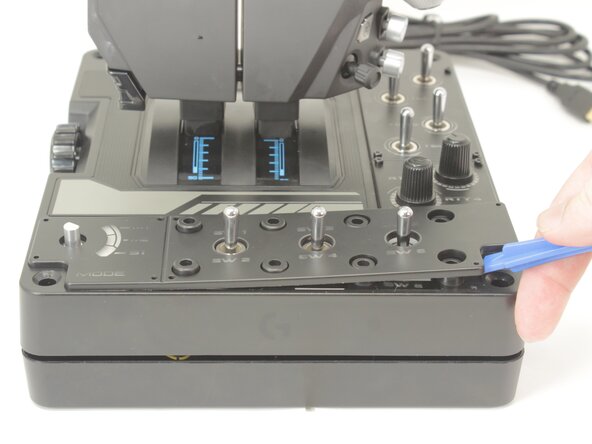
- Place the throttle right side up again, using the bottom panel as a coaster.
- Gently pry the label plate from the body of the throttle.
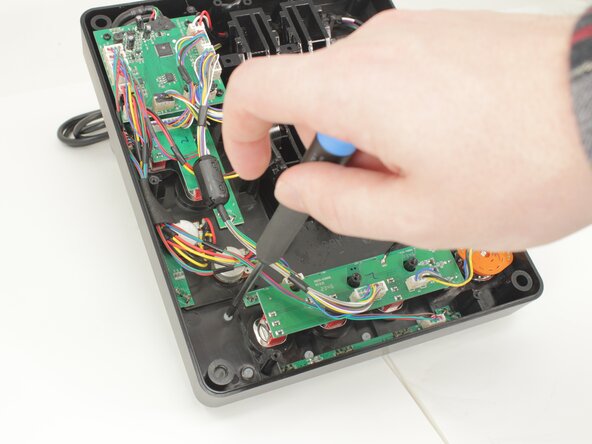
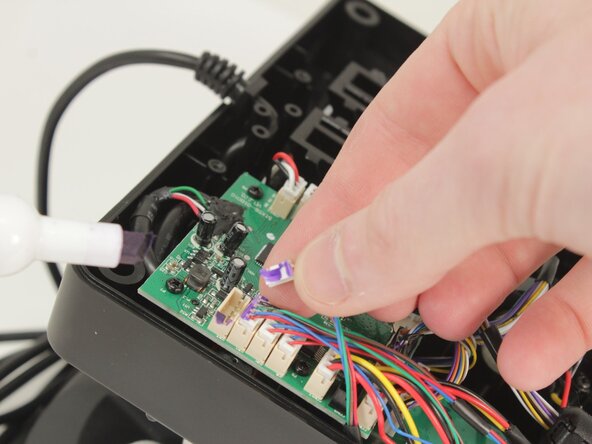
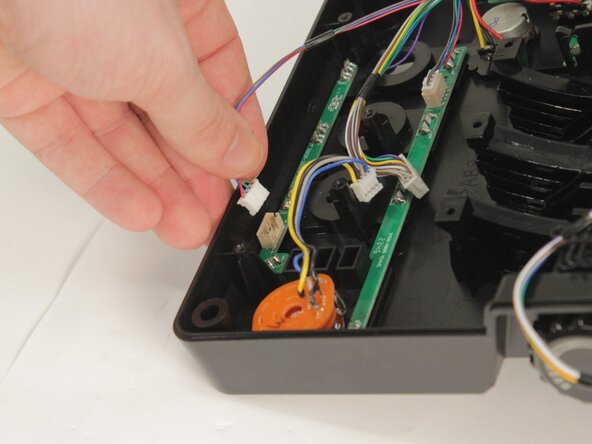
- Optional: Take a picture or mark each connector as you remove them for ease of reassembly.
- Disconnect all of the motherboard connectors by pulling them straight up and out of their sockets.
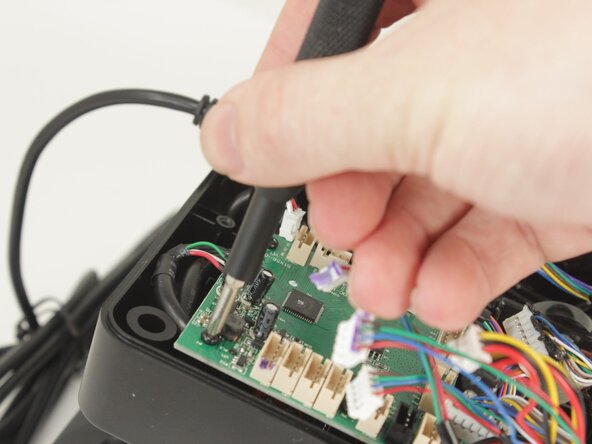
- Remove the four 11.6 mm-long Phillips #0 screws that secure the motherboard.
- Lift the motherboard from the base plate shell, carefully making sure to keep the USB power cable unstrained.
- Each LED Board uses the LEDs to hold it against the base plate. It also has a single cable set to the logic and power board.
- Each of the LEDs needs to be removed with a soldering iron and your choice of solder wick or solder sucker.
- Once free of the solder, the LED must be pushed through to the front.
- Gently Remove the LED board.