Anbernic RG 40XXV Screen Replacement
ID: 185466
Description: The screen of your Anbernic RG 40XXV produces...
Steps:
- Remove the micro SD card located on the left and right sides of the device by pushing into the SD card slot and pulling the card out.
- Unscrew all six 7.5 mm screws on the backside of the case using a 1.5 mm hex screwdriver.
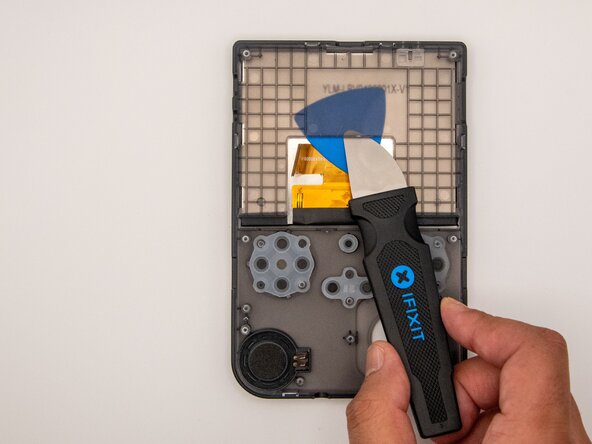
- Take apart the case by separating the front and back sides using an iFixit opening tool.
- When using the opening tool, carefully pry open the case to avoid damaging the device.
- Disconnect the battery connection cable by gently pulling it away with angled tweezers from the slot that connects the cable to the motherboard.
- The cable connection to the motherboard is labeled "+BAT-" for easy identification.
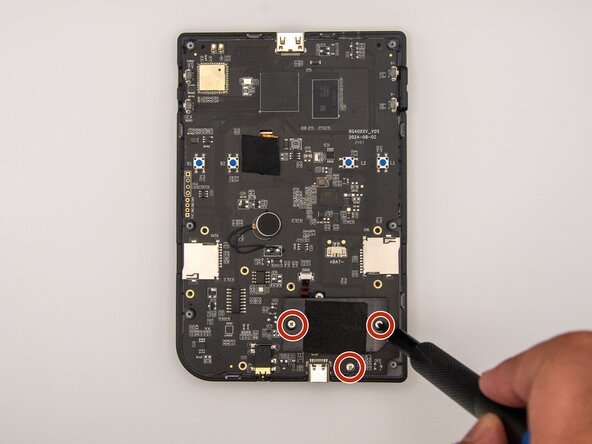
- Using a Phillips #00 screwdriver, remove the 10 5.5 mm screws securing the circuit board to the case.
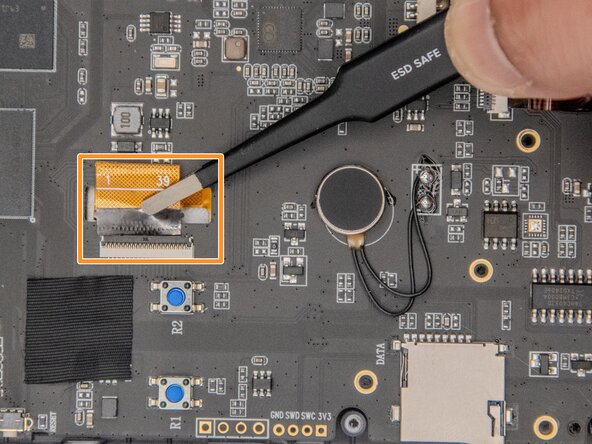
- Remove the tape covering the ribbon cables.
- Using ESD-safe tweezers, gently pull the ribbon cables away from the circuit board.
- Using ESD-safe tweezers will prevent further damage to your device and harm to yourself.
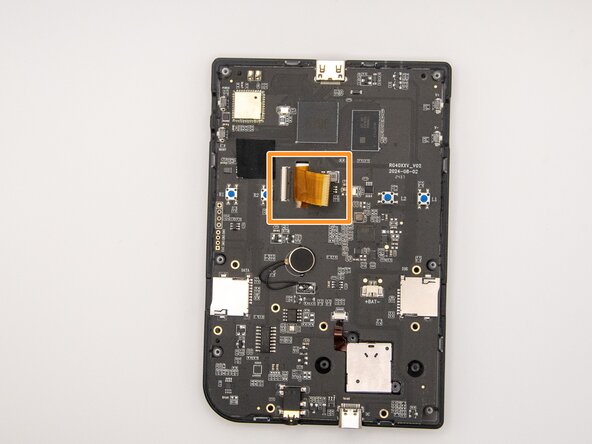
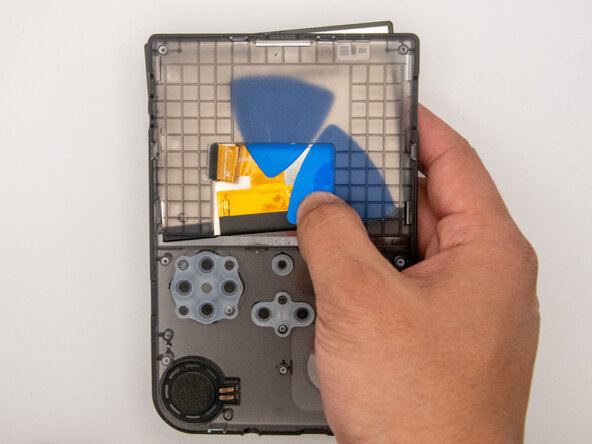
- Gently lift the circuit board out of the case.
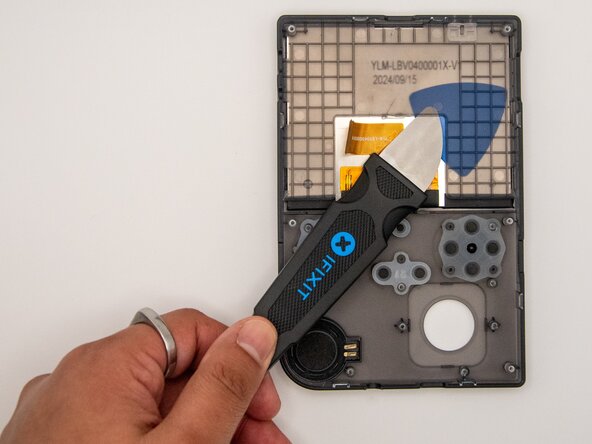
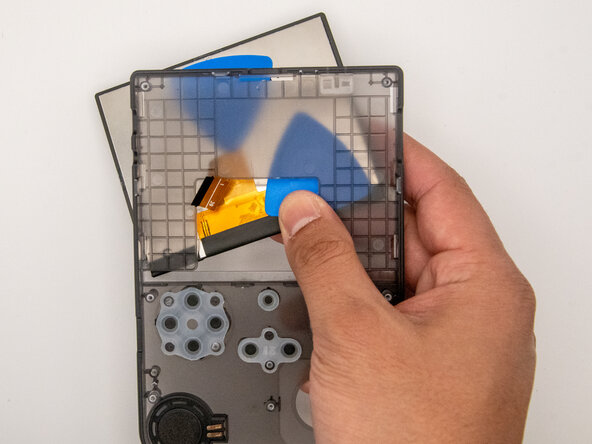
- Gently slide an opening pick in between the screen and the case frame.
- Do not slide the opening pick under the case frame aggressively, as this could damage your screen or device further.
- Gently slide a Jimmy in between the screen and case frame.
- Move the Jimmy around the underside of the case frame to loosen the adhesive holding the screen in place.
- Gently loosening the adhesive of the screen is key in this step, as aggressive movements could damage the device further.
- It may be helpful to slide another opening pick under the case frame to aid in releasing the strong adhesive.
- Gently press on the back side of the screen to dislodge it from the case.
- If the adhesive has not been fully released, return to step 6 to continue loosening it to avoid further damage to the device.
- Remove the screen from the case.