Arlo Pro 2 Camera Micro-USB Port Replacement
ID: 185703
Description: If your Arlo Pro 2 camera is not charging,...
Steps:
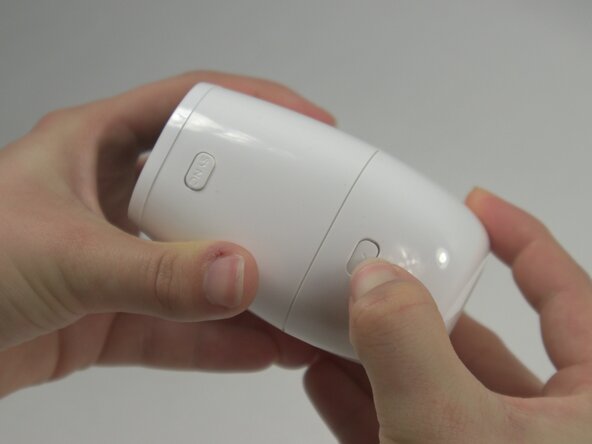
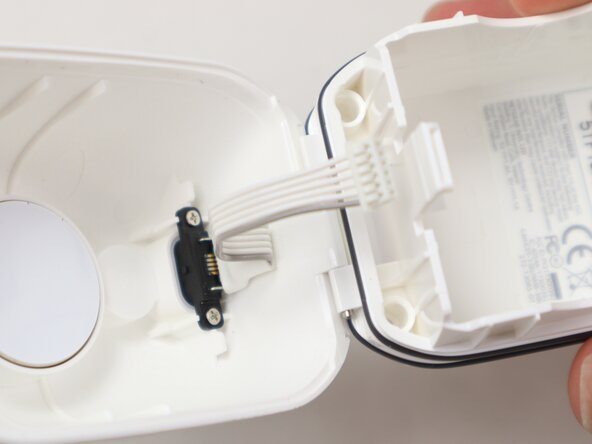
- Press the release button on the camera and gently pull apart the casing to open the device.
- Remove the battery from inside the case.
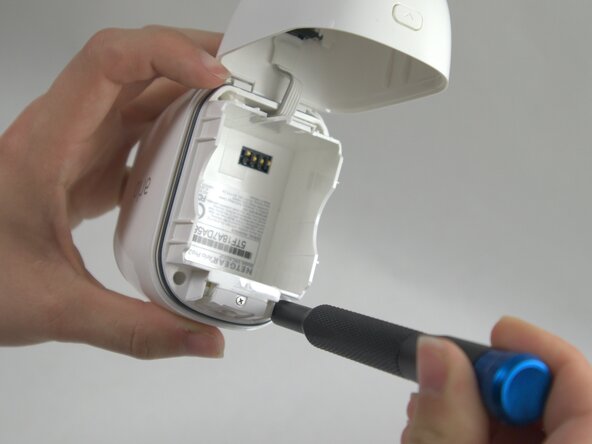
- Use a T5 Torx screwdriver to remove the four 7 mm screws securing the camera case.
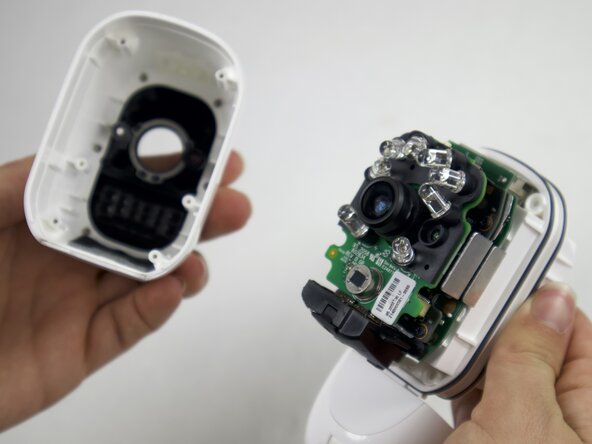
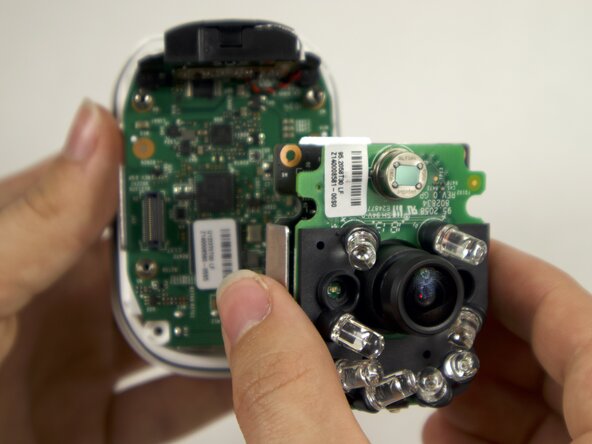
- Carefully pull the outside of the case apart from the internal case to remove the camera components from the outside casing.
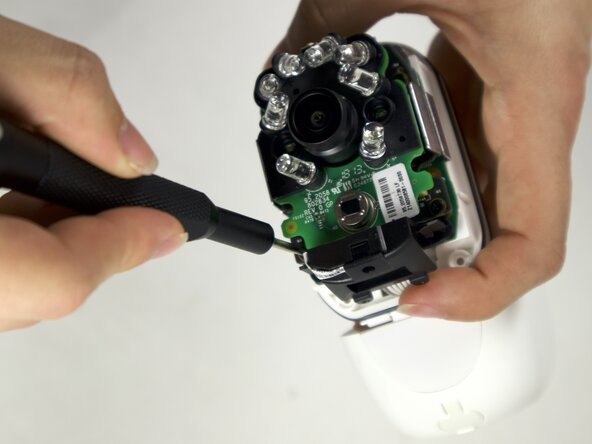
- Use a Phillips #00 screwdriver to remove four 4 mm screws connecting the daughterboards to the motherboard.
- Seperate the daughterboards from the motherboard and camera casing.
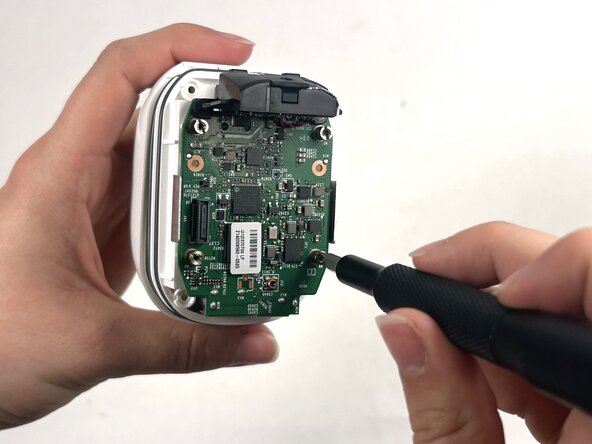
- Use a Flathead 4 mm screwdriver to remove the four 7 mm screw posts connecting the motherboard to the case.
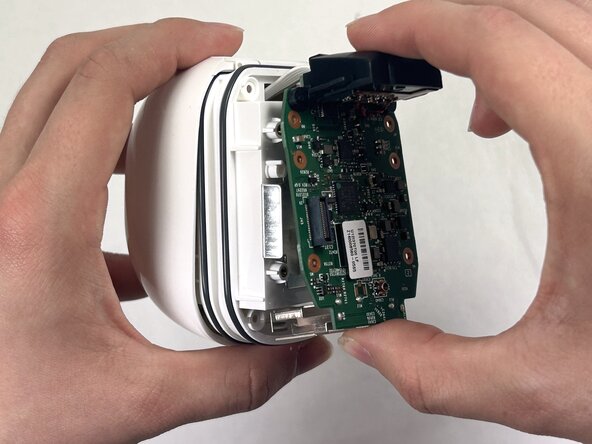
- Carefully pull the motherboard apart from the camera casing.
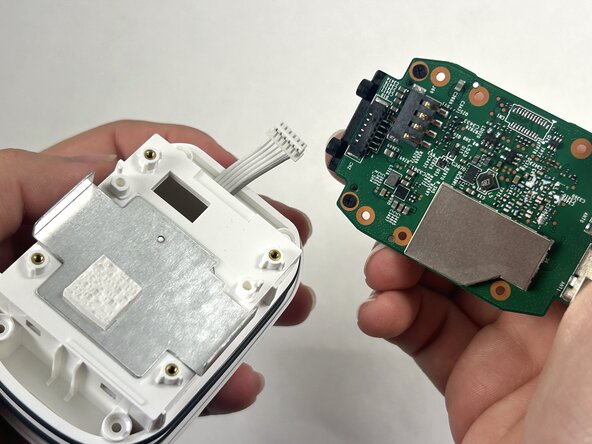
- Disconnect the white cord from the port on the motherboard, by gently pulling away from the port to fully isolate the motherboard from the case.
- Thread the wires of the Micro-USB port through the casing.
- Guide the wiring through the opening so that the wiring is solely in the battery cavity and not going through any part of the case.
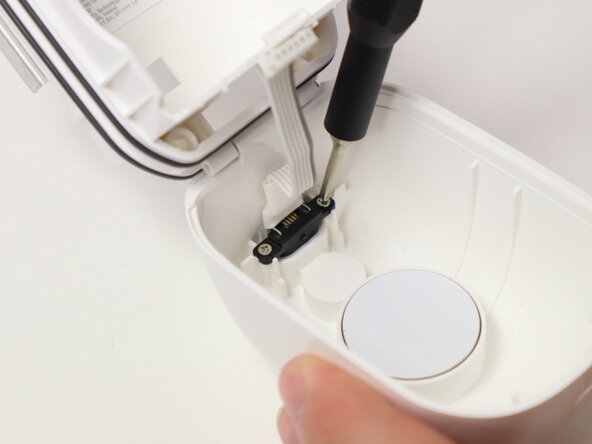
- Use a Phillips #00 screwdriver to remove two 3 mm screws connecting the Micro-USB port to the camera casing.
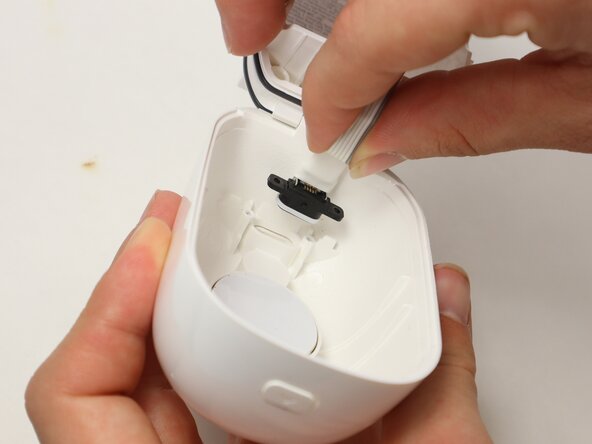
- Gently remove the Micro-USB port by pulling it away from the case.