Royal P50 Electric Pencil Sharpener Blades Replacement
ID: 185999
Description: If you're wondering why your Royal P50 Electric...
Steps:
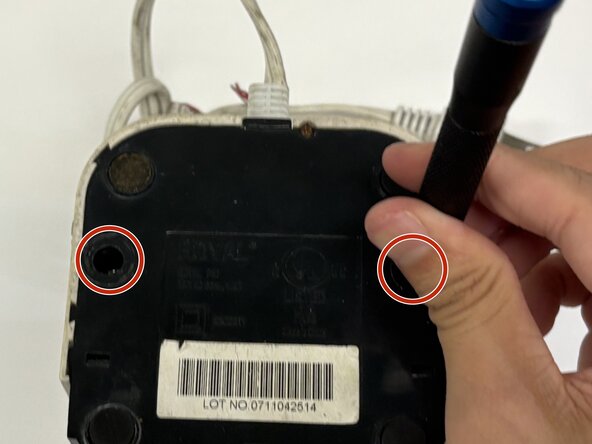
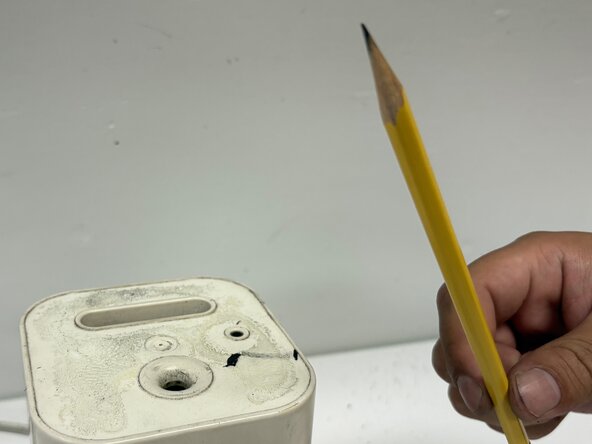
- Turn over your pencil sharpener so the bottom is facing up.
- Use a spudger to remove the rubber screw covers.
- Use a Phillips #1 screwdriver to remove the screws from the bottom of the device.
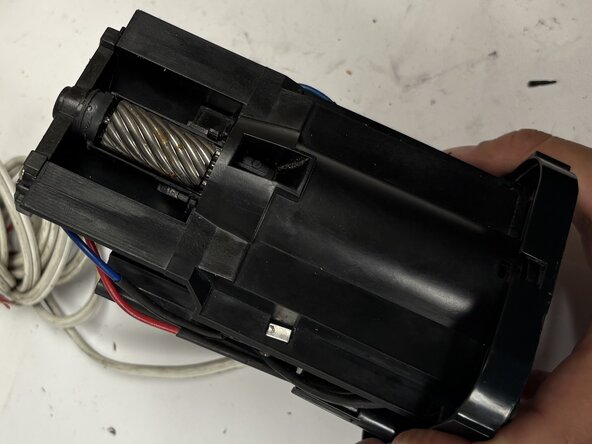
- Take off the white cover by sliding it up along the mechanism. This will reveal both the blade mechanism and wiring in the back of the sharpener.
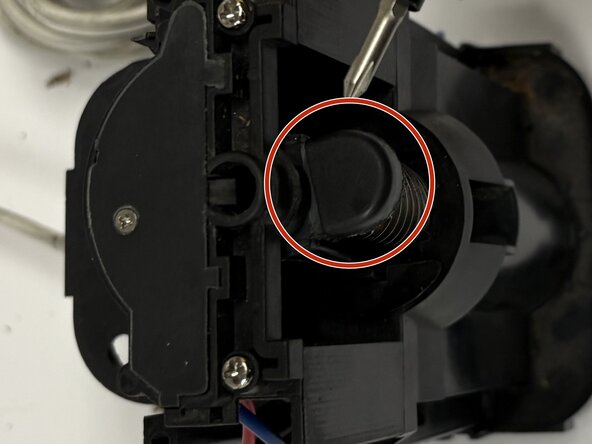
- Using your hands, pry off the black disk-like component seen highlighted here.
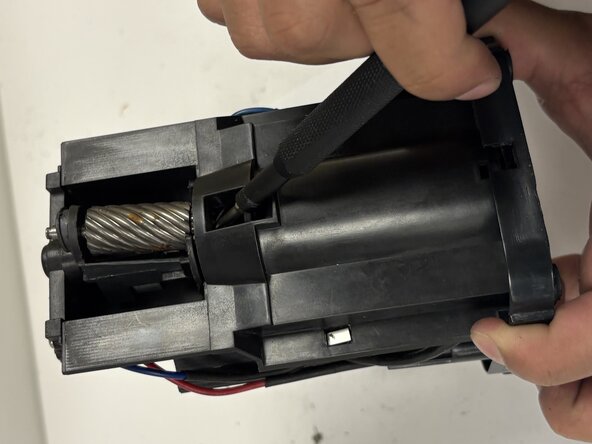
- Take note of the metal rod that is now exposed and directly connected to the blade; this is what we aim to remove.
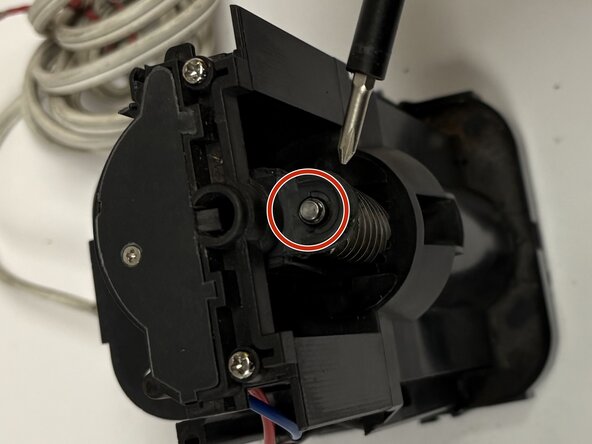
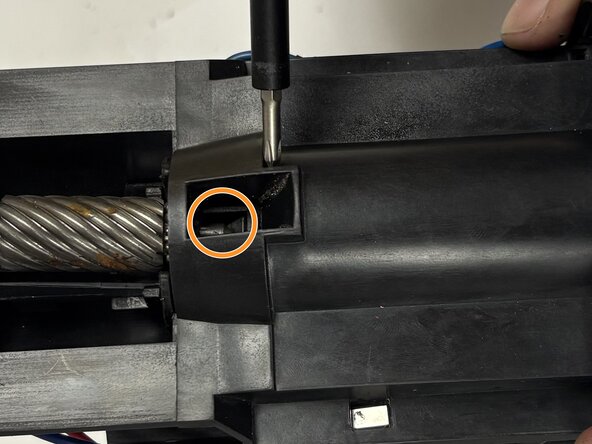
- Underneath the blades you will see a rectangular opening and a portion of that same rod.
- Using the same Phillips screwdriver, push the rod upwards by lodging the screwdriver where the rod rests, beneath the metal plate.
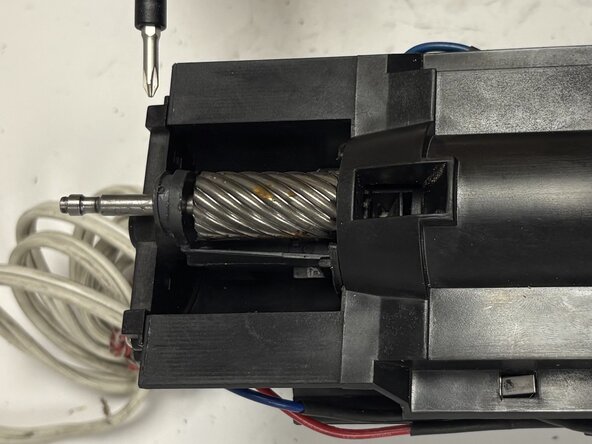
- There will now be a large metallic rod sticking out of the top of the blade.
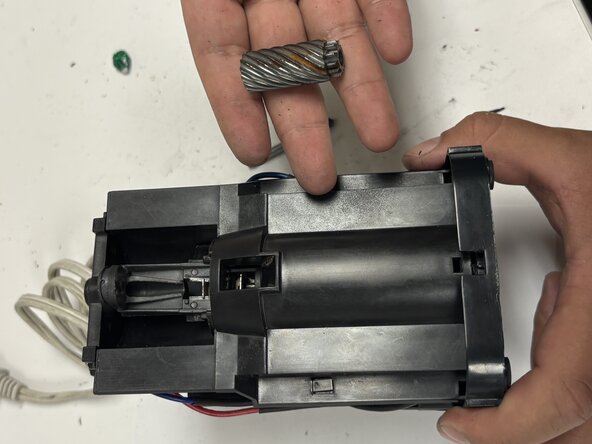
- Finally, remove the rod, and the blade will come right out.
- Inserting the replacement blades should be done the same way as the process of removal but this time in reverse.
- Once the blade has been secured, place and screw everything back into their respective locations.
- Your pencil sharpener should work as good as new now!
- Happy sharpening!