JBL Tune 760NC Faulty Charging Port Cleaning
ID: 186207
Description: Introduction If you’re experiencing charging...
Steps:
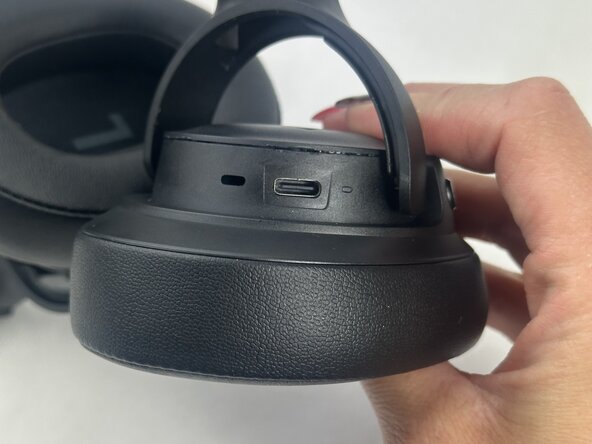
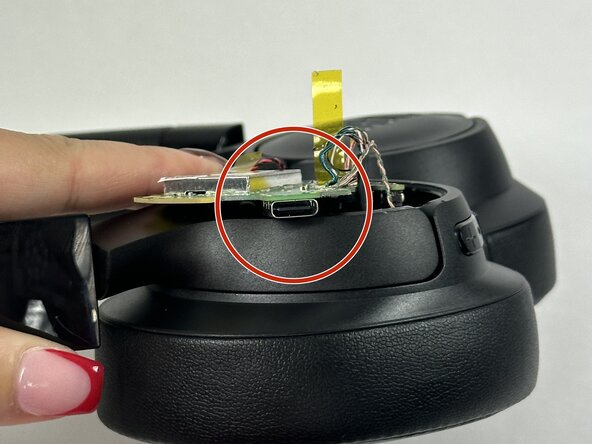
- Locate the USB-C charging port on the outside of the right ear cup.
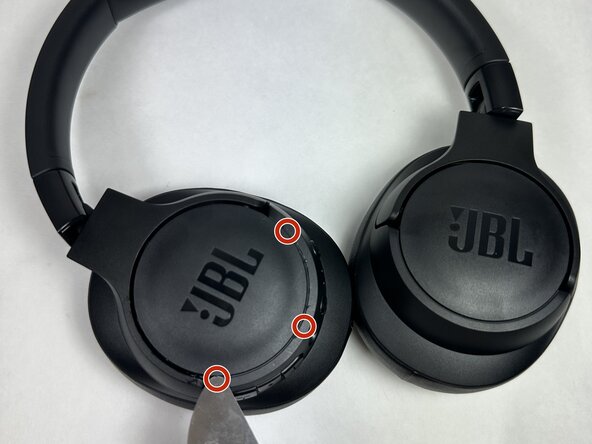
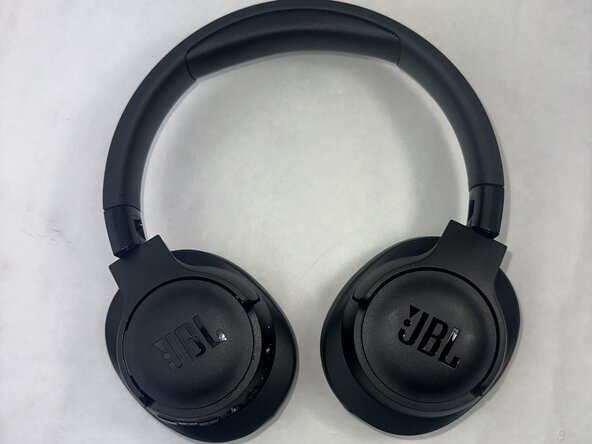
- Place the headphones on a stable, flat surface.
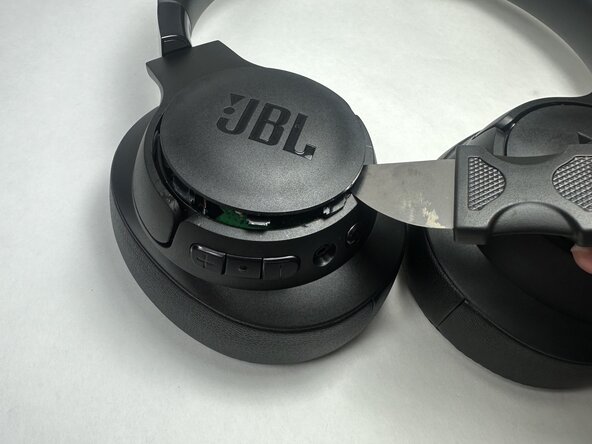
- Insert the Jimmy pry tool at a 30° angle into the seam between the ear cup and the plastic cap.
- Pry gently but firmly to release the internal clips. You may need to try different spots around the seam for easier access.
- Set aside removed cap.
- Reminder: Keep track of any small plastic clips or parts that may come loose during prying.
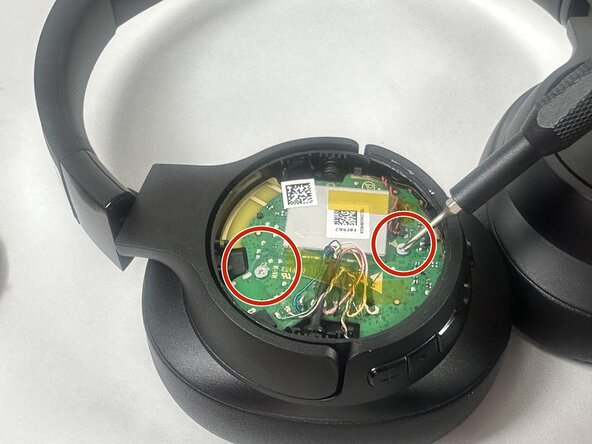
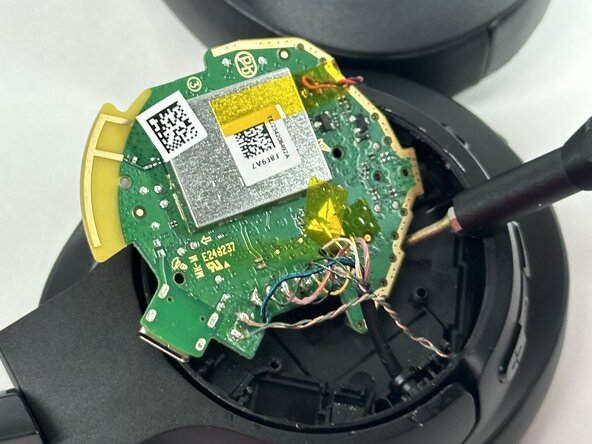
- Locate the two silver screws on the motherboard.
- Using the Phillips #0 screw driver, gently remove the silver screws and place into a safe storage container.
- Note: be careful not to lose the screws as you will need to screw back on when finished.
- Lift the mother board out of the socket.
- Use a flashlight and inspect the port for any lint, dust, or damage. You may see buildup around the inner pins or edges of the port.
- Use a soft brush or compressed air to remove loose debris.
- Dip a toothpick or brush in a tiny bit of isopropyl alcohol and gently clean inside the port.
- Gently scrape out any any buildup, being careful not to damage the internal pins.
- Let the port fully dry if used isopropyl.
- Carefully close the right ear cup, ensure all wires are tucked in and not pinched. Snap the casing back together securely.
- Plug in your charger and check to see if the headphones begin charging.
- If your JBL Tune 760NC headphones now charge properly, your cleaning was successful. If not, the issue may be with the port’s internal connection or the charging cable itself. Consider testing with a different charger or seeking further repair assistance.