Anker Soundcore Boom 2 Waterproof Gasket Replacement
ID: 186229
Description: This guide applies to the Anker Soundcore Boom...
Steps:
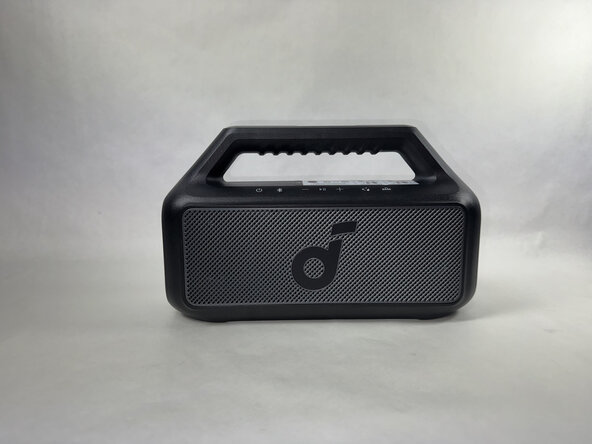
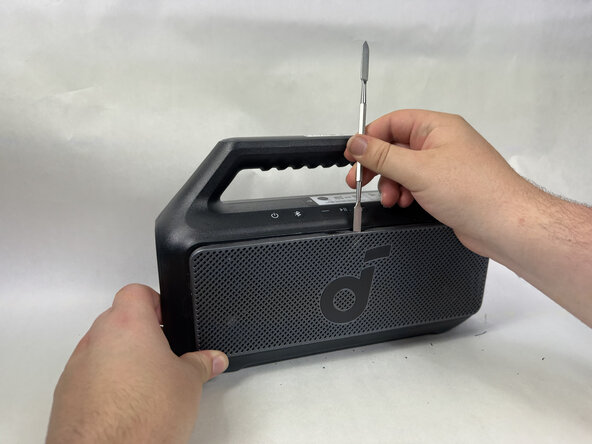
- Use a metal spudger to gently pry the front panel off of the speaker.
- Start with the top of the panel, pressing in and down on the middle of the top of the panel to release the tab holding it in place.
- Continue around edge of the front panel, releasing each tab until the panel is loose and comes free.
- Some speaker models have a strong adhesive around the edge of the panel that may require heat or glue-remover to loosen.
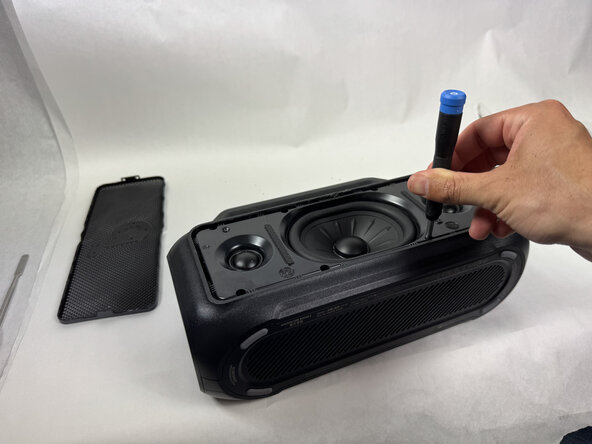
- Use a Phillips head screwdriver to remove the 8 screws surrounding the speaker head on the front facing panel.
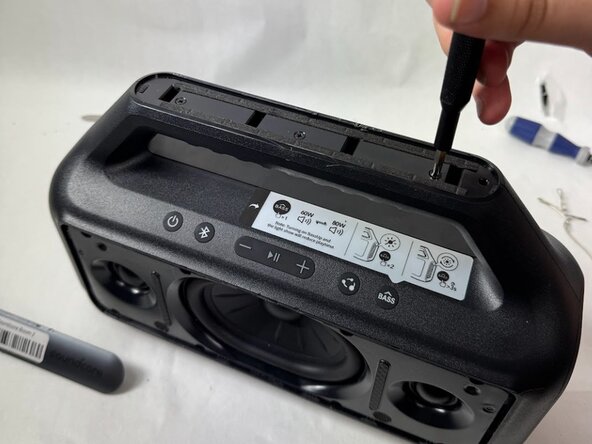
- Use a spudger to remove the top plate off of the handle.
- Remove the 3 screws in the handle with a Phillips head screwdriver.
- Use a spudger to separate the front facing panel from the rear facing panel.
- Follow the seam all the way around the device, prying gently until a gap appears before moving further along.
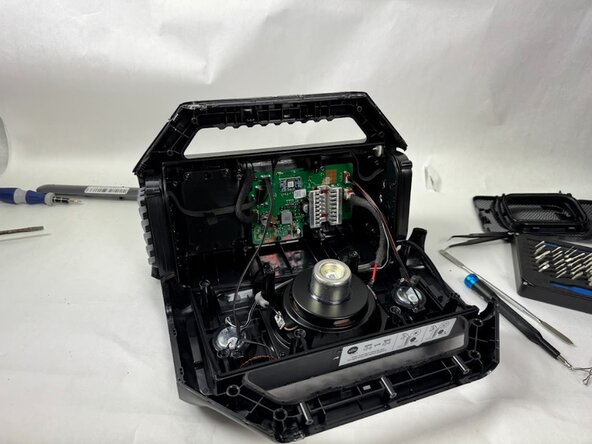
- This will split the device from front and back.
- Use pliers to disconnect the speaker head from the motherboard.
- Use a Phillips head screwdriver to remove the 6 screws around the backside of the speaker head.
- Remove the speaker head from the front facing panel.
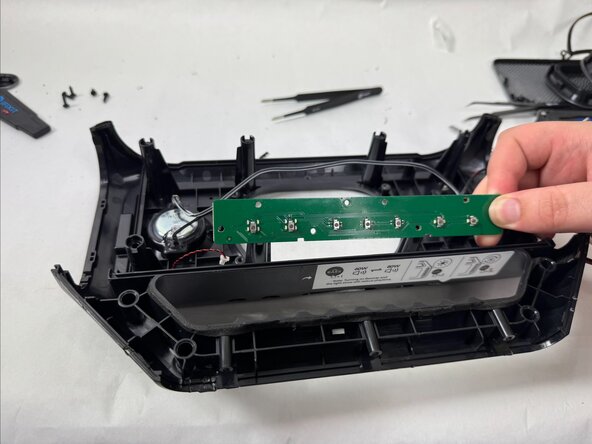
- Use your fingers to gently disconnect the motherboard ribbon cable from the button panel.
- Use pliers or tweezers to disconnect the microphone cable and the button wire from the motherboard.
- Use a Phillips head screwdriver to remove the 8 screws from the button panel.
- Carefully slide the button panel out of place.
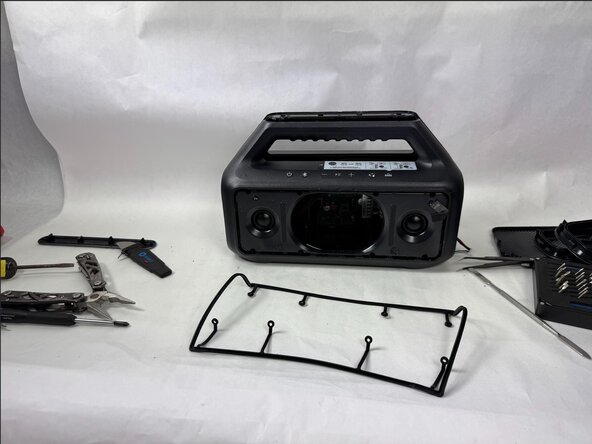
- With the device pulled apart and the wires to the speaker head and button panel disconnected, remove the gasket from around the edge of the internal compartment.