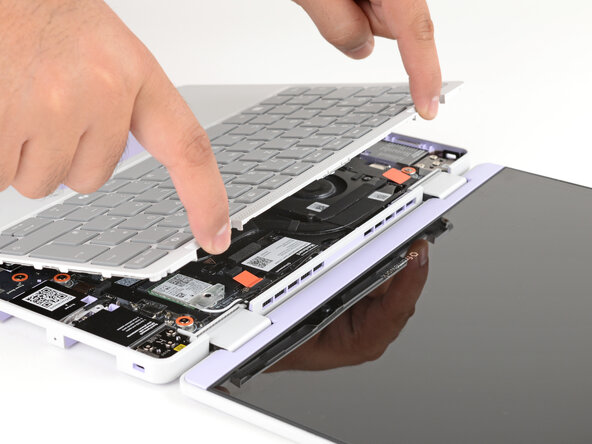
Framework Laptop 12 Input Cover Removal (Remove Expansion Cards)
ID: 186334
Description: Input Cover removal with Expansion Cards removed.
Steps:
- Before you begin repairs, unplug your laptop and shut it down from the operating system. This ensures that the laptop isn't in standby/suspend mode.
- The indicator LEDs along the edges should be unlit. The laptop should be silent.
- If you accidentally turn on the laptop during repair, hold the power button down for 10 seconds to shut it down.
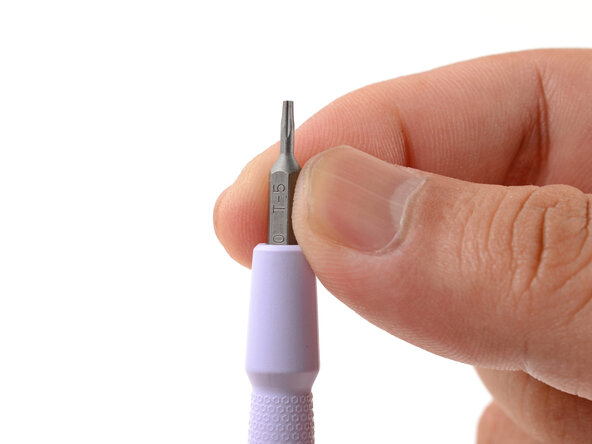
- Make sure your Framework Screwdriver has the T5 Torx bit (labeled as T-5) facing outwards. If it's not, pull the bit out and flip it.
- Set your Framework Laptop face-down on a clean work surface.
- Use your fingers to flip the two Expansion Card latches (one for each side) into the unlocked position.
- The latches display a red bar when they're unlocked.
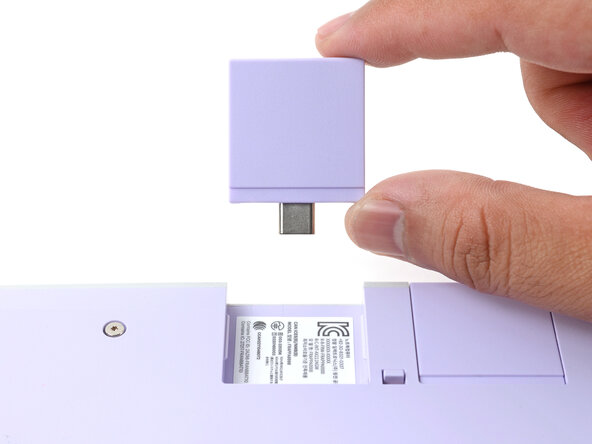
- Grip the lip of an Expansion Card with your fingers.
- Pull the Expansion Card out of its slot and remove it.
- If you have trouble pulling the Expansion Card out, you can also use the flat end of your Framework Screwdriver to push against the lip.
- Repeat this procedure to remove all remaining Expansion Cards.
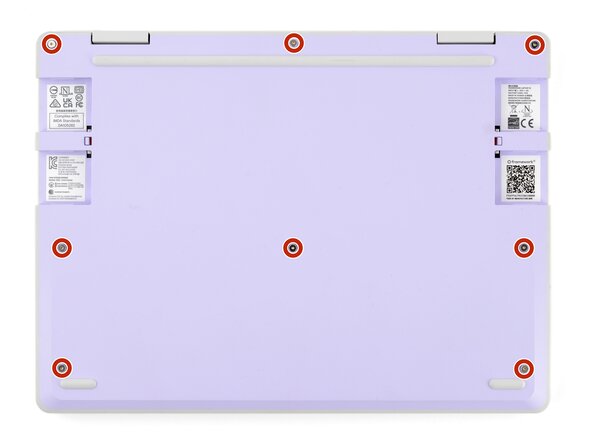
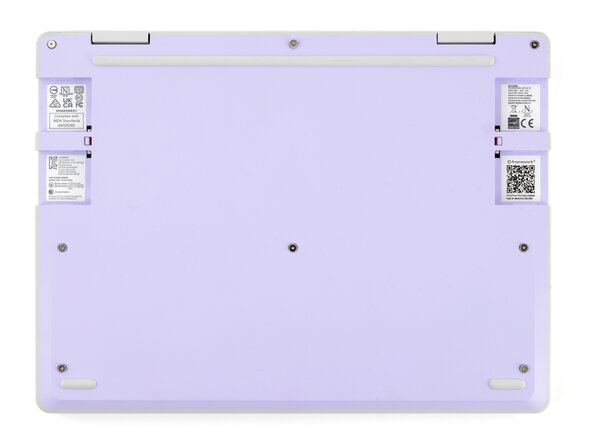
- Use your Framework Screwdriver to fully loosen the eight captive T5 Torx screws on the bottom of your laptop.
- Most screws in your Framework Laptop (including these) are captive—they're designed to stay in place after you loosen them.
- Your laptop comes with a spare set of screws in the frame above the battery. Be careful—the replacement screws aren't captive.
- Flip your laptop face-up on your work surface.
- Open the laptop lid so that both the screen and the base lie flat on your work surface.
- Use your fingers to grip the Input Cover in the hinge cutouts.
- Lift upwards to swing the Input Cover up from the base of the laptop.
- You may feel resistance from the magnets. If the cover feels like it's snagged, check that you've fully loosened the screws on the bottom of your laptop.
- Remove the Input Cover.