Acer Chromebook C710-2847 Screen Replacement
ID: 18711
Description: If your screen breaks or has dead pixels, the...
Steps:
- Place the laptop on a flat surface with the bottom side facing up.
- Place the tip of a spudger or finger into the hole on the battery release slider.
- Use the spudger to move the slider to the right and hold it there.
- With the slider held, use your other hand to pull the battery back away from the laptop.
- Open the laptop, keeping the screen on the table.
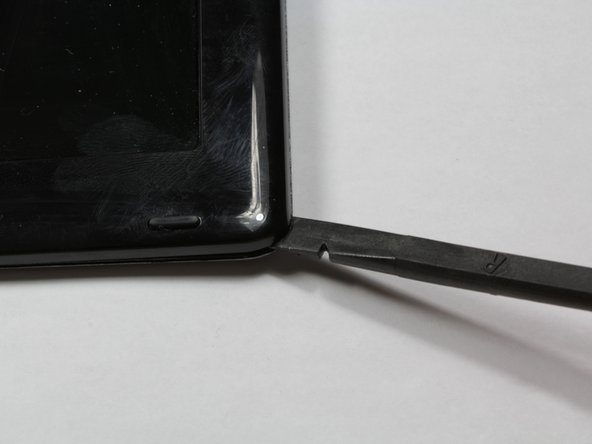
- CAUTION: Only use the spudger on the outside of the device. Don't insert it where the bezel meets the screen
- Use a spudger to unclip the top left and right sides of the bezel. You should feel and hear the clips releasing as you do this.
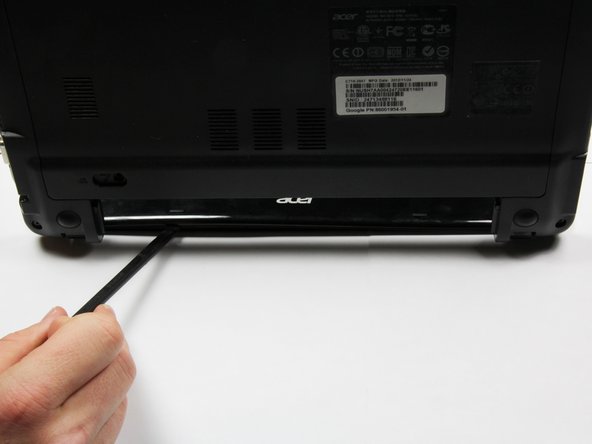
- Turn the device around 180 degrees, keeping the screen on the table. Use the spudger on the bottom of the screen to unclip the bezel between the hinges.
- Lift the bezel one inch off the top corners of the screen.
- Gently pull the plastic bezel toward you.
- Set the bezel aside.
- Unscrew the four black #0 3mm Phillips screws holding down the screen.
- Lift up the small pieces of black tape at the bottom center of the screen near the keyboard.
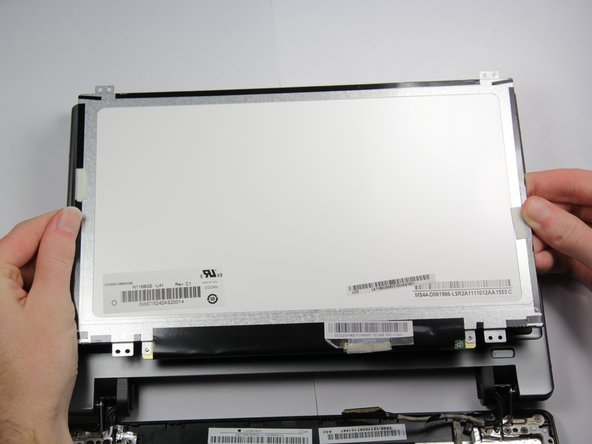
- Lift up the screen from the silver tabs at the top and flip it over to rest on top of the keyboard.
- Carefully unwrap the narrow black tape from around the ribbon cable connection.
- Pull off the clear tape from the ribbon cable connection.
- Pull out the ribbon cable.
- Remove any remaining tape holding the screen to the laptop.