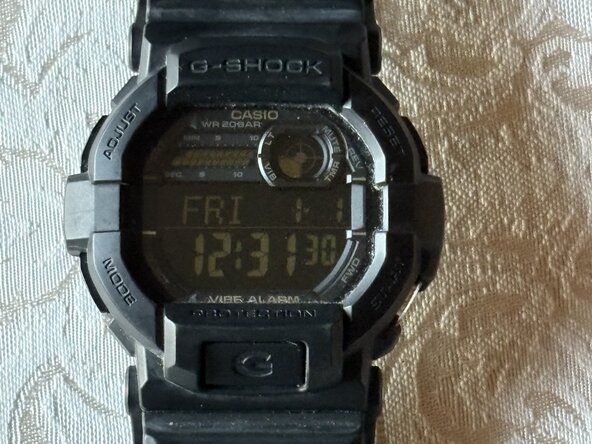
Casio G-Shock GD-350 Battery Replacement
ID: 190696
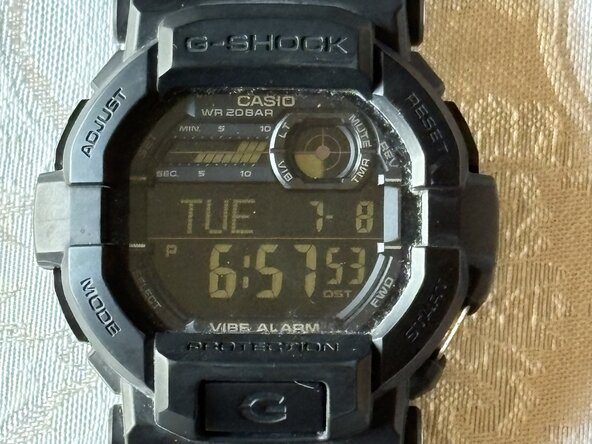
Description: Is your G-Shock telling you the battery is low?...
Steps:
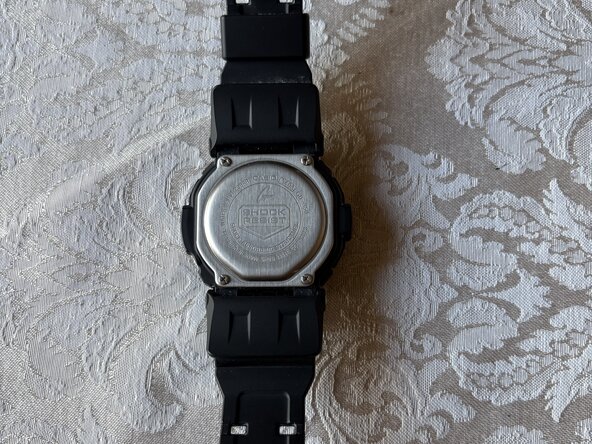
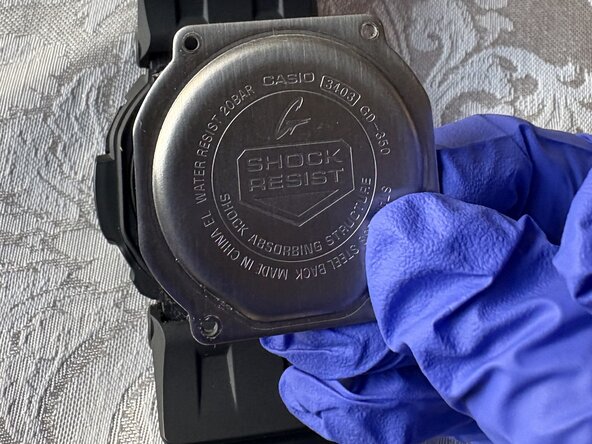
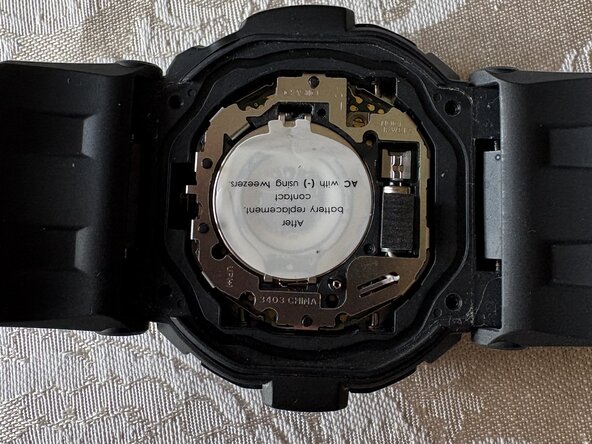
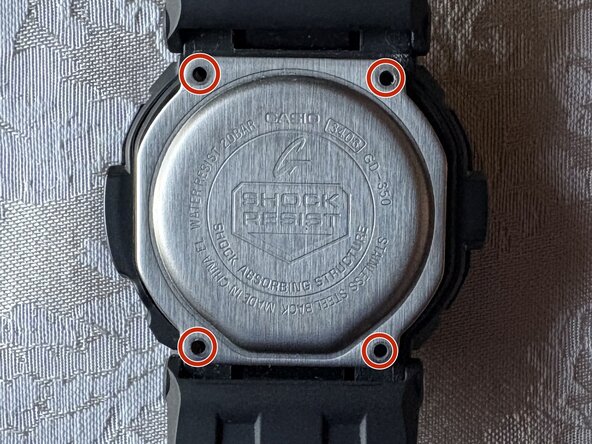
- Flip your watch over so the bottom is facing up.
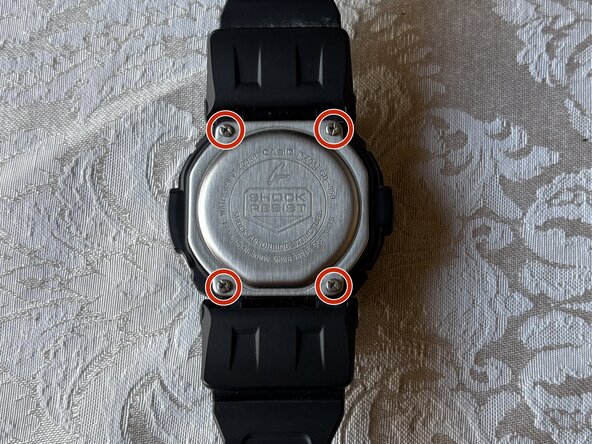
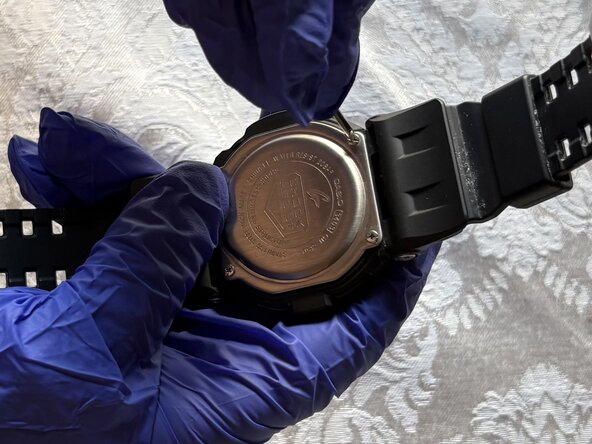
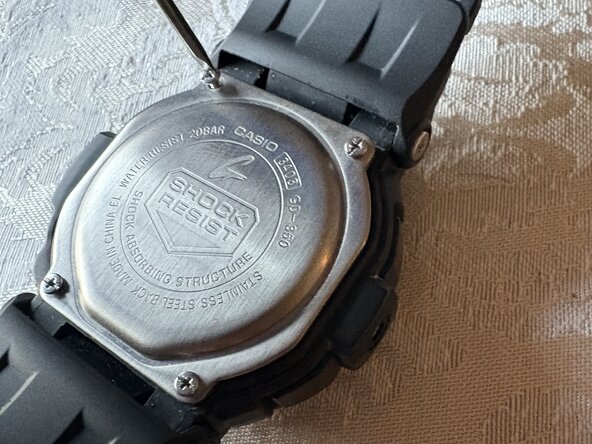
- Use a small Phillips screwdriver to remove four screws from the caseback, and place the caseback and screws to the side for later.
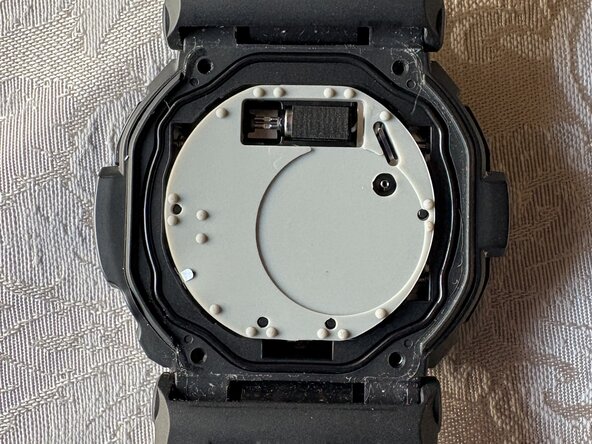
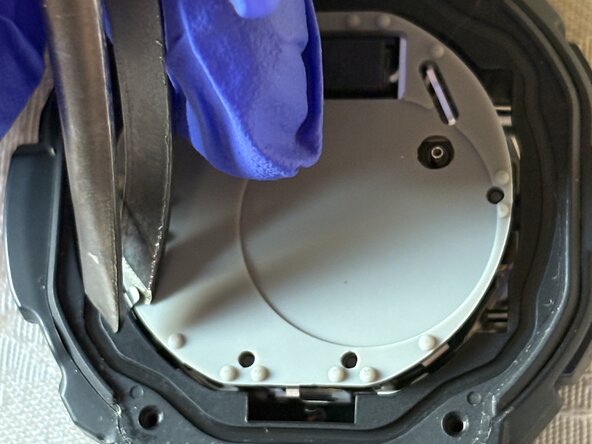
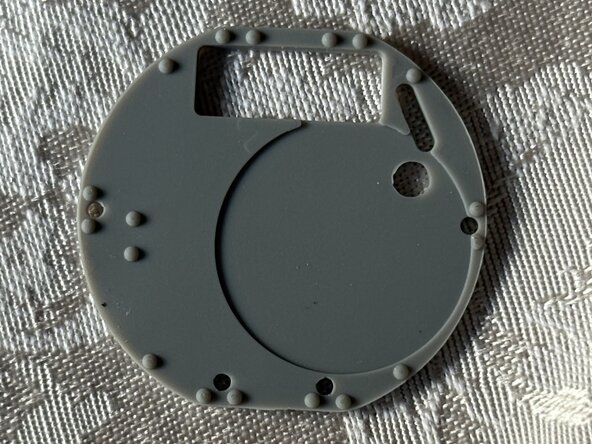
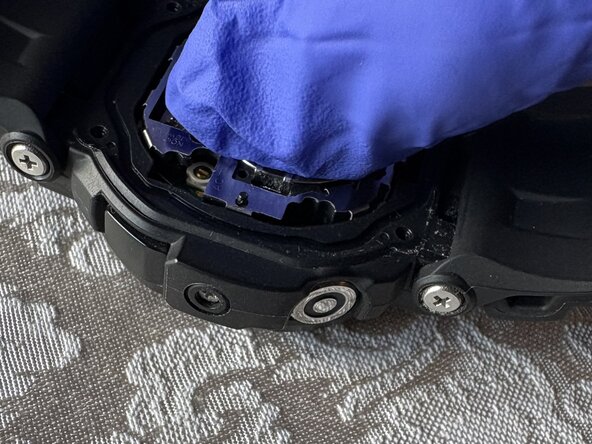
- Use tweezers to remove the black gasket surrounding the rubber cover.
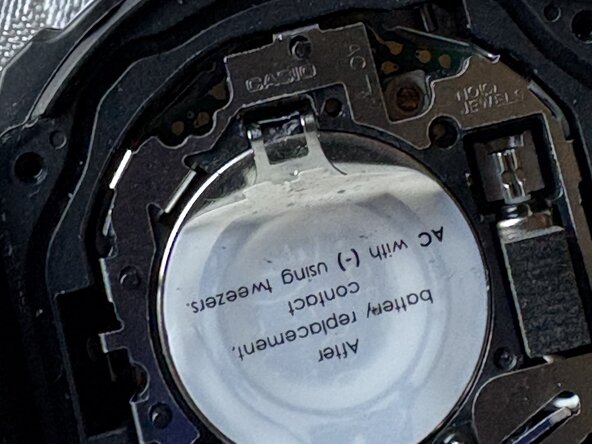
- Use tweezers to lift the metal tab and remove the rubber cover from the watch and place it to the side.
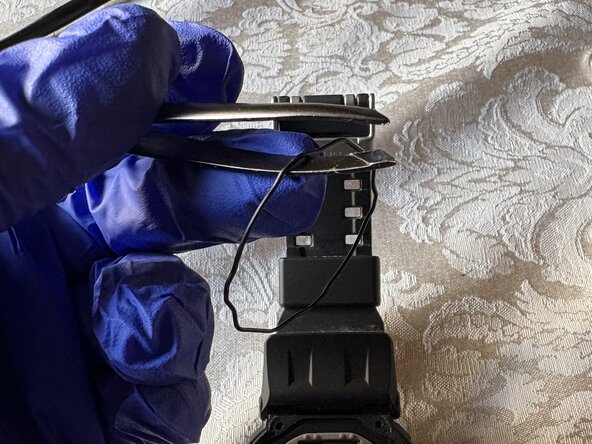
- From the prong side, peel the sticker halfway or just enough to create an opening for the next step.
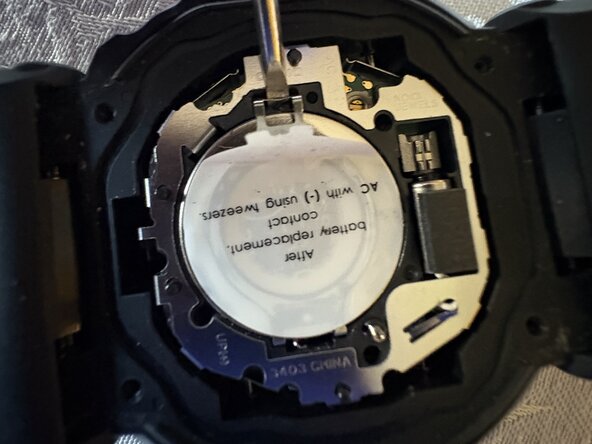
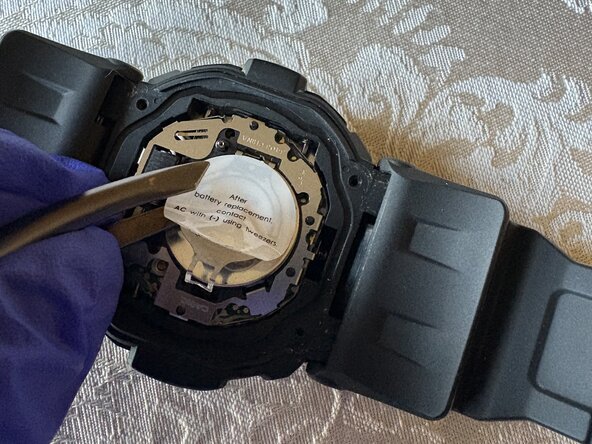
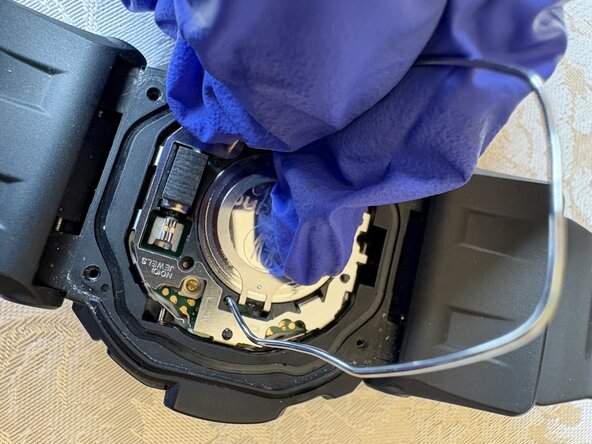
- Place the pointed end of a spudger into the notch or gap of the silver latch that secures the battery, and gently pull the latch up.
- Be careful when pulling the latch out to avoid damaging any internal components.
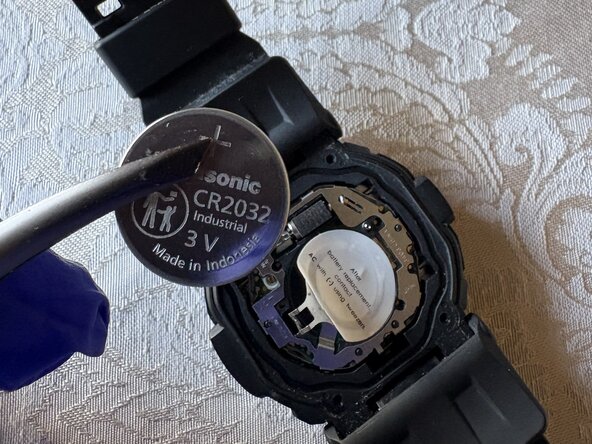
- After lifting the latch, remove the battery with tweezers.
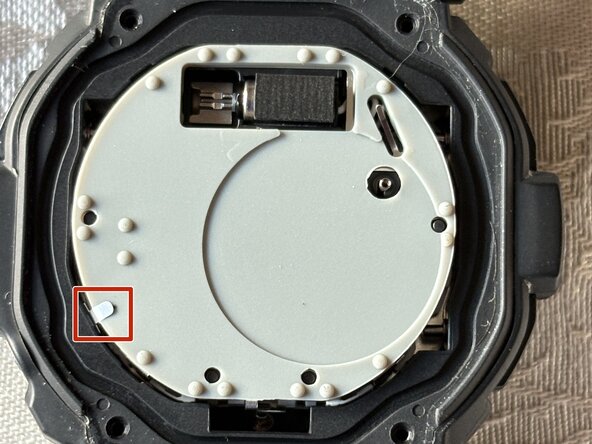
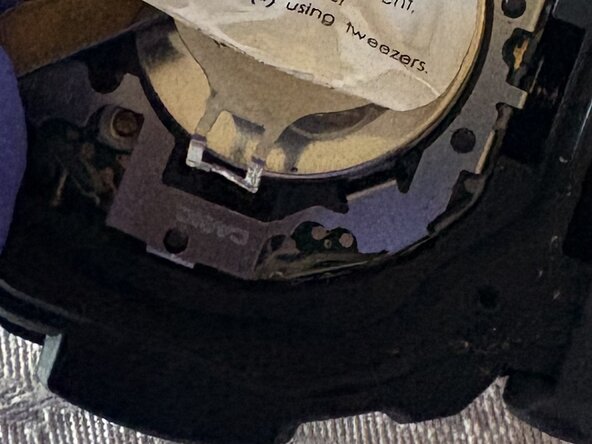
- If the battery clamp that the latch is connected to does not open enough to remove the battery, peel back the sticker further to make room for the clamp to open.
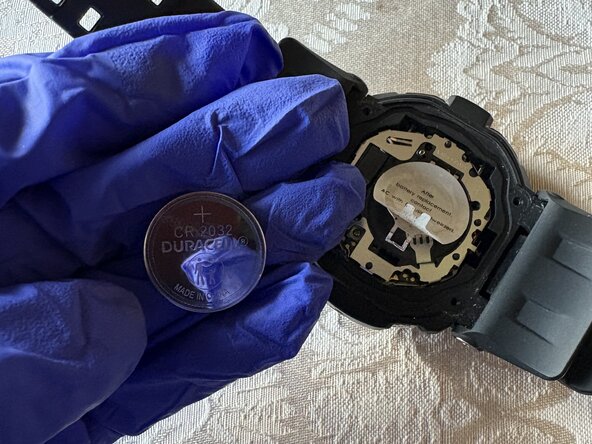
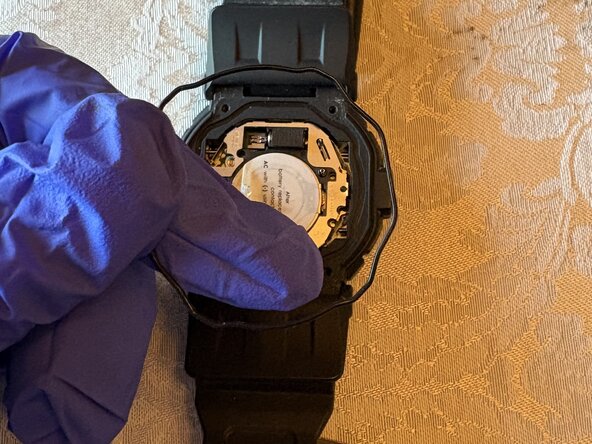
- Use your hand to place the new battery underneath the clamp.
- Close the clamp after installing the new battery.
- If the latch doesn’t stay down when the clamp is closed, it may be bent. Straighten the latch by bending it back into its proper position so it will stay closed.
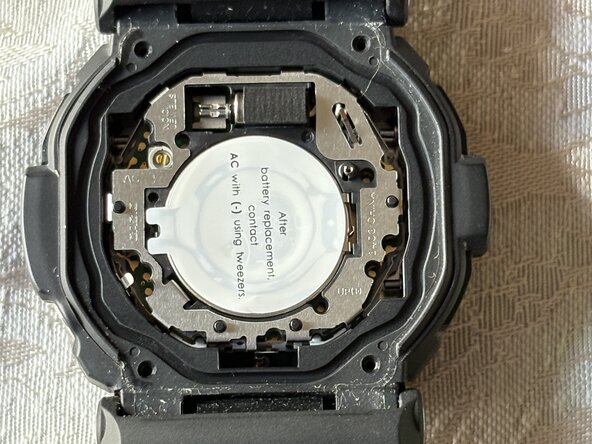
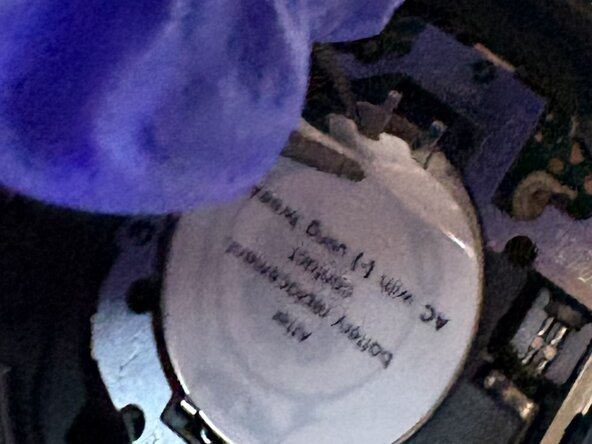
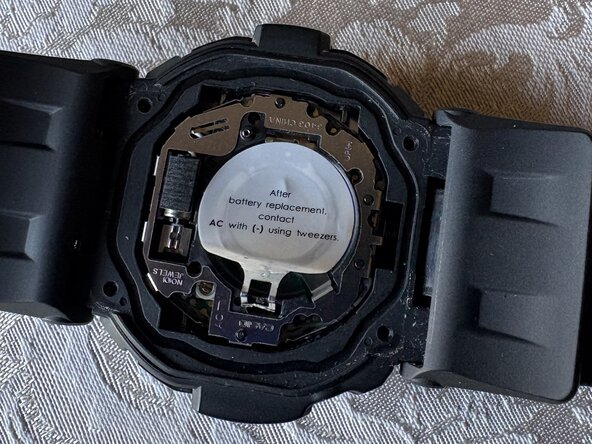
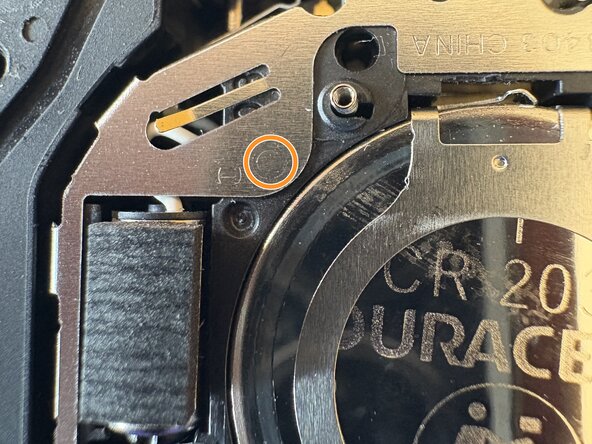
- Find the AC sign and the arrow that points to a hole, then look for a (-) sign.
- Stick one end of the tweezers on the hole where the AC sign points to, then another end of the tweezers on the circle next to the (-) sign, and hold it for 2 seconds.
- If the tweezers are not pointy enough to stick into the AC hole, bending a paperclip into an arch will do the job.
- Place the black gasket and rubber cover back on the watch.
- Place the caseback on the watch.
- Use a Phillips screwdriver to replace the four screws that secure it.