Logitech MX Mechanical Battery Replacement
ID: 191788
Description: Follow this guide to replace a worn-out or dead...
Steps:
- Unplug any cables from the keyboard.
- Slide the power switch on the top edge of the keyboard to the OFF (right) position.
- You should see a red indicator under the switch.
- Lay the keyboard upside down on a clean work surface.
- Place a soft towel under the keyboard if your work surface might scratch the keys.
- The sticker on the bottom of the keyboard hides the two battery cover screws.
- Heat an iOpener and lay it on the top edge of the sticker for one minute.
- Alternatively, use a hair dryer on its low-heat setting to heat the sticker.
- The keyboard will work normally without the sticker. Follows these steps to remove it intact if you want to re-apply the sticker at the end of the procedure.
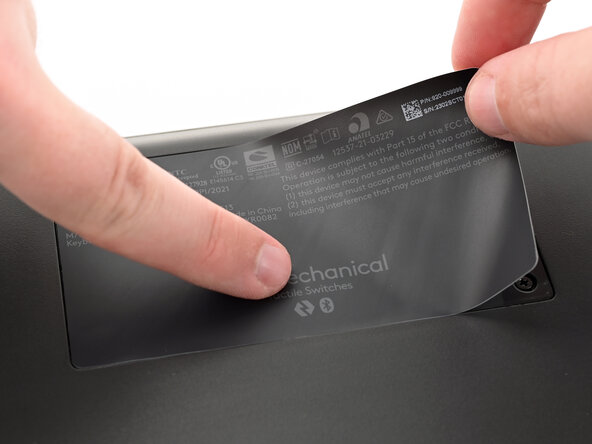
- Use a spudger or your fingernail to peel up a corner of the sticker until you can grip it with your fingers.
- Peel up the sticker and remove it.
- If the sticker doesn't peel up easily, use an iOpener or hair dryer to heat the sticker again.
- Use a Phillips screwdriver to remove the two 5.5 mm‑long screws securing the battery cover.
- Insert the tip of a spudger into one of the screw holes in the battery cover.
- Use the spudger to lift and remove the battery cover.
- Be very careful to avoid hitting the battery with the tweezers. Even a discharged lithium-ion battery can pose a safety risk if punctured or damaged.
- Insert the tips of a pair of angled tweezers into the small recesses on the top of the battery connector, between the battery connector and its socket.
- Gently push the battery connector out of its socket. Use a side-to-side rocking motion if it feels stuck.
- Use gentle, steady pressure to prevent the tweezers from slipping.
- If the battery starts to bend, stop immediately and apply isopropyl alcohol as described at the end of this step.
- Insert the flat end of a spudger under the right edge of the battery, near the top.
- Gently pry the battery up until the adhesive releases and remove the battery.
- If the battery is stuck:
- Prop up the right edge of the keyboard and apply a few drops of high-concentration (>90%) isopropyl alcohol under the right edge of the battery.
- Wait a few minutes and try to pry up the battery again.
- If the battery is still stuck, apply more alcohol around the edges of the battery and prop up different edges of the keyboard so the alcohol can dissolve the adhesive all around the battery.
- Apply a few drops of high-concentration (>90%) isopropyl alcohol to a microfiber or lint-free cloth.
- Use the cloth to clean any adhesive residue out of the battery well.
- Apply a wide strip of double-sided tape, like Tesa tape, near the top edge of the battery well.
- Leave the liner on the back of the tape and use your finger to press the tape to the keyboard.
- Repeat this process to apply another strip of double-sided tape near the bottom edge of the battery well.
- Use your fingers to peel up and remove the liners on the double-sided tape.
- Orient the battery so the label faces up and the battery connector points towards its socket.
- Lower the battery into the battery well.
- Use your fingers to firmly press the battery into the well to secure the adhesive.
- Place the tips of a pair of angled tweezers on either side of the wires on the battery connector.
- Use gentle, steady pressure to pull the battery connector into its socket.
- Try turning the keyboard on. If it doesn't turn on, make sure the battery connector is fully seated in its socket.
- Insert the tabs on the top edge of the battery cover into their cutouts on the top edge of the battery well.
- Lay the cover down into its recess. It should lay flush with the keyboard.
- Use a Phillips screwdriver to install the two 5.5 mm‑long screws to secure the battery cover.
- This step is optional. The keyboard will work normally without the sticker.
- Carefully align the sticker with its recess in the keyboard.
- To match the original orientation, "MX Mechanical" should be near the center of the keyboard.
- Use your fingers to firmly press the sticker onto the keyboard.