Logitech MX Mechanical Mini Hot Swappable Switches Replacement
ID: 192304
Description: This guide will help you replace the soldered...
Steps:
- Remove all the keycaps, using a specific tool or by hand.
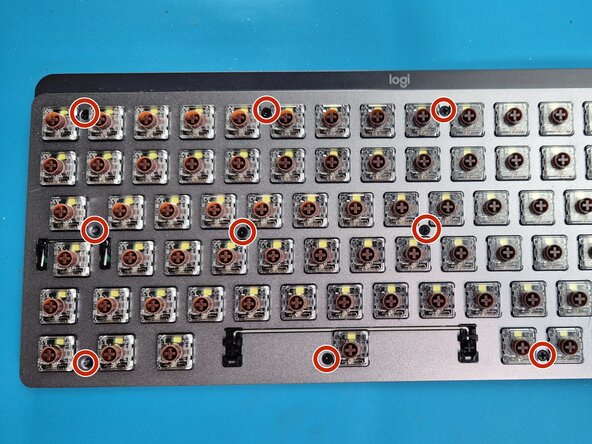
- Remove the 15x black screws (photo misses some)
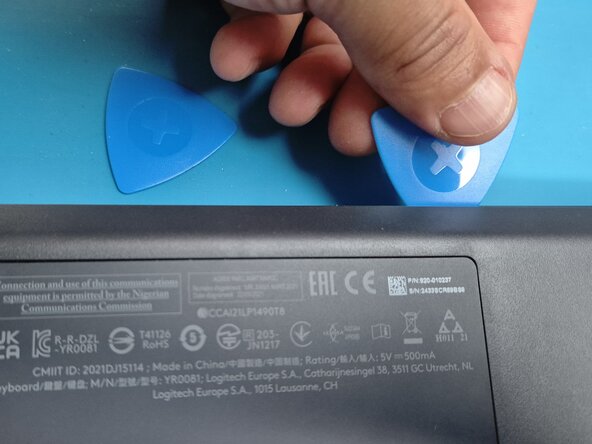
- Open the keyboard using pryer tools.
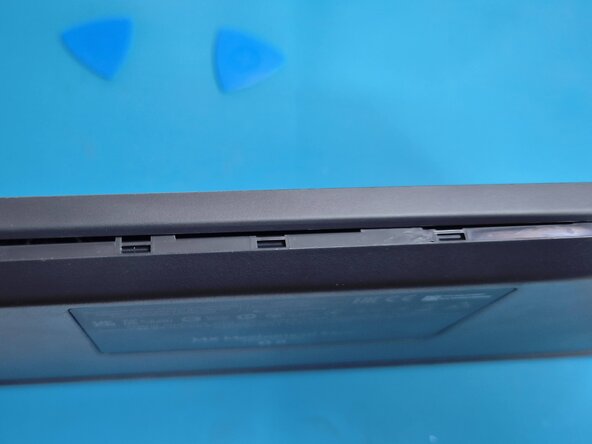
- Observe the molded parts.
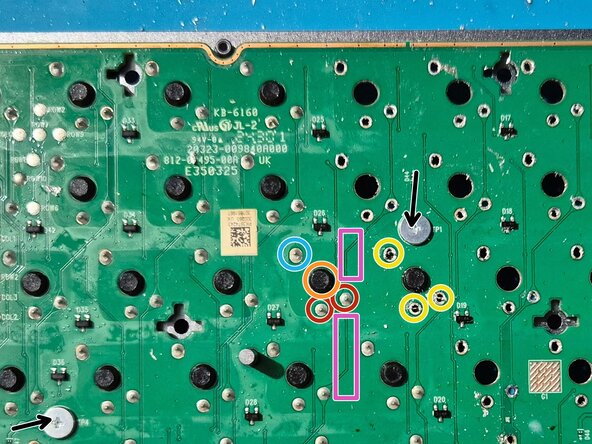
- Disconnect the battery wire.
- Disconnect the ribbon cable.
- Remove the 6x silver screws to detach the plastic part from the PCB.
- No need to remove the 4x silver headed screws because of the switches keeping the PCB and metal plate tied together.
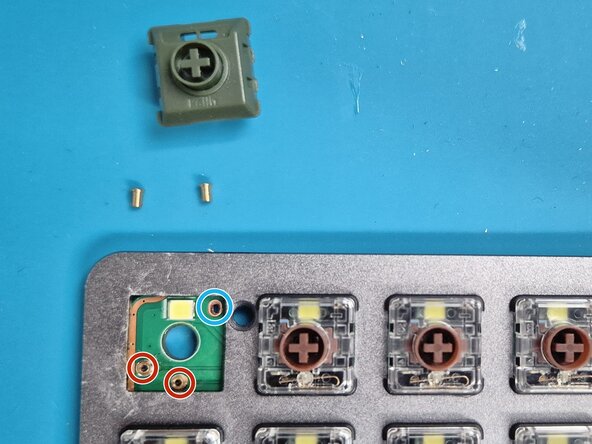
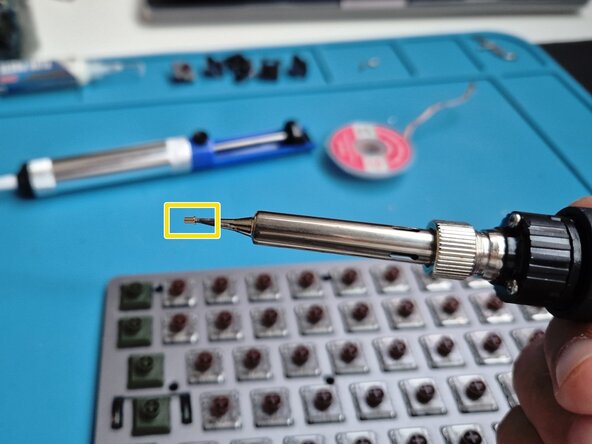
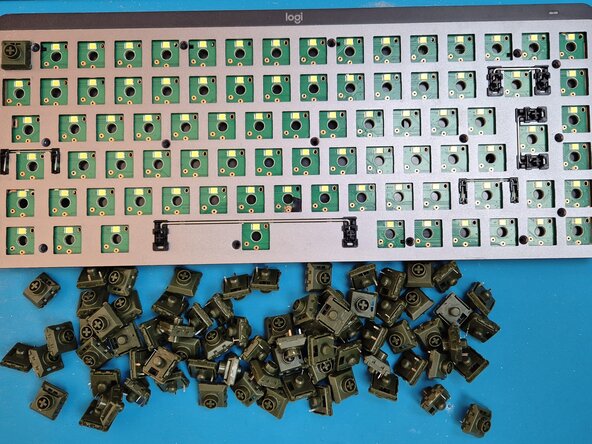
- Unsolder each switch.
- Each switch has 3 pins to unsolder.
- Unsolder the positioning pin.
- Unsolder the 2x connection pins.
- Once unsoldered, gently push the switch plastic bottom.
- Here is the result when the 3 pins are unsoldered and the switch removed.
- Take your time, this is a tricky part. Don’t overheat the holes, be careful of the PCB tracks such as the purple one.
- If you need access to the PCB front side, you can unscrew the 6x silver headed screws to detach the PCB from the metal plate, but beware the switches will need the metal plate back before final reassembly.
- Each switch needs 2x receptacles, there are many sorts, you can refer to this awesome blog: https://blog.keeb.io/how-to-make-your-ke.... Went for the shorter 7305-0 option.
- Place the receptacles in the connection holes.
- The position hole doesn’t need receptacle.
- One easy way is to put a receptacle directly on the soldering gun tip and then gently insert and push the receptacle in the PCB hole.
- When both receptacle are inserted, make sure the switch can be placed.
- You may want to solder the receptacles from the other side. I didn’t because tin residue helped soldering without additional effort.
- When all the receptacles are set check the connections are ok.
- Insert the switches.
- Connect the PCB ribbon cable.
- Connect the battery.
- Turn on the keyboard.
- Check all the switches are properly actionable.
- Reassemble everything.
- Enjoy your custom hot-swappable Logitech MX Mechanical.